Last updated: March 2026
Welcome to the GitKraken CLI — an AI-powered, premium developer experience that enhances Git workflows across any repository.
GitKraken CLI is available on macOS, Windows, and Unix systems.
Quick Start
To install and configure GitKraken CLI on macOS, Windows, or Linux:
- Install
gkusing your platform’s package manager (Homebrew, Winget, or Snap) or download a binary from the releases page. - Authenticate with your GitKraken account to enable cloud features:
gk auth login - Confirm and set your organization (required to enable AI features):
gk organization list gk organization set <ORG_NAME> - Sync your provider integrations (GitHub, GitLab, Bitbucket, Jira):
gk provider list --sync - Set a workspace and clone repositories into it:
gk workspace set <NAME>
gk ws clone <name> <root-path>
An authenticated session and configured organization are required for AI-powered features including commit message generation and pull request creation.
Documentation
Check out the installation instructions and examples below. To view full command references, see the GitKraken CLI command list.
Installation
macOS
Install gk using Homebrew:
brew install gitkraken-cliOr download a binary from the releases page:
mv ~/Downloads/gk /usr/local/bin/gkUnix / Ubuntu
Snap
Install via Snap:
sudo snap install gitkraken-cliDownloadable Binary
From the releases page:
mv ~/Downloads/gk /usr/local/bin/gkAlternatively:
mkdir "$HOME/cli"
mv ~/Downloads/gk "$HOME/cli"
export PATH="$HOME/gk:$PATH"
Install .deb or .rpm packages:
sudo apt install ./gk.debor
sudo rpm -i ./gk.rpmWindows
Install via Winget:
winget install gitkraken.cliOr download from the releases page, move gk.exe to your chosen directory, and update your system PATH:
- Search for Environment Variables.
- Click Edit the system environment variables.
- Click Environment Variables….
- In System Variables, locate or create the PATH variable.
- Append the path to
gk.exe.
Troubleshooting
Oh-My-Zsh alias conflict
Oh-My-Zsh may alias gitk as gk. To remove the alias:
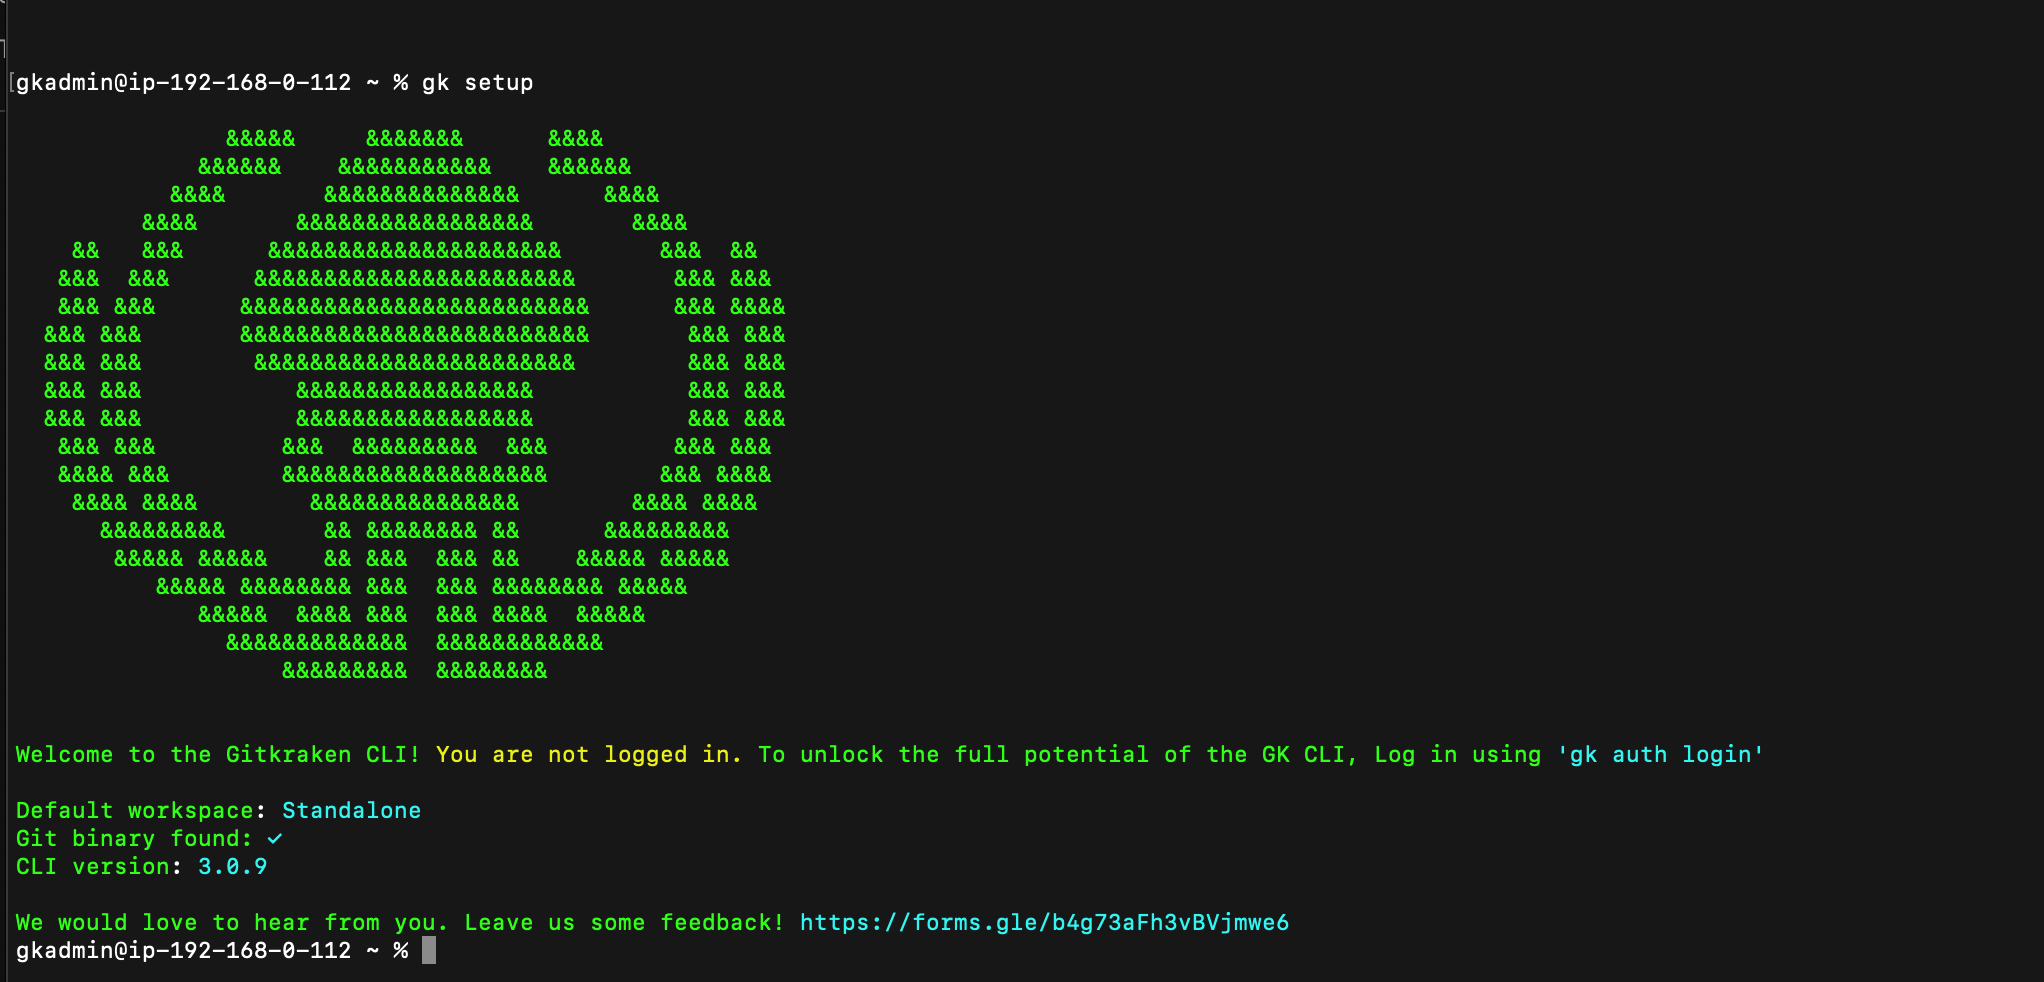
unalias gkGet Started with GitKraken CLI
GitKraken CLI works seamlessly right out of the box—no login required to get started. To unlock the full potential of your workflow with features like AI-powered commit and PR generation, cloud workspace support, MCP integration, and sync capabilities, simply login to your GitKraken account:
gk auth loginThis command opens your default browser to complete authentication.
If no default browser is set on your device, the URL will appear in your terminal. Copy this URL and open it in any browser, then enter the code provided by gk.dev to complete the login process.
Set Your GitKraken Organization
To verify your current organization:
gk organization listSet your organization (required for AI features):
gk organization set <ORG_NAME>
gk organization list to confirm and set the correct GitKraken Organization.Synchronize Your Integrations
Once authenticated and your organization is set, synchronize integrations:
gk provider list --syncTo add a provider manually:
gk provider addSee gk provider add --help for available options.
Supported integrations include GitHub, GitLab, BitBucket and Jira.
Load Your Repositories
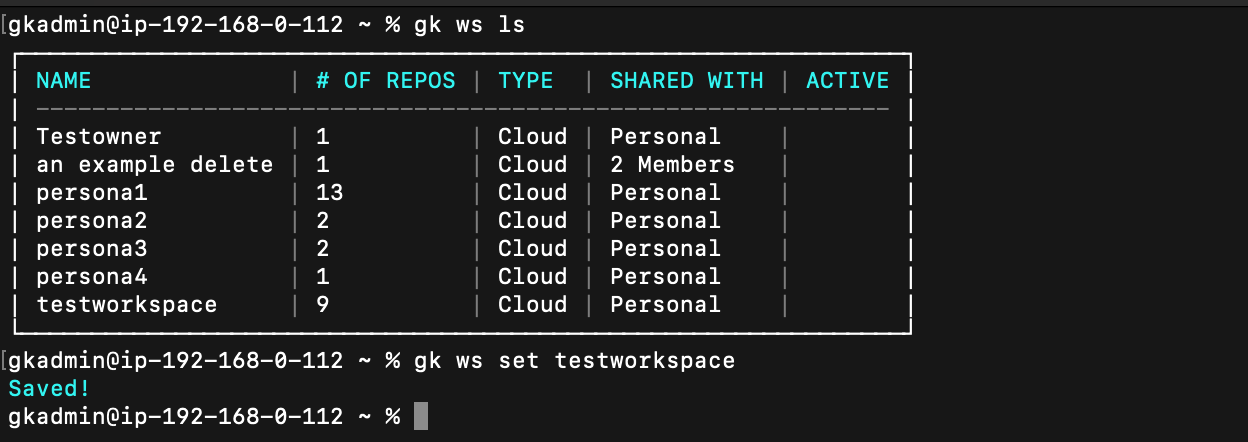
To work within a GitKraken workspace:
- List available workspaces:
gk workspace list - Set your desired workspace:
gk workspace set <NAME> - Clone a repository into the workspace:
gk ws clone <name> <root-path>