

Last updated: August 2026
What’s on this page:
- Let us assist you with your migration to Jira Cloud!
- Important Notes
- Migrating through the Jira Cloud Migration Assistant (JCMA)
- Manual steps to migrate
- Links
 Let us assist you with your migration to Jira Cloud!
Use this page as a resource to get all the information you need to start your migration. If you need additional support or one-on-one assistance, we’ll be glad to help. Contact us at GIJ Cloud Support.
 Important Notes
Associations from Git data
Indexing Jira issues via commit messages is the same in Jira Data Center and Jira Cloud. All the associations will be preserved.
Self-hosted Git servers
When connecting a self-hosted git server to Git Integration for Jira Cloud the git server must have a publicly addressable and routable address. GitHub.com, Azure DevOps, GitLab.com and other services hosted on the “public cloud” work without any administrator intervention.
For more information, see: Allowlist (whitelist) GIJ Cloud
Migrating through the Jira Cloud Migration Assistant (JCMA)
-
IMPORTANT Minimum required versions based on your Jira version:
-
Jira 9: v4.29.5
-
Jira 10: v5.5.3
-
Jira 11: v6.1.3
-
-
In Jira Data Center, go to System > Migrate to Cloud.
-
In the Migration Dashboard, create a new migration and verify all the required steps. For more information on migrations, review the Atlassian’s migration guide.
-
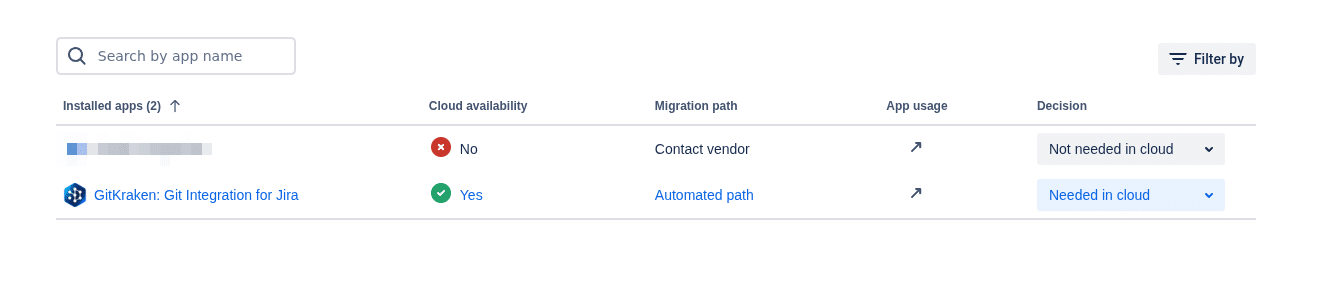
When you get to the “Assess your Apps” section, for the Git Integration for Jira app, make sure the Decision column is set to “Needed in Cloud” and click on Done.
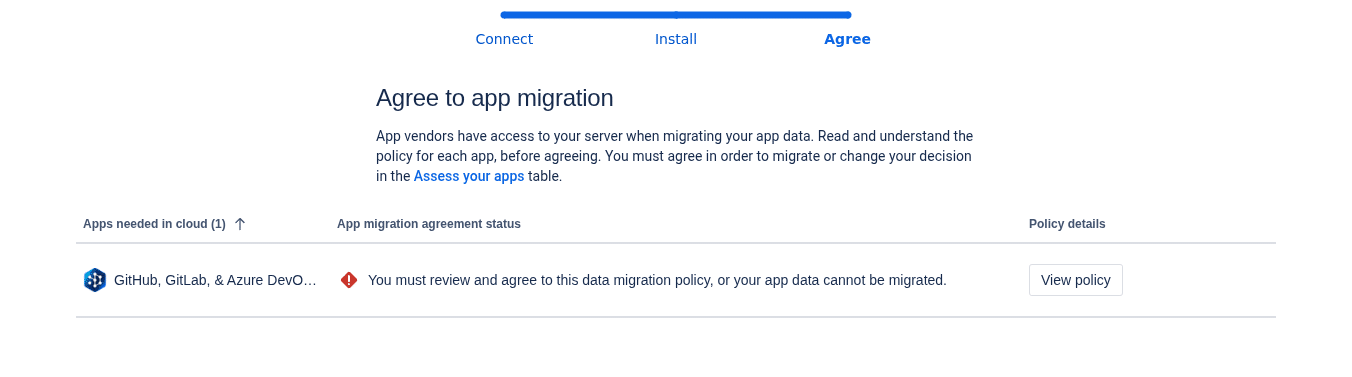
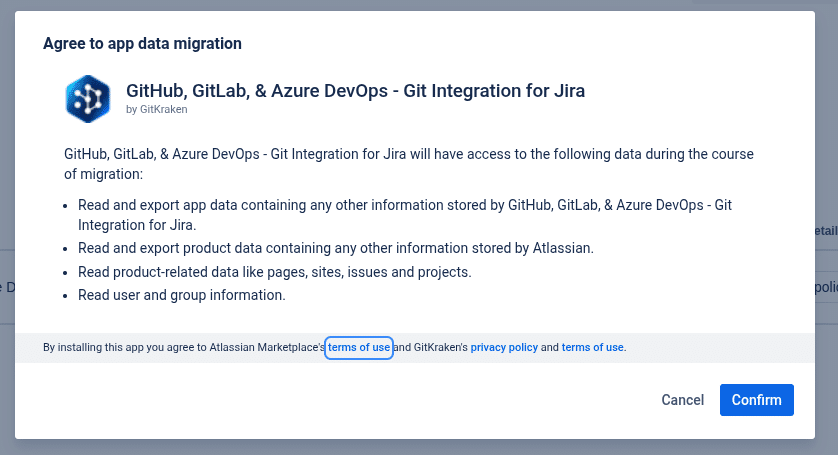
- In the “Prepare your Apps” section, click on “View Policy”, confirm, and click on Done.
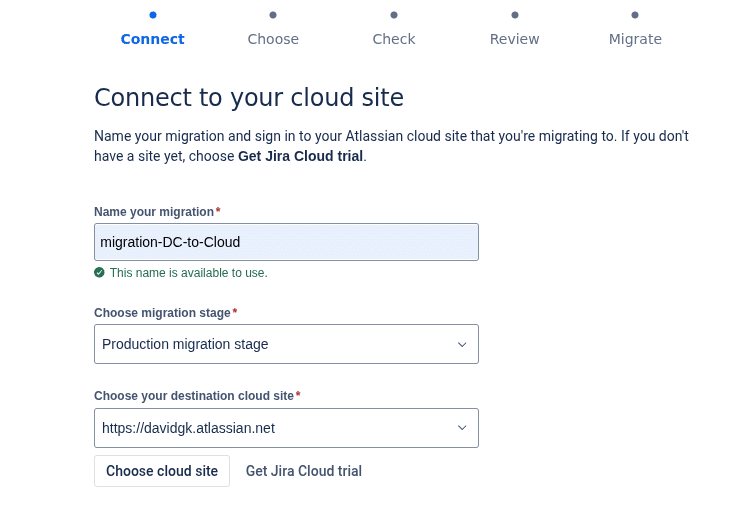
- In the “Connect to your cloud site” section, choose the name, migration stage, cloud destination site and migration options. We recommend you first test the migration in a cloud test instance.
-
Select what data you will migrate. Make sure the Git Integration for Jira is selected in the apps section.
-
In the “Pre-migration checks” section, review all possible errors. All checks should be green. Ignore the warning: “Some apps selected for this migration have low or unknown migration success rates” if Git Integration is the only application listed. Then click Review Migration.
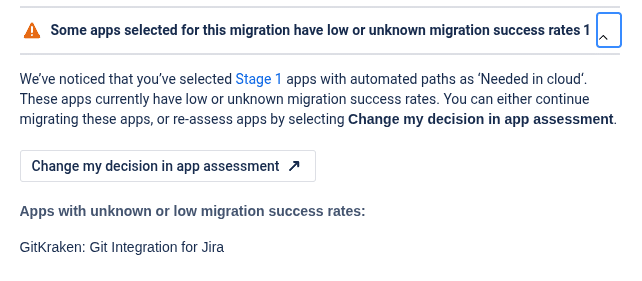
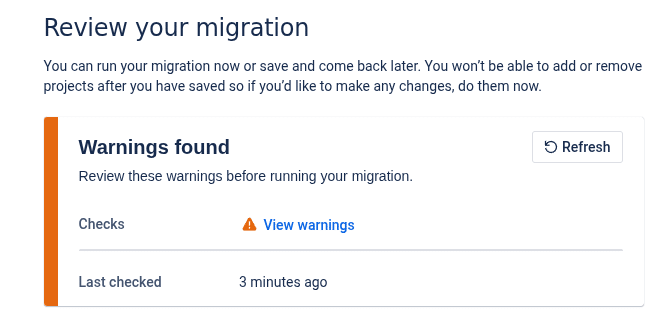
- Review the migration. Ignore the warning for Git Integration for Jira and click on Run.
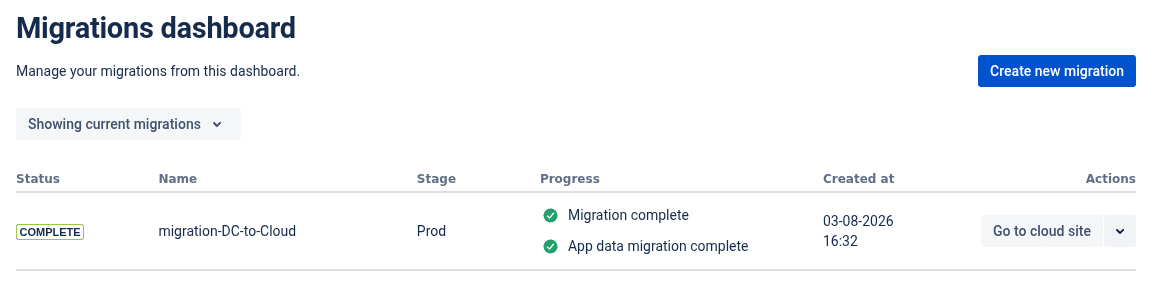
- The migration will take place. The duration will depend on the number of elements being migrated.
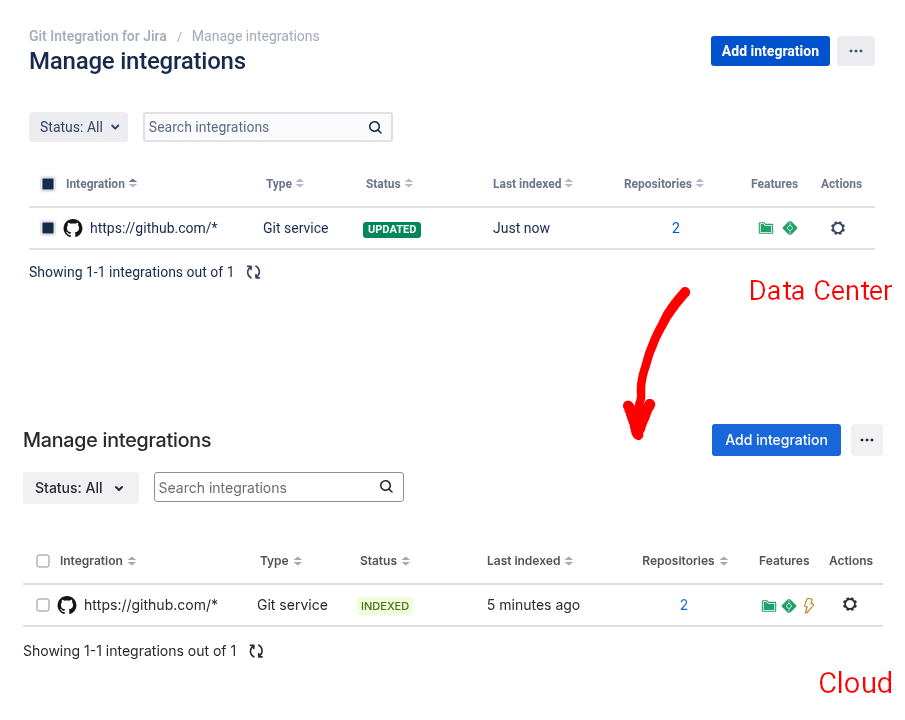
- After the migration completes, you can go to the Manage Integrations screen and you will see the migrated integrations. Jira will show a yellow banner indicating that a synchronization of elements is taking place in the background.
 Manual steps to migrate
The Jira Cloud Migration Assistant (JCMA) will move all your integrations and manual commits. There is no need to migrate things manually, but if you prefer that route, simply recreate the integrations in the Cloud site. After indexing, all the links will be re-established.
 Links
Links
-
Dual licensing
To alleviate any concerns about paying for “double licensing” during your transition, please see the following article. -
Git Integration Server/Data Center vs Jira Cloud
Evaluating a move to Jira Cloud? Learn more about the similarities and differences. -
Official Jira Cloud Migration guide.
All the official Jira Cloud migration resources.
