
Last updated: March 2026
Use this page to sign Git commits and tags in GitKraken Desktop with either GPG or SSH keys so hosting providers can verify your identity. It covers setup requirements, key generation, GitKraken configuration, verification behavior, and the extra Git Executable requirement for SSH-based signing.
Requirements and limits
- Scope: Commit and tag signing with GPG or SSH keys
- GPG requirement: Install GPG before configuring signing in GitKraken Desktop
- Restart requirement: Close and reopen GitKraken Desktop after installing GPG
- SSH signing requirement: Git Executable must be enabled
- SSH signing setup: Requires a
.pubsigning key and anallowed_signersfile - Host verification note: GitHub and GitLab support SSH-signed commit verification; Bitbucket does not
- Verification behavior: Signed commits show a badge in the Commit Panel with signature details on hover
Quick Start
To sign commits with GPG:
- Install GPG for your operating system (Gpg4win on Windows,
brew install gpgon macOS, or your Linux package manager). - Close and reopen GitKraken Desktop.
- Go to Preferences > Commit Signing.
- Select a Signing Key from the dropdown, or click Generate new GPG Key.
- Set the GPG Program path if it is not auto-detected.
- Enable Sign Commits by Default and/or Sign Tags by Default.
- Copy your public key from Preferences > GPG and upload it to your hosting service (GitHub, GitLab, or Bitbucket).
To sign commits with SSH:
- Generate an SSH key and enable the Git Executable under Preferences > Experimental.
- Go to Preferences > Commit Signing, set the GPG Format to SSH, and select your
.pubkey file. - Create an
allowed_signersfile and select it in GitKraken Desktop. - Enable Sign Commits by Default.
Signed commits display a badge next to the SHA in the Commit Panel. Hover over it to view signature details.
What commit signing is
In Git, you may commit using any name and email address. However, Git supports signing commits and annotated tags using a GPG or SSH key pair.
By signing a commit, others with your public key can verify that the commit was created by you. Public keys can also be uploaded to remote hosting services like GitHub so commits appear as verified.
How to sign commits with GPG
GPG requirements
Before signing commits, install and configure GPG.
Note: Close GitKraken Desktop before installing GPG.
- Windows: Use Gpg4win and follow the installer.
- Mac: Use Homebrew:
brew install gpg - Linux: Use your package manager:
- Debian/Ubuntu:
apt install gnupg - Fedora:
dnf install gnupg2 - CentOS/RHEL:
yum install gnupg2
- Debian/Ubuntu:
More downloads at gnupg.org.
To verify installation:
gpg --version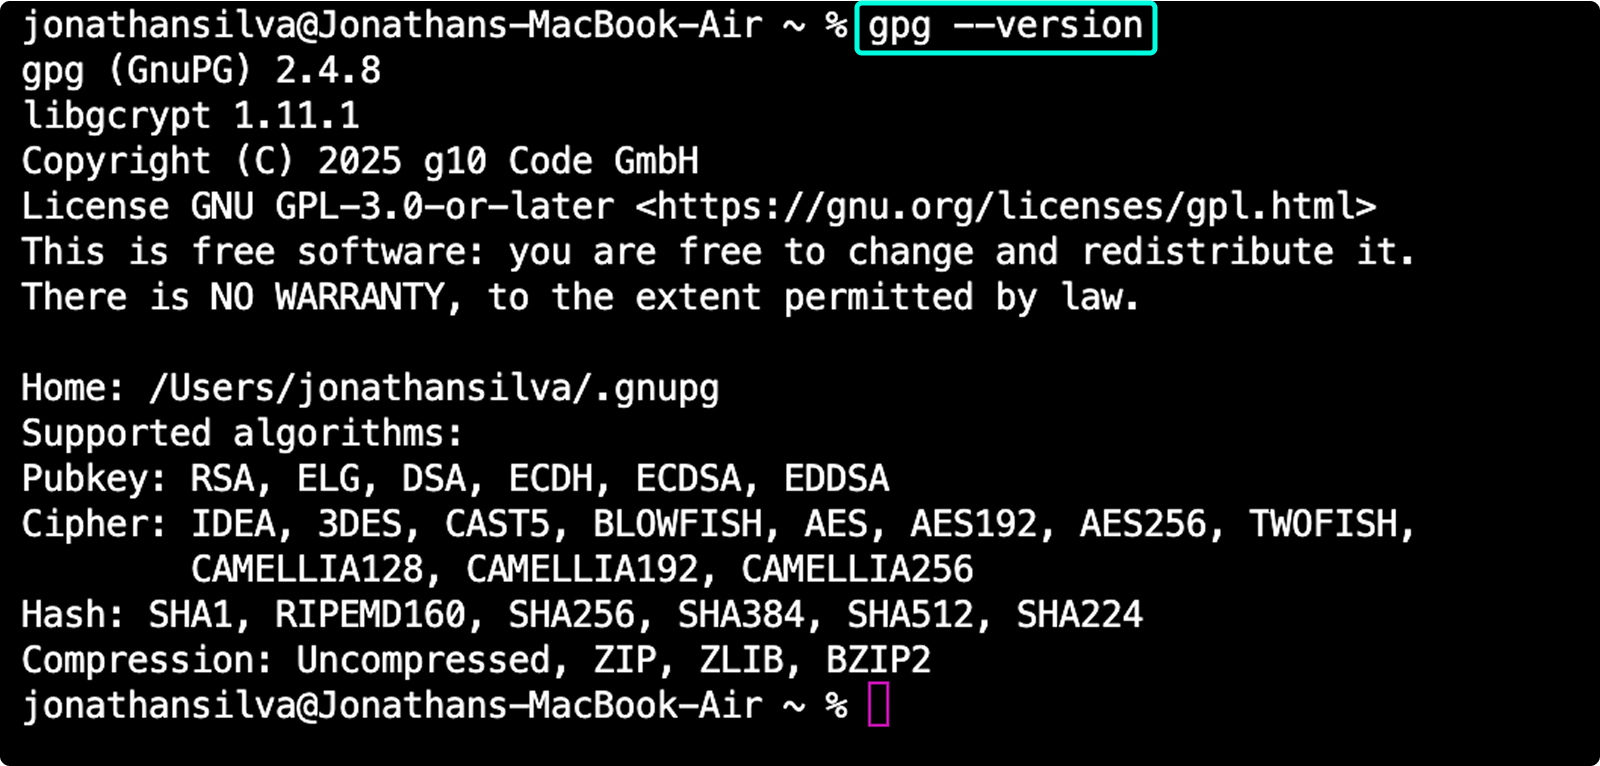
Note: Use gpg2 if gpg isn’t aliased. Prefix commands accordingly.
How to generate a GPG key in GitKraken Desktop
Once GPG is installed:
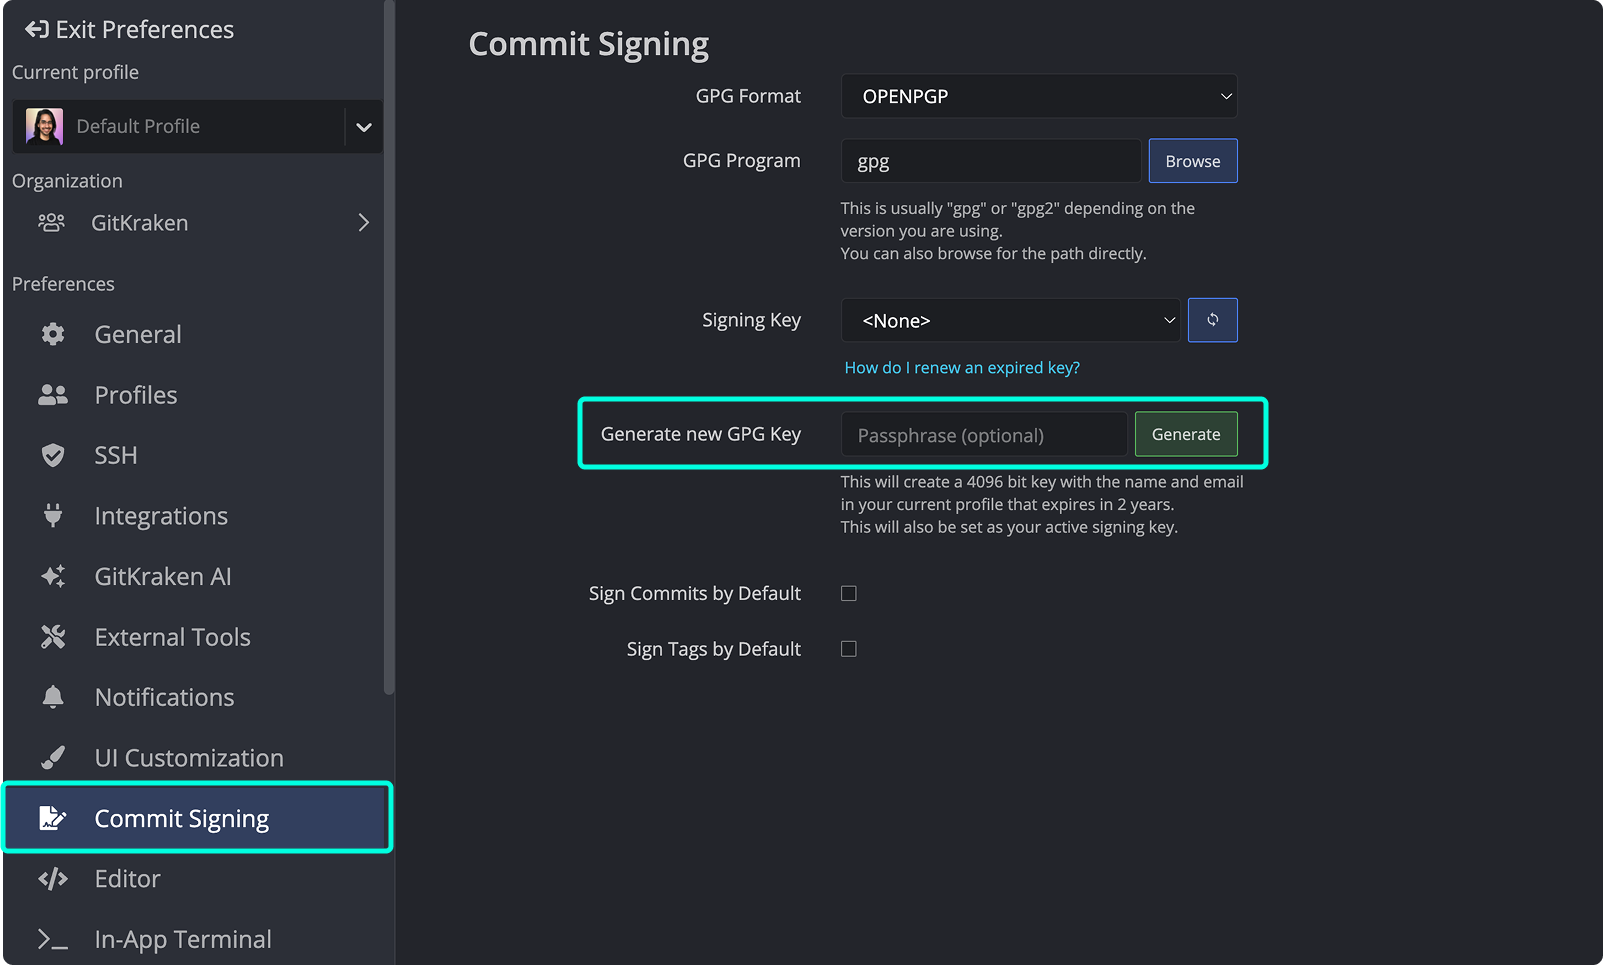
- Go to Preferences > Commit Signing.
- Click Generate new GPG Key.
- (Optional) Enter a passphrase before generating.
Note: Ensure GPG is configured in GitKraken. See Configure GPG in GitKraken.
How to configure GPG in GitKraken Desktop
- Navigate to Preferences > Commit Signing.
- Set the Signing Key from the dropdown list. If it’s empty:
- Configure the GPG Program path.
- Restart GitKraken after installing GPG.
- Specify the GPG Program location or use the Browse button if not auto-detected.
which gpg # macOS/Linux
where gpg # Windows
Browse to GPG executable. - Enable Sign Commits by Default and/or Sign Tags by Default as needed.
How to verify signed commits
Signed commits show an icon next to the SHA in the Commit Panel.
Hover to view signature details:
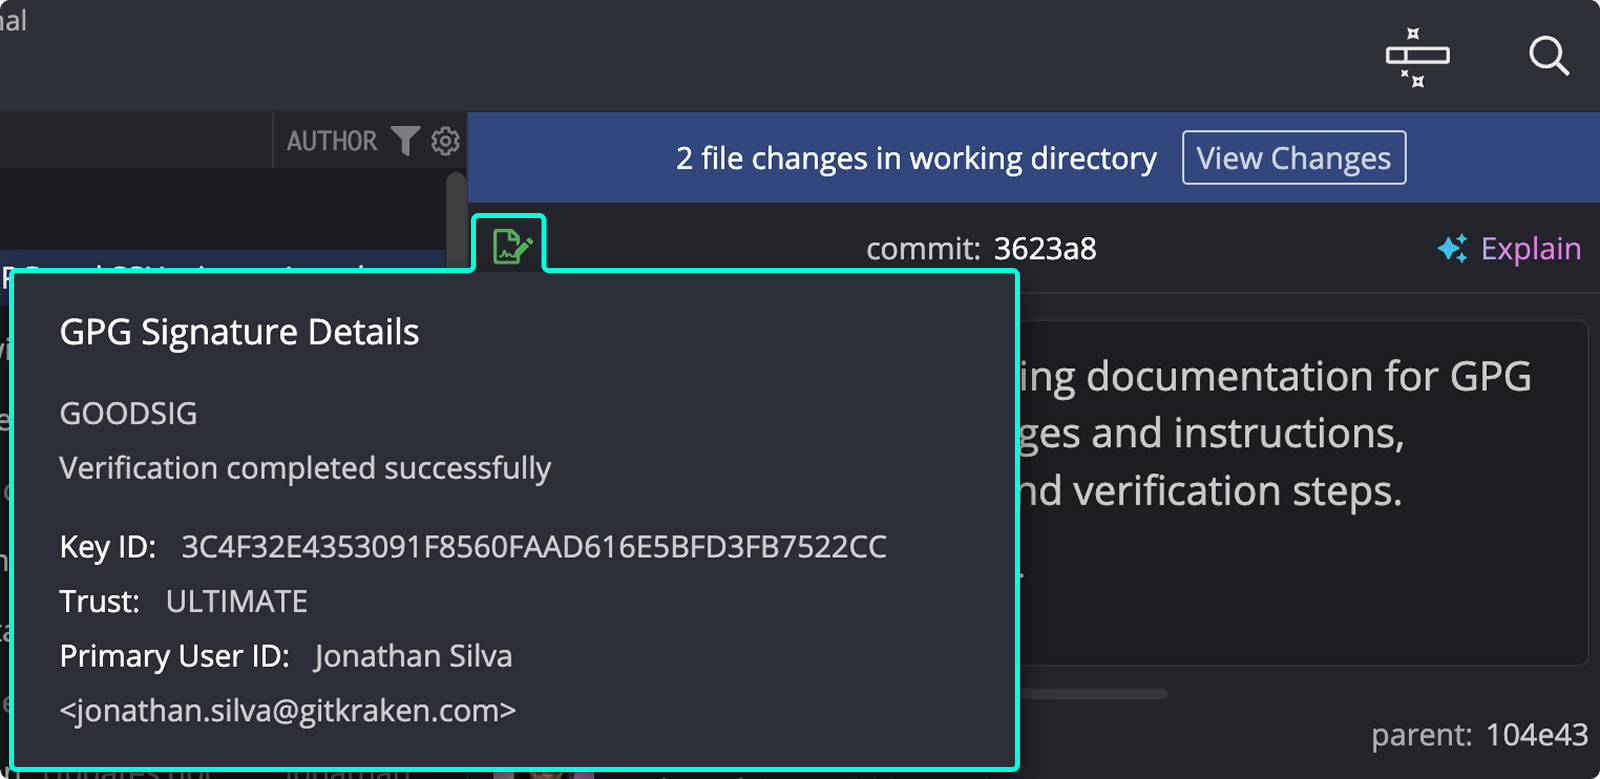
Common GPG signature codes:
GOODSIG: Valid signature.EXPSIG: Signature is expired.EXPKEYSIG: Signed with expired key.REVKEYSIG: Signed with revoked key.BADSIG: Signature not verified.ERRSIG: Unable to check signature (missing key or unsupported algorithm).
How to upload a GPG key to your hosting service
To display signed commits as verified:
In GitKraken: Preferences > GPG → Copy GPG Public Key.
How to edit a GPG key
To add emails or renew a key:
- List keys:
gpg --list-secret-keys --keyid-format LONG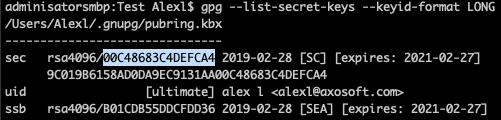
List GPG secret keys. - Edit:
gpg --edit-key YOUR_KEY_ID - Use commands:
adduid: Add emaildeluid: Remove emailtrust: Update trust levelexpire: Change expirationsave: Save and exit
After editing, re-upload the key to your host. See Uploading Your GPG Key to a Remote Hosting Service.
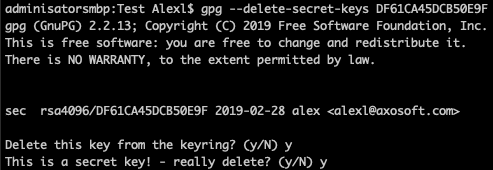
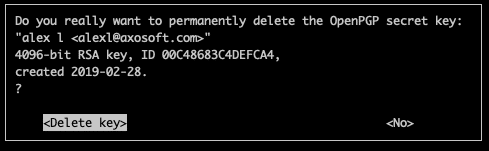
How to delete a GPG key
To delete:
gpg --delete-secret-keysAppend your key ID or name.
How to sign commits with SSH
SSH signing is available through Git Executable.
SSH signing requirements
- macOS/Linux: Git and OpenSSH are usually preinstalled.
git -v ssh -V - Windows: Install Git Bash.
How to enable SSH signing
-
Create SSH key:
ssh-keygen -t ed25519 -C "[email protected]"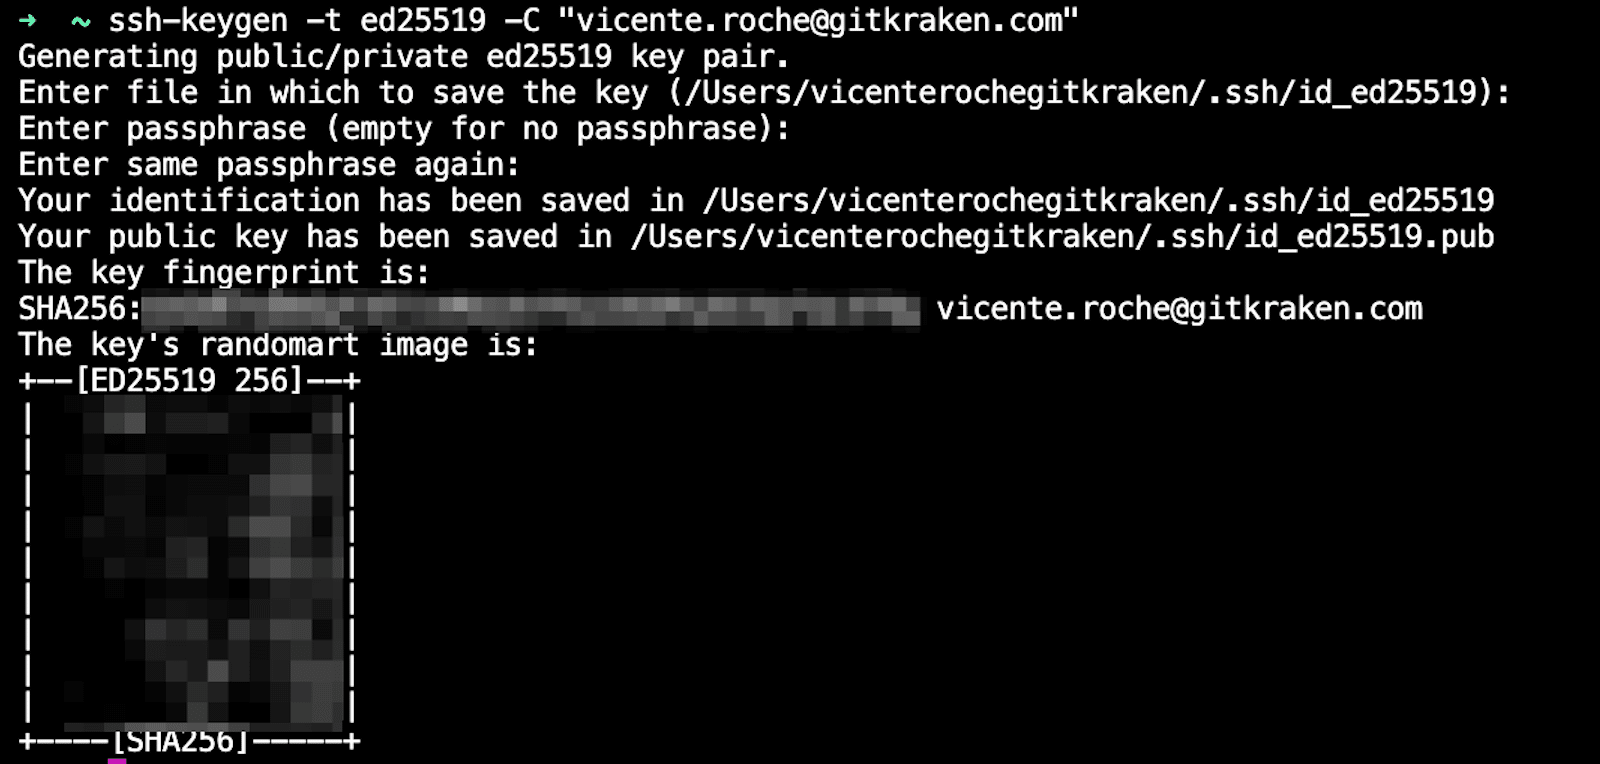
Generating SSH key. -
Enable Git Executable:
Go to Preferences > Experimental > Git Executable.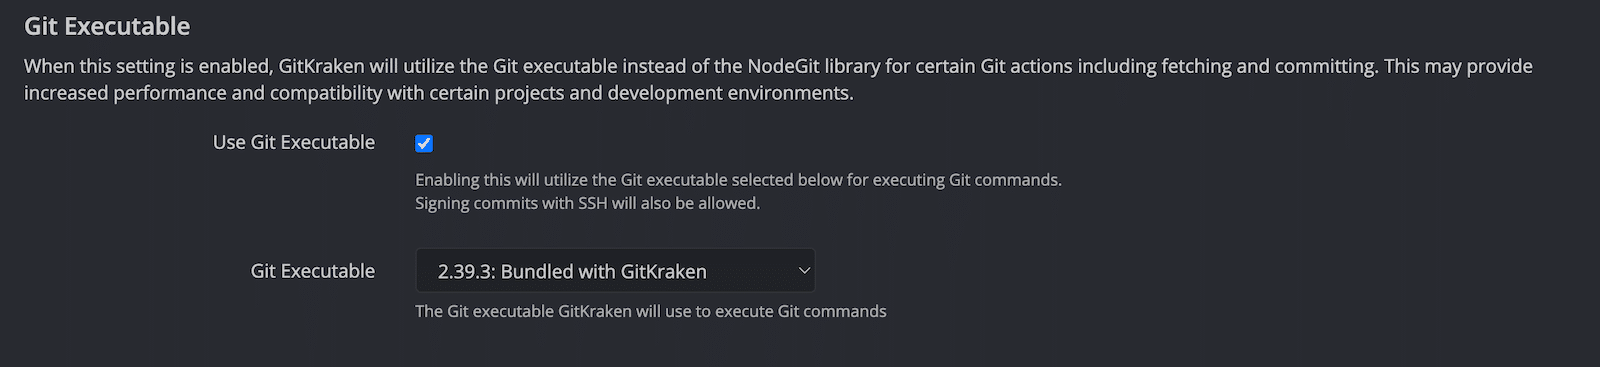
Enable Git Executable. -
Set GPG Format to SSH:
Preferences > Commit Signing > GPG Format → select SSH. -
Select signing key:
On Signing Key, browse to the.pubkey. -
Create allowed_signers file:
touch ~/.ssh/allowed_signers
echo "$(git config --get user.email) namespaces="git" $(cat ~/.ssh/YOUR_KEY.pub)" >> ~/.ssh/allowed_signers
Select this file in GitKraken.
-
Enable Signing by Default:
Preferences > Commit Signing → enable Sign Commits and/or Sign Tags. -
Add SSH Key to Host:
- GitHub SSH setup
- GitLab SSH setup
- ⚠️ Bitbucket does not support SSH-signed commit verification.
