Last updated: March 2026
Use this page to configure and run Gitflow in GitKraken Desktop when your team organizes work into feature, release, and hotfix branches. It covers the initial Gitflow setup, how the Gitflow panel works, and what happens when each Gitflow branch type is finished.
Requirements and limits
- Workflow scope: Gitflow-style branching with feature, release, and hotfix branches
- Setup location: Preferences > Gitflow
- Initialization behavior: GitKraken Desktop creates
mainanddeveloplocally if they do not exist - Panel behavior: Only branches with Gitflow prefixes appear in the Gitflow panel
- Finish behavior: Features merge into
develop; releases merge intomainanddevelopand create a tag; hotfixes merge intomainanddevelop - Publishing behavior: Publishing a Gitflow branch works the same as pushing any other Git branch
Quick Start
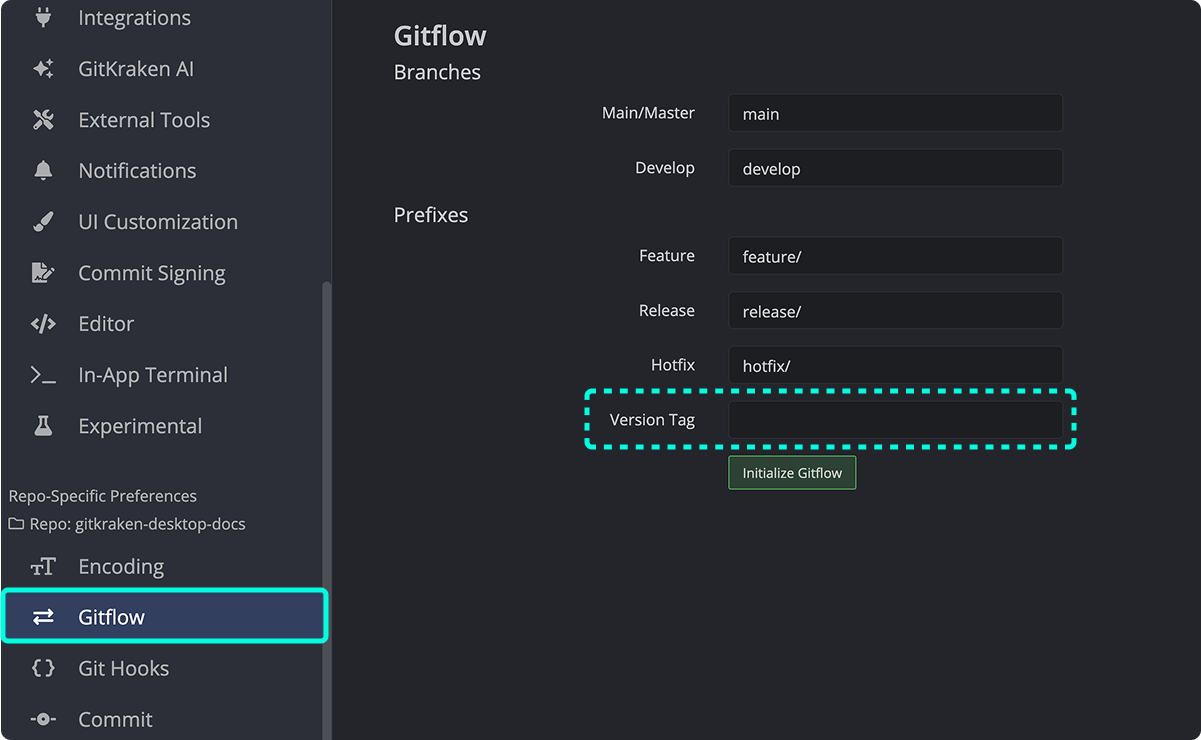
- Go to Preferences > Gitflow and initialize Gitflow for the repository. Optionally adjust default branch names.
- GitKraken Desktop creates
mainanddevelopbranches if they do not exist. - A Gitflow panel appears in the Left Panel. Click the green button to start a branch, or create a branch manually using a Gitflow prefix (e.g.,
feature/my-feature,release/1.0.0).
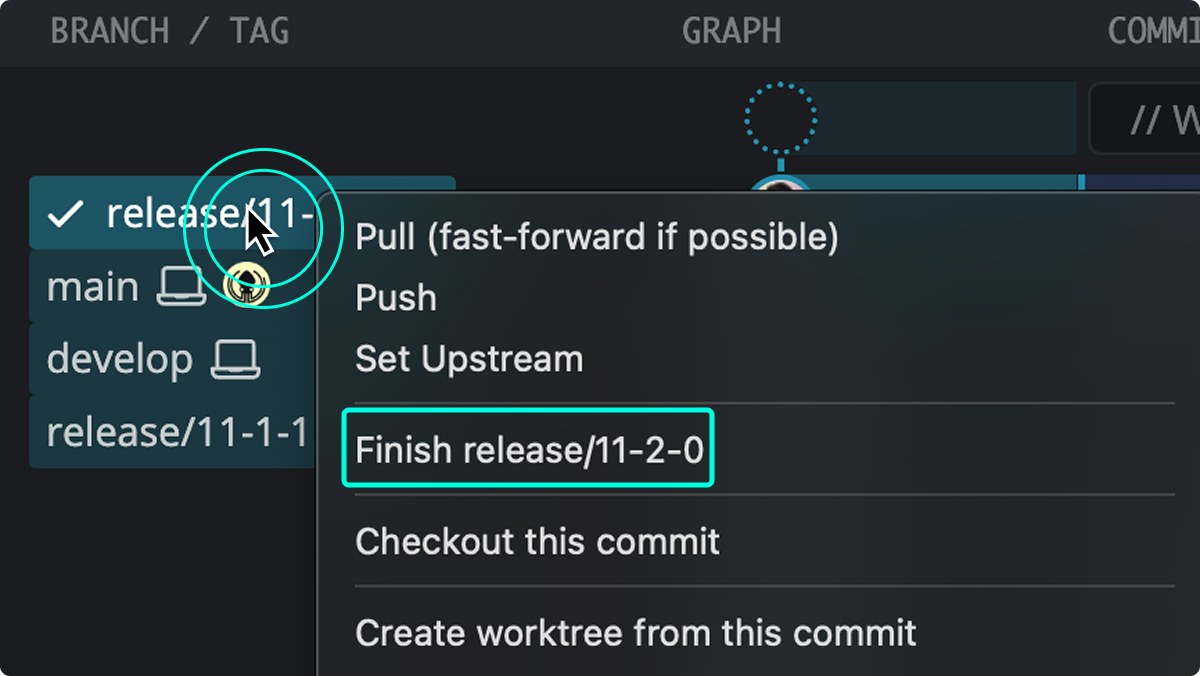
To finish a branch type:
- Feature: Merges into
developand deletes the branch locally. - Release: Merges into both
mainanddevelop, and creates a tag. - Hotfix: Merges into both
mainanddevelop.
Right-click a Gitflow branch in the Left Panel and select Finish to complete it. To set a tag prefix (e.g., v), configure it under Preferences > Gitflow. Publishing a Gitflow branch to a remote works the same as pushing any other branch.
How Gitflow configuration works
To configure Gitflow in GitKraken Desktop:
- Navigate to
Preferences > Gitflow. - Optionally, change the default branch names.

Once initialized, two branches will always be present:
main: the version in production.develop: the current development version for the next release.
If these branches don’t exist locally, GitKraken Desktop will create them when Gitflow is initialized.
How to use Gitflow
After initializing Gitflow, a Gitflow panel appears in the left sidebar. Use it to start or finish Gitflow branches.
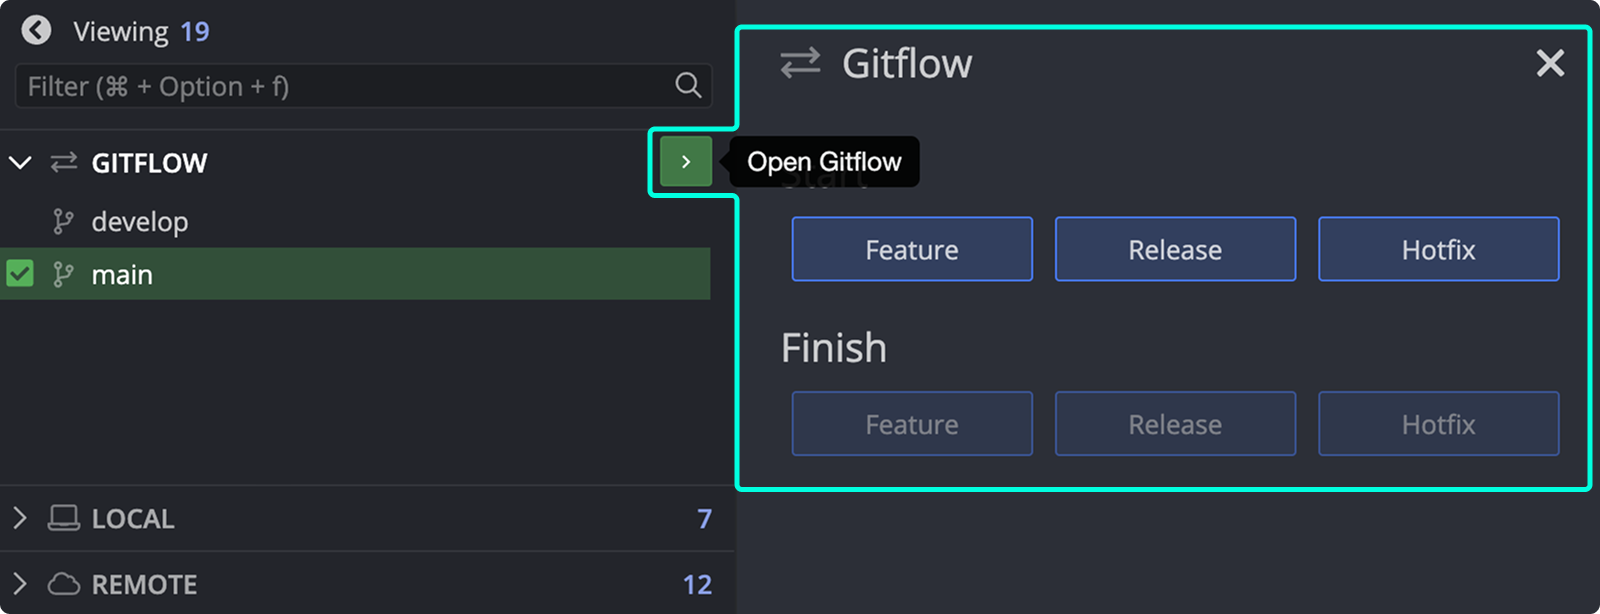
To create a Gitflow branch:
- Click the green button in the Gitflow panel.
- Or name a branch with a Gitflow prefix (e.g.,
release/branch-name).
Branches with a Gitflow prefix appear in the Gitflow panel. Others appear in the local repository section only.

Note: Gitflow organizes features, hotfixes, and releases into separate folders.
Publishing a Gitflow branch (i.e., pushing it to a remote) works the same as with regular Git branches.
How feature branches work
Feature branches are for new features or bug fixes. They’re typically local and not shared.
When you finish a feature branch:
- It’s merged into
develop. - It’s deleted from the local repository.
Optionally, rebase the feature branch onto develop before finishing.
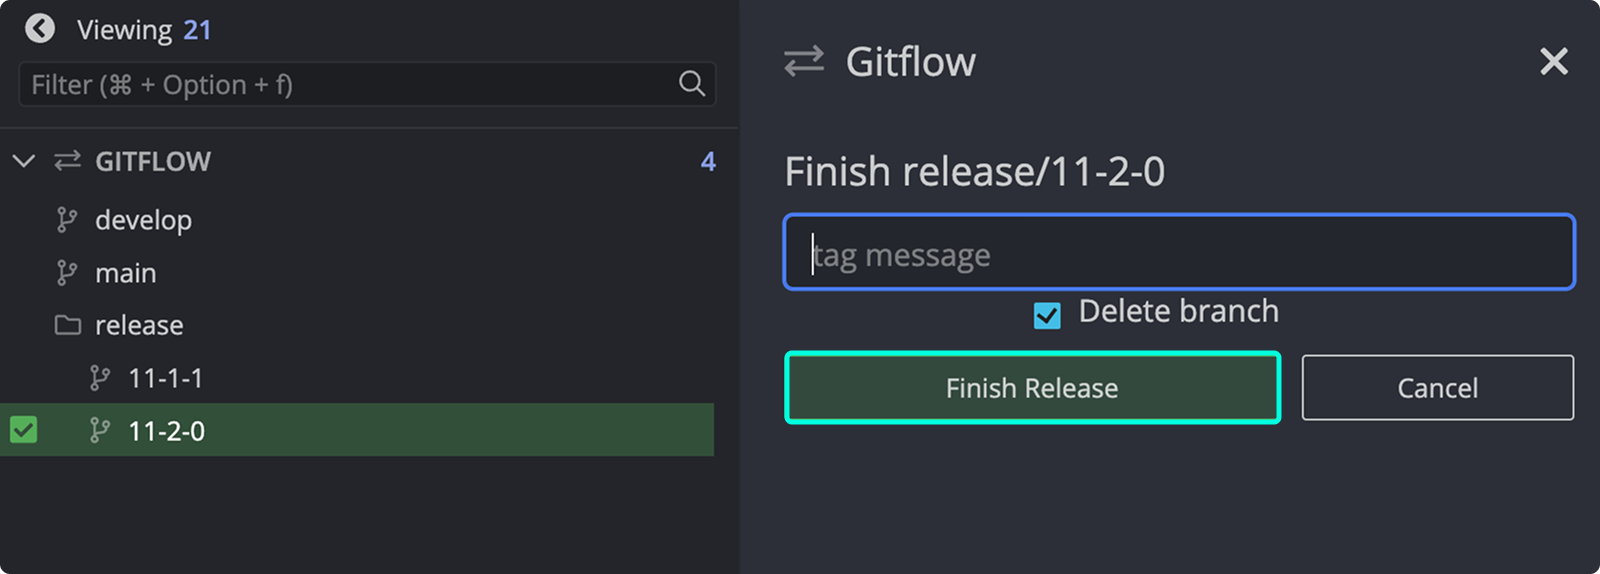
How release branches work
Release branches represent versions shared with collaborators.
When you finish a release branch:
- It’s merged into both
mainanddevelop. - A tag is created with the release name.
How hotfix branches work
Hotfix branches are similar to releases but created from main. Use them for urgent production fixes.
Examples include bug fixes or typos that must go live immediately.
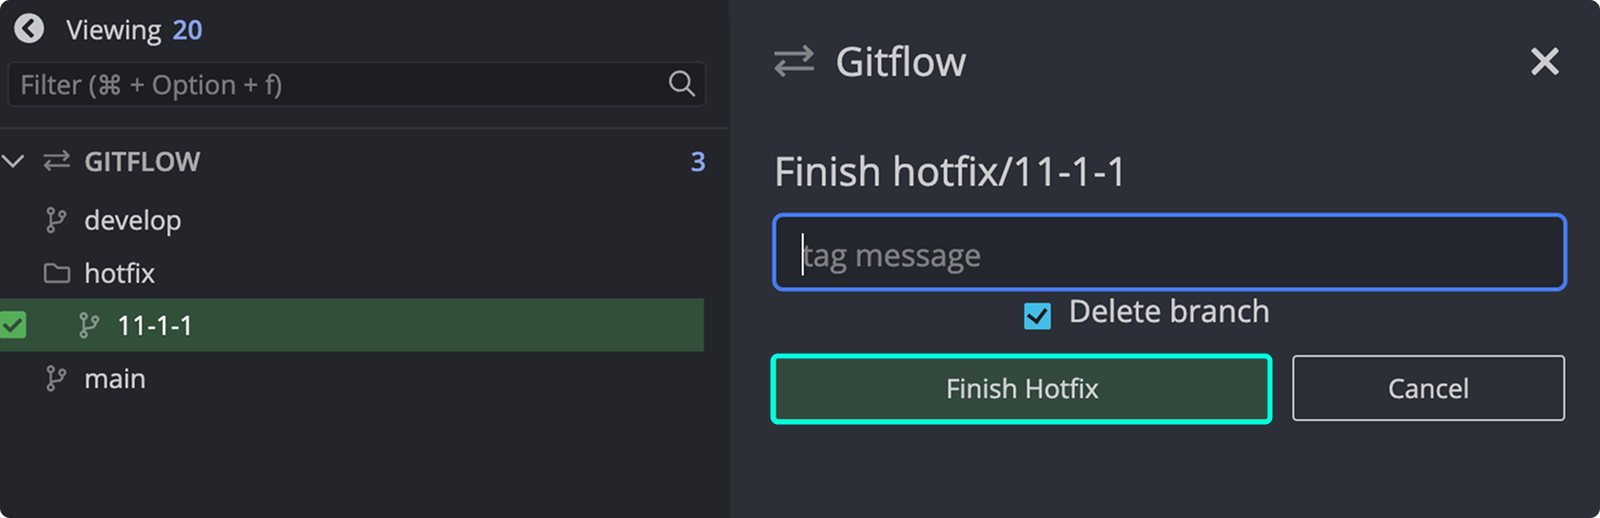
When you finish a hotfix:
- It’s merged into both
mainanddevelop.
How Gitflow tags work
Tags mark specific points in your repository’s history, such as releases.
Create tags from the Gitflow panel or the command line. When tagging from the Gitflow panel:
- The tag name matches the branch name (e.g.,
release/1.0.0→1.0.0). - You can add a message to the tag.

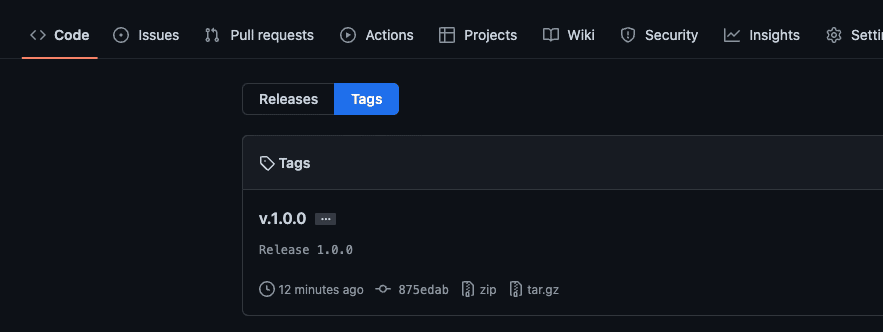
In Preferences > Gitflow, set a tag prefix (e.g., v). This prefix is added to tags (e.g., v1.0.0).