
Last updated: March 2026
Use this page to install, initialize, and manage Git LFS in GitKraken Desktop when your repository includes large binary files. It explains the Git, Git LFS, and GitKraken version requirements, how tracking patterns work, where LFS actions live in the UI, and common troubleshooting steps when LFS is missing or misconfigured.
Requirements and limits
- Git requirement: Git 2.39.3 or later
- Git LFS requirement: Git LFS 3.0.0 or later
- GitKraken Desktop requirement: Version 7.0.0 or later
- Setup limitation: Git must be installed for Git LFS workflows even though GitKraken Desktop does not usually require Git for basic use
- Tracking limitation: New tracking patterns apply only to new files unless existing files are removed and re-added
- Auto behavior: GitKraken Desktop runs an LFS pull automatically after clone or submodule initialization
- Destructive action warning:
git lfs pruneremoves unreferenced LFS objects and should be used carefully
| Requirement | Needed? | Notes |
|---|---|---|
| Git 2.39.3 or later | Yes | Required for Git LFS workflows |
| Git LFS 3.0.0 or later | Yes | Required before tracking or pulling LFS-managed files |
| GitKraken Desktop 7.0.0 or later | Yes | Minimum supported GitKraken Desktop version for this workflow |
| LFS initialization in the repo | Yes | Initialize before tracking large files |
.gitattributes tracking rules |
Yes | Defines which file patterns Git LFS manages |
| Team members using Git LFS | Recommended | Prevents broken large-file workflows across contributors |
Quick Start
Prerequisites: Install Git (version 2.39.3 or later) and Git LFS (version 3.0.0 or later), then verify with git --version and git lfs version in a terminal.
To initialize Git LFS on an existing repository:
- Open the repository in GitKraken Desktop.
- Go to Preferences > LFS and click Initialize LFS.
- Commit the change to the
.gitattributesfile that GitKraken Desktop creates.
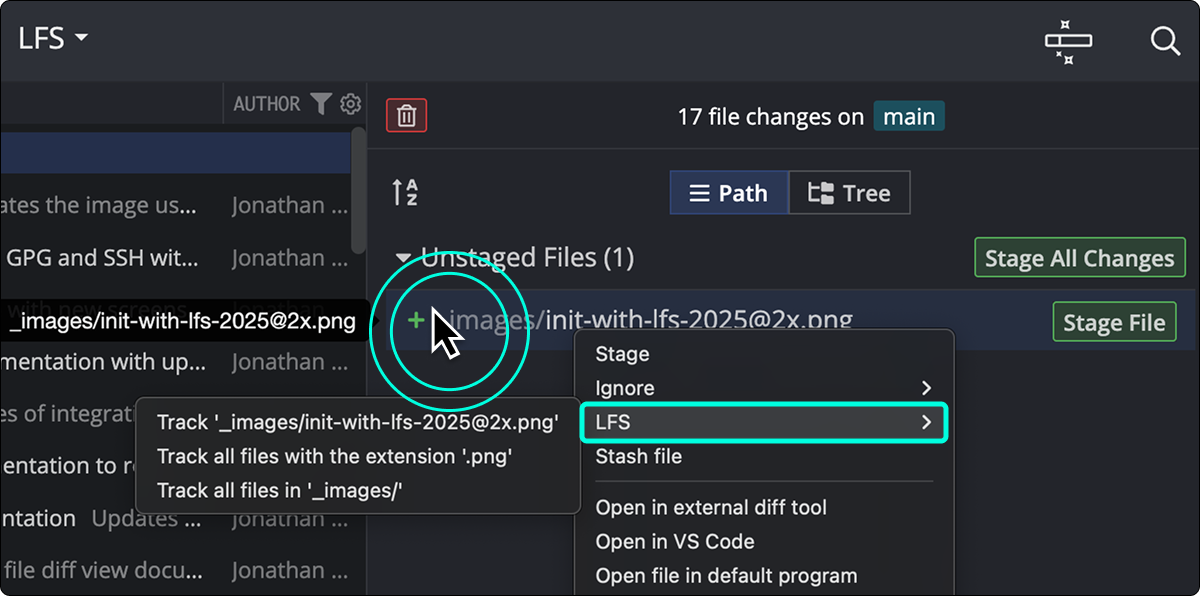
To track a file or file type:
- Go to Preferences > LFS and add a tracking pattern (e.g.,
*.psd). - Or right-click a file under WIP in the Commit Panel and select LFS > Track file pattern.
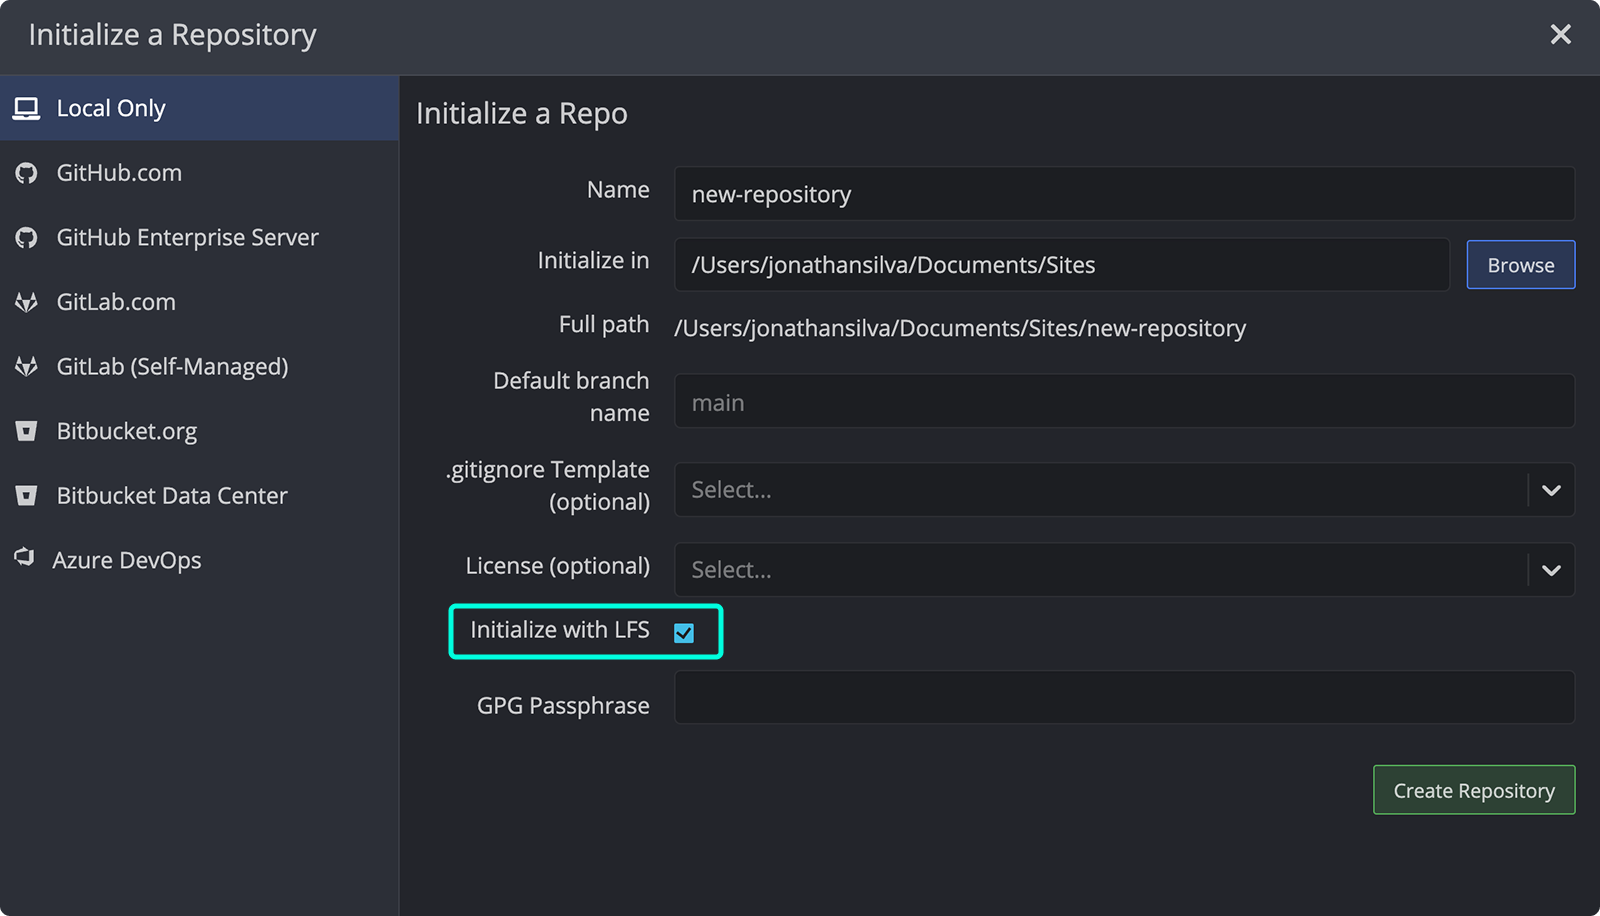
To initialize Git LFS on a new repository:
- Select Initialize with LFS when creating the repository.
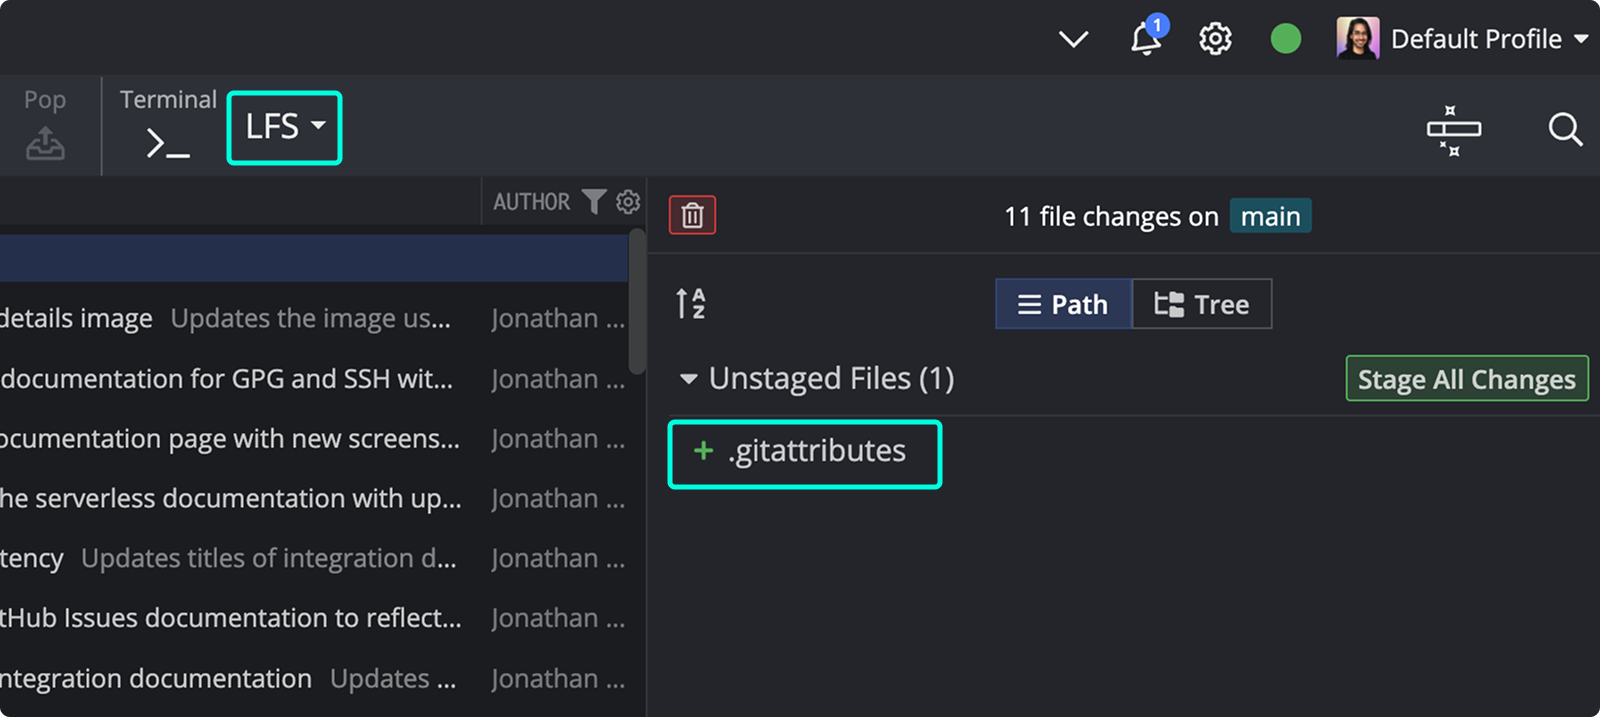
After tracking is configured, commit and push files as usual. LFS-tracked files show an LFS tag in the Commit Panel. Use the LFS menu in the toolbar to run additional commands such as pull and prune.
What Git LFS is
Git Large File Storage (Git LFS) is a Git extension that helps you manage large binary files. Git LFS stores the actual binary content separately, while Git tracks metadata about these files.
💡 Fun fact: Git LFS jokingly stands for “Legendary Fabled Squid” in the GitKraken universe.
How Git LFS works
- Git LFS tracks specific files or file types based on defined patterns.
- When viewing diffs for LFS-tracked files, you’ll see metadata: a URL, a SHA hash, and file size.
- The actual binary content is stored in
.git/lfs/objectsor hosted on GitHub, GitLab, Bitbucket, or a custom server. - Git LFS uses Git hooks and filters to manage file commits and retrieval.

To learn more, visit the Git LFS documentation.
Git LFS requirements
Make sure the following are installed:
- Git version
2.39.3+ - Git LFS version
3.0.0+ - GitKraken Desktop version
7.0.0+
Note: GitKraken Desktop usually does not require Git. However, to use Git LFS, Git must be installed.
How to verify the installation
Run these commands in a terminal or CMD:
git --version
git lfs version
You should see output like:
git version 2.39.3
git-lfs/3.0.0 (GitHub; windows 386; go 1.8.1; git bd2c9987)
To verify paths:
- macOS/Linux:
which git which git-lfs - Windows:
where git
where git-lfs
If versions are missing or outdated, visit:
How to update PATH on Windows
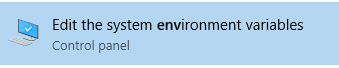
- Search
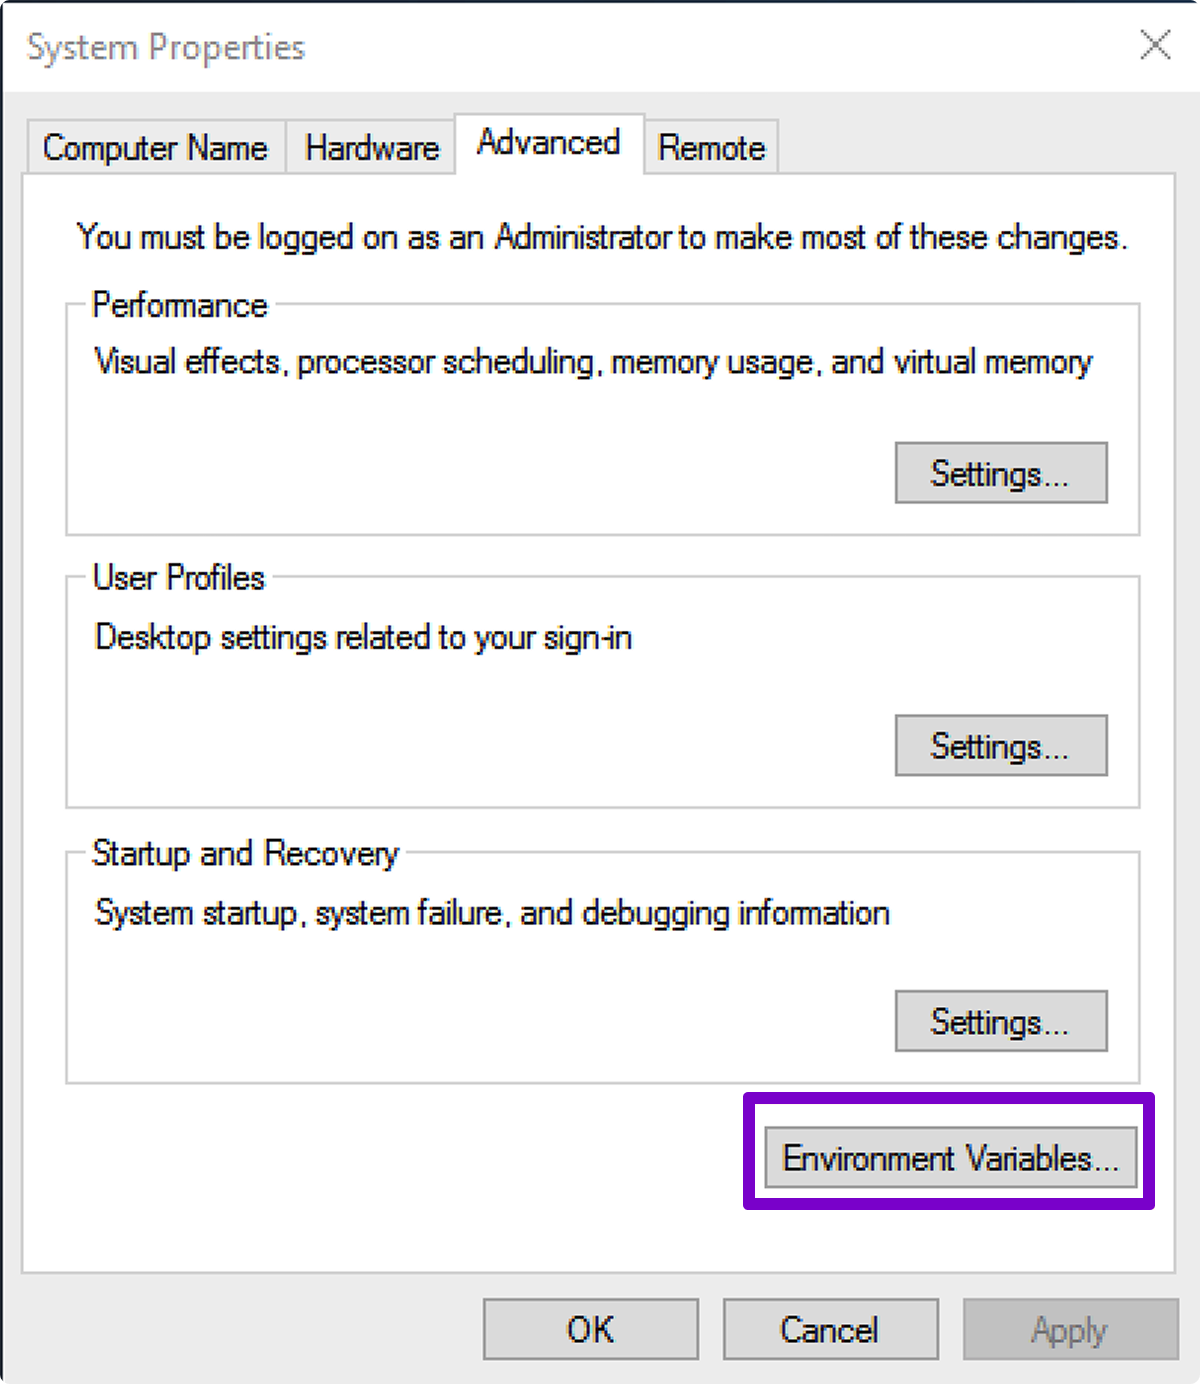
Envin the Start Menu. - Open Environmental Variables.
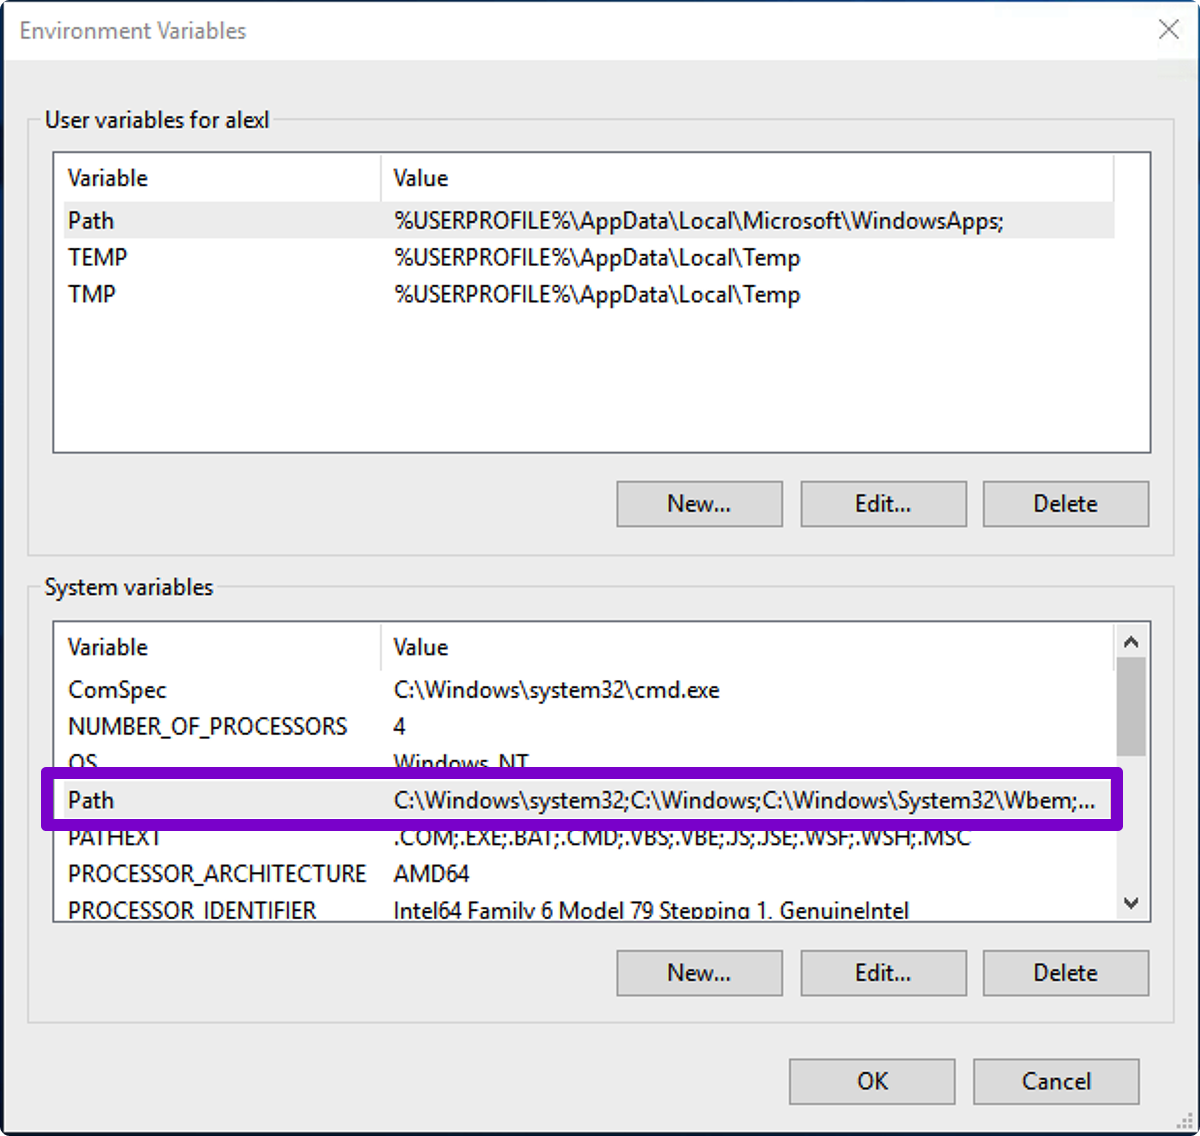
- Edit the Path variable.
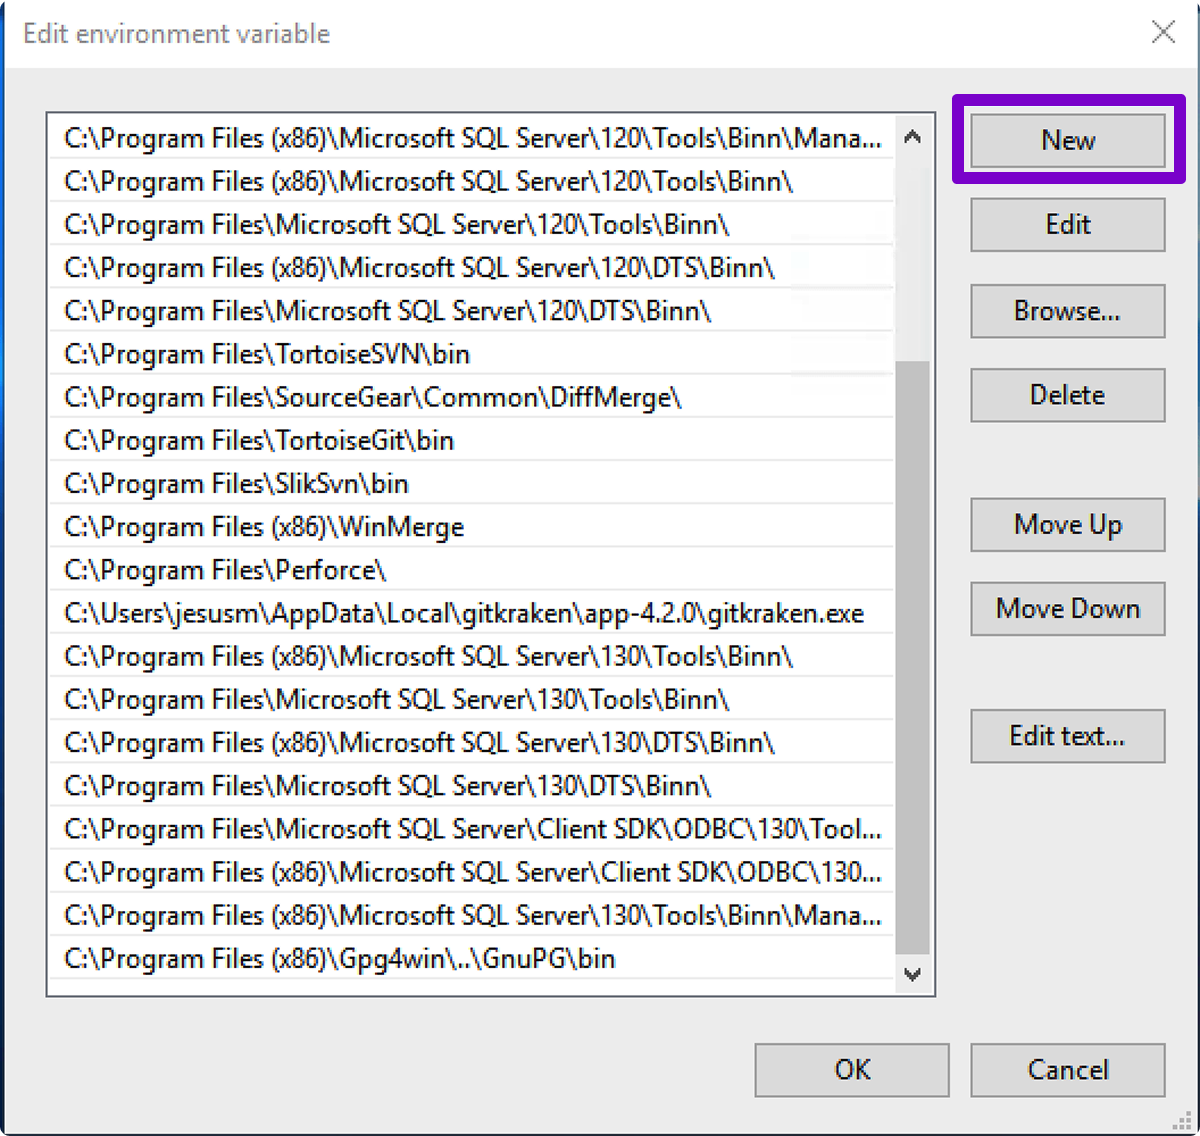
- Click
Newto add paths to Git and Git LFS.
How to initialize Git LFS
How to initialize Git LFS on an existing repository
- Open the repo in GitKraken Desktop.
- Go to Preferences > LFS and click Initialize LFS.

- Commit the change to the
.gitattributesfile. - Untrack and re-add existing files to apply the LFS tracking.
How to initialize Git LFS on a new repository
You can initialize Git LFS during repository creation by selecting Initialize with LFS.
How to configure Git LFS
Add file tracking patterns to the .gitattributes file. You can do this via:
- Preferences > LFS
- Unstage pane in the Commit Panel
- Directly editing
.gitattributes
![]()
To track a file:
- Right-click it under WIP.
- Select LFS > Track file pattern.
Note: GitKraken Desktop runs an LFS pull automatically after clone or submodule init.
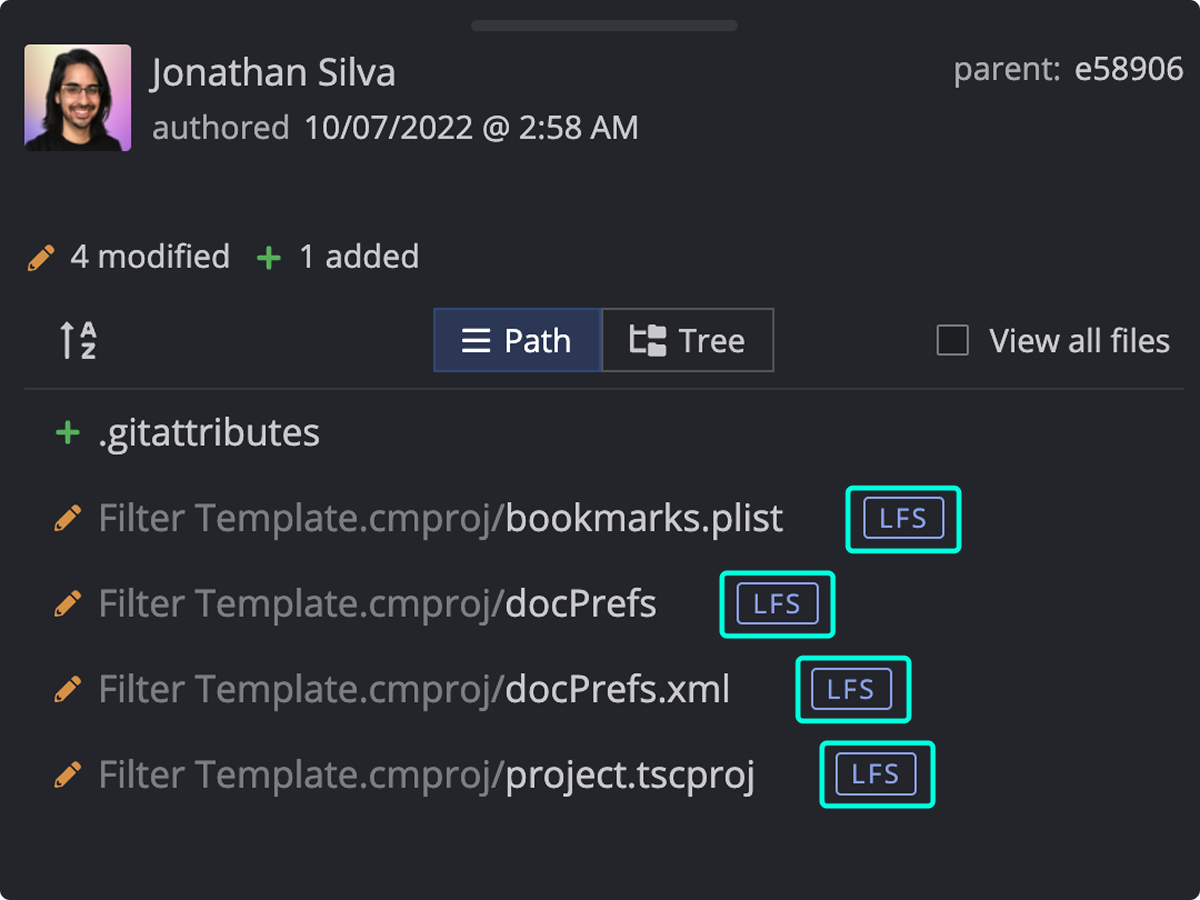
Files tracked by LFS will show an LFS tag in the Commit Panel:
Clicking on the file shows the LFS reference information:
Use the LFS menu in the toolbar to run commands:
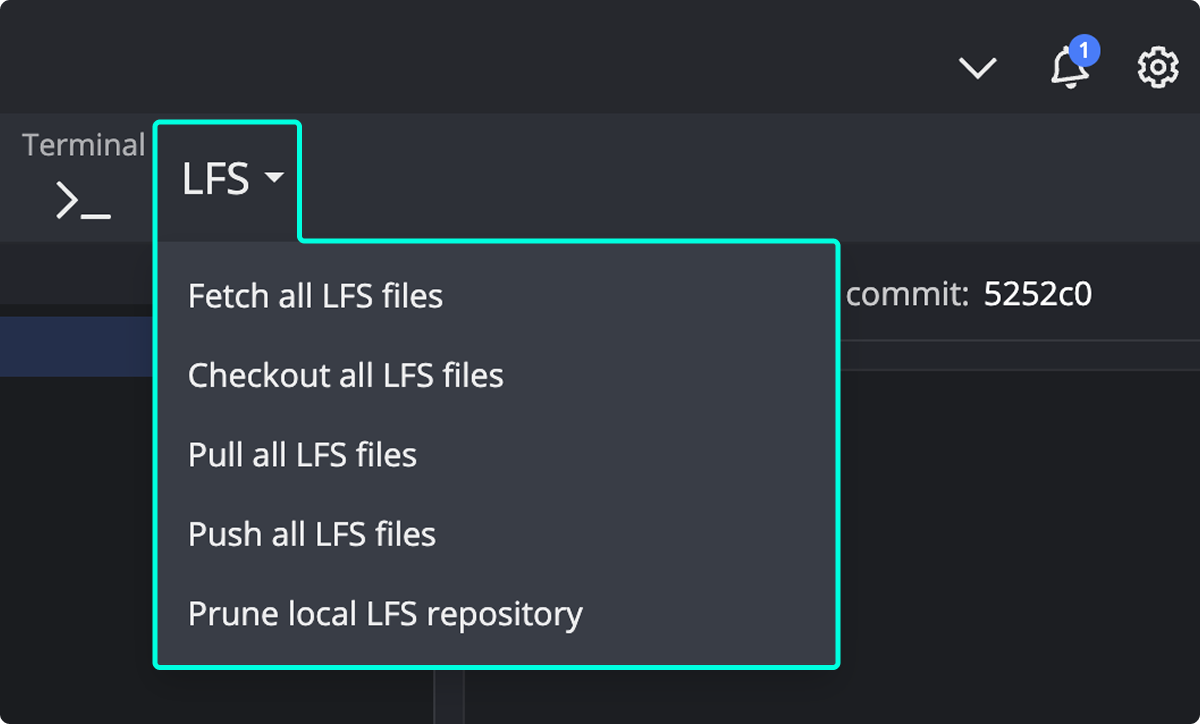
⚠️ Prune is destructive. Use with caution. See the Git LFS prune docs.
Git LFS FAQs and troubleshooting
LFS not showing in Preferences?
Check if your PATH includes Git and Git LFS. See Verify Installation.
LFS button disappeared?
You may have switched to a repo without LFS. Use the menu: Hamburger > LFS > Initialize.
Tracking pattern not working?
Only new files match new patterns. Remove and re-add existing files.
LFS prompts for credentials?
Enter credentials for your LFS server or Git host.
SSH issues with LFS?
SSH must be configured in both GitKraken and your CLI. GitHub SSH Agent guide
Homebrew on macOS not in path?
Run:
sudo launchctl config user path "/opt/homebrew/bin:$PATH"More at Homebrew FAQ.
Git LFS summary
To use Git LFS in GitKraken Desktop:
- Install Git, Git LFS, and GitKraken Desktop.
- Initialize LFS via Preferences or during repo creation.
- Add file tracking patterns.
- Commit and push as usual.
Need more? Visit the Git LFS GitHub.
pre{position:relative;min-height:3em}
.copy-btn{position:absolute;top:8px;right:8px;display:flex;align-items:center;justify-content:center;height:28px;padding:0 8px;background:rgba(128,128,128,.12);border:1px solid rgba(128,128,128,.2);border-radius:4px;cursor:pointer;color:#999;opacity:0;transition:opacity .15s,background .15s,color .15s;font-size:11px;font-family:sans-serif}
pre:hover .copy-btn{opacity:1}
.copy-btn:hover{background:rgba(128,128,128,.25);color:#555}
.copy-btn.copied{color:#22c55e;border-color:rgba(34,197,94,.3)}
(function(){var C=’Copy’,K=’Copied!’;function cp(t){if(navigator.clipboard&&window.isSecureContext)return navigator.clipboard.writeText(t);var x=document.createElement(‘textarea’);x.value=t;x.style.cssText=’position:fixed;opacity:0′;document.body.appendChild(x);x.select();try{document.execCommand(‘copy’)}catch(e){}document.body.removeChild(x);return Promise.resolve()}function init(){document.querySelectorAll(‘pre’).forEach(function(p){if(p.querySelector(‘.copy-btn’))return;var b=document.createElement(‘button’);b.className=’copy-btn’;b.setAttribute(‘aria-label’,’Copy code’);b.innerHTML=C;p.appendChild(b);b.addEventListener(‘click’,function(){var el=p.querySelector(‘code’)||p,cl=el.cloneNode(true),bn=cl.querySelector(‘.copy-btn’);if(bn)bn.remove();cp((cl.innerText||cl.textContent).trimEnd()).then(function(){b.innerHTML=K;b.classList.add(‘copied’);setTimeout(function(){b.innerHTML=C;b.classList.remove(‘copied’)},2000)})})})}document.readyState===’loading’?document.addEventListener(‘DOMContentLoaded’,init):init()})()
