Last updated: March 2026
Use this page to connect GitKraken Desktop to GitLab Issues so you can preview, create, edit, filter, and branch from issues without leaving your Git workflow. GitLab Issues uses the same GitLab integration connection, and Community users are limited to public repositories.
Requirements and limits
- Integration covered here: GitLab Issues through the shared GitLab.com connection
- Connection model: GitLab Issues uses the same authentication as the GitLab integration
- Community plan limit: Public repositories only
- Branch creation, editing, and issue management depend on the connected GitLab repository and account permissions
- Custom filters use GitLab issue filter syntax
| Capability | Community | Paid plans | Notes |
|---|---|---|---|
| Preview issues | Yes | Yes | Uses the shared GitLab integration connection |
| Create issues | Public repos only | Yes | Depends on repository and account permissions |
| Edit issue details | Public repos only | Yes | Depends on repository and account permissions |
| Create branches from issues | Public repos only | Yes | Depends on repository and account permissions |
| Filter issues | Yes | Yes | Uses GitLab issue filter syntax |
The GitLab Issues integration is restricted to public repositories for Community users. To unlock all features, consider upgrading to a paid GitKraken license.
Quick Start
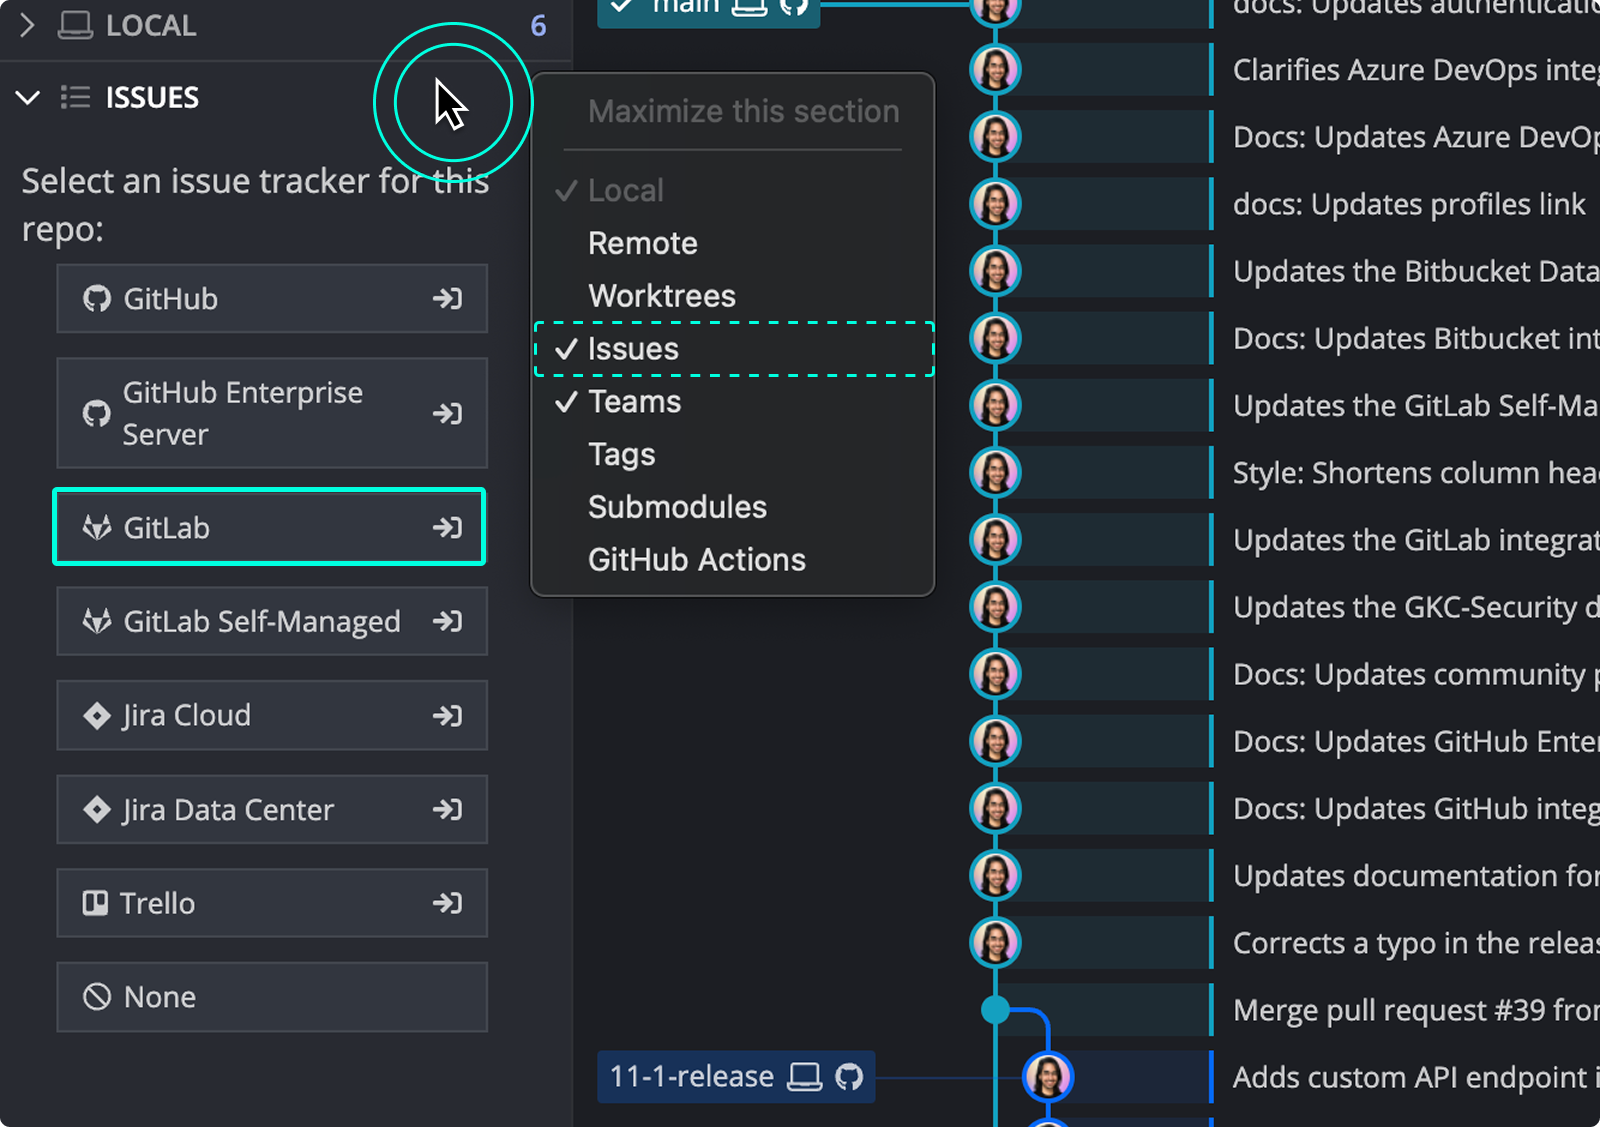
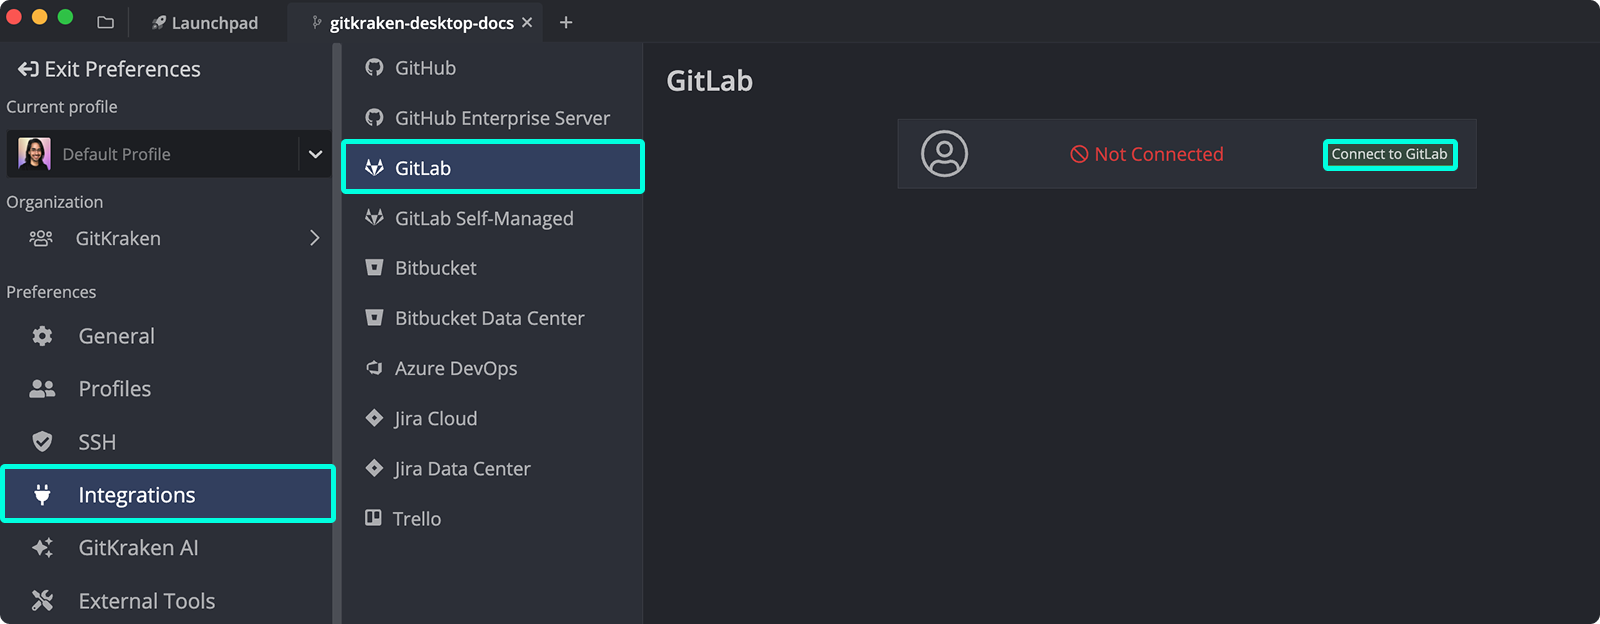
- Go to Preferences > Integrations and select GitLab.com, or click the ISSUES section in the Left Panel.
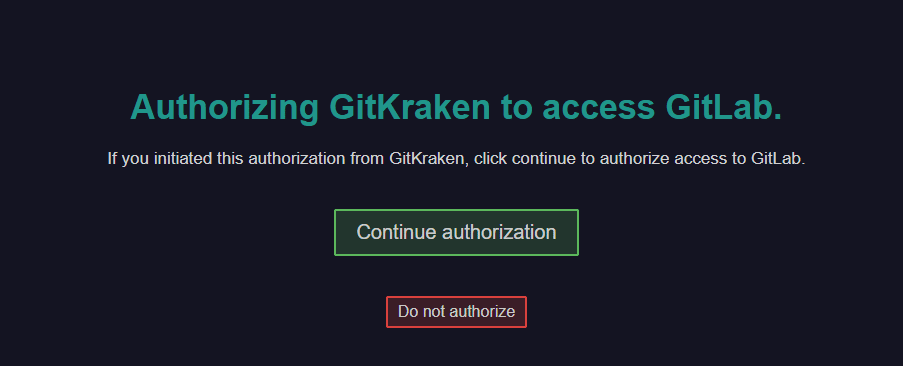
- Click Connect to GitLab and authorize the connection in the browser.
- Once connected, your GitLab issues appear in the Left Panel under default filters such as My Issues and All Issues.
To view issue details: Click any issue to open its detail view. Changes sync with GitLab.
To create a new issue: Click the + icon in the Left Panel, fill in the required fields, and submit. The issue syncs directly to GitLab.
To create a branch from an issue: Open the issue detail view and click Create a branch for this issue. The branch name is pre-filled from the issue title.
To create custom filters: Use GitLab’s issue filter syntax in the Left Panel to narrow your view by label, milestone, assignee, or status.
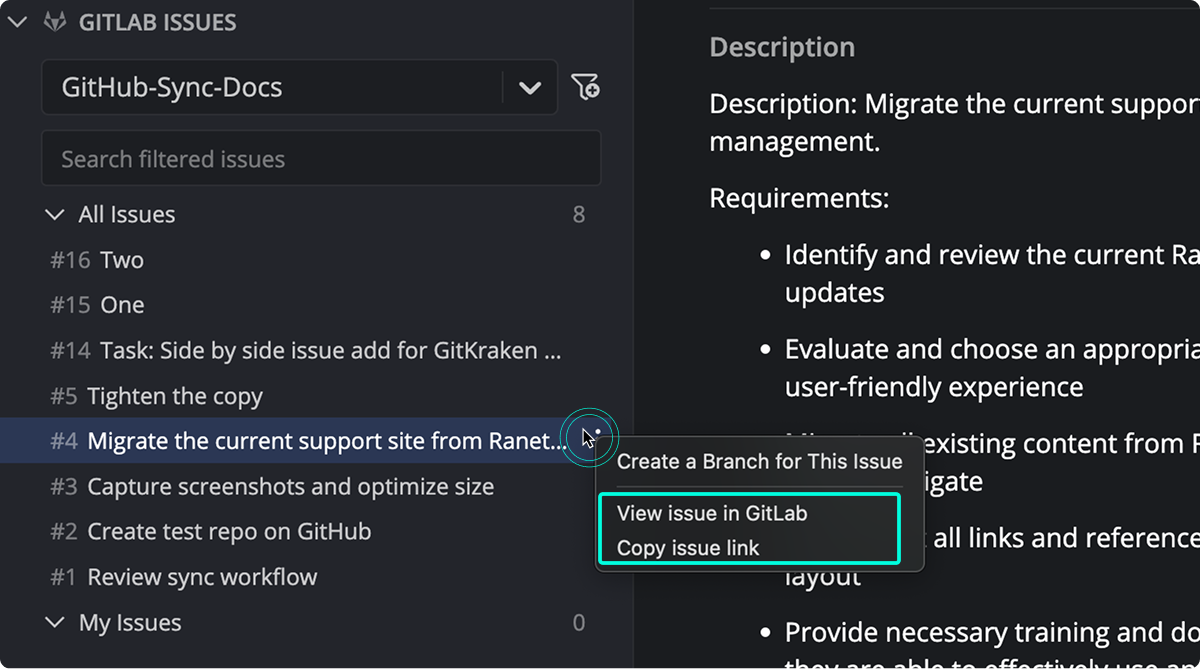
To open an issue in GitLab or copy its link, use the ellipsis menu or the external link icon in the issue detail view.
How to connect the GitLab Issues integration
The GitLab and GitLab Issues integrations share the same connection. Set up the integration from the ISSUES section in the Left Panel or from Preferences > Integrations.
Use GitLab Issues in GitKraken Desktop when: you want issue context, issue editing, and branch creation close to your repository workflow. Don’t use the in-app view alone when: you need broader GitLab project management outside the issue workflows covered here.
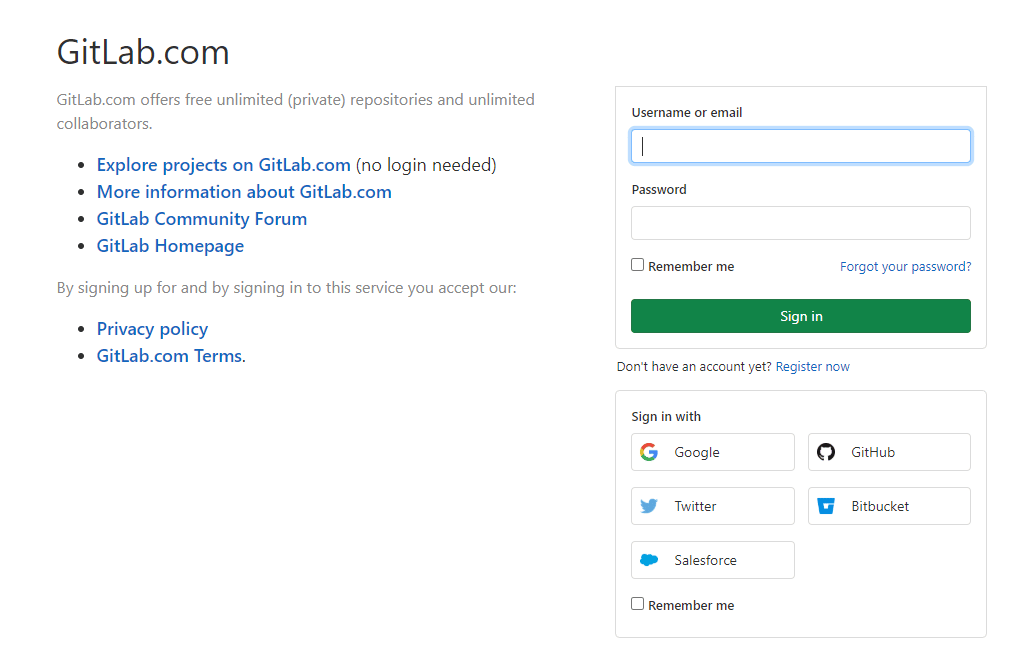
From the Integrations window, select GitLab.com and click Connect to GitLab.
A browser window will open to authorize the connection. Log in with your GitLab credentials and click Continue authorization.
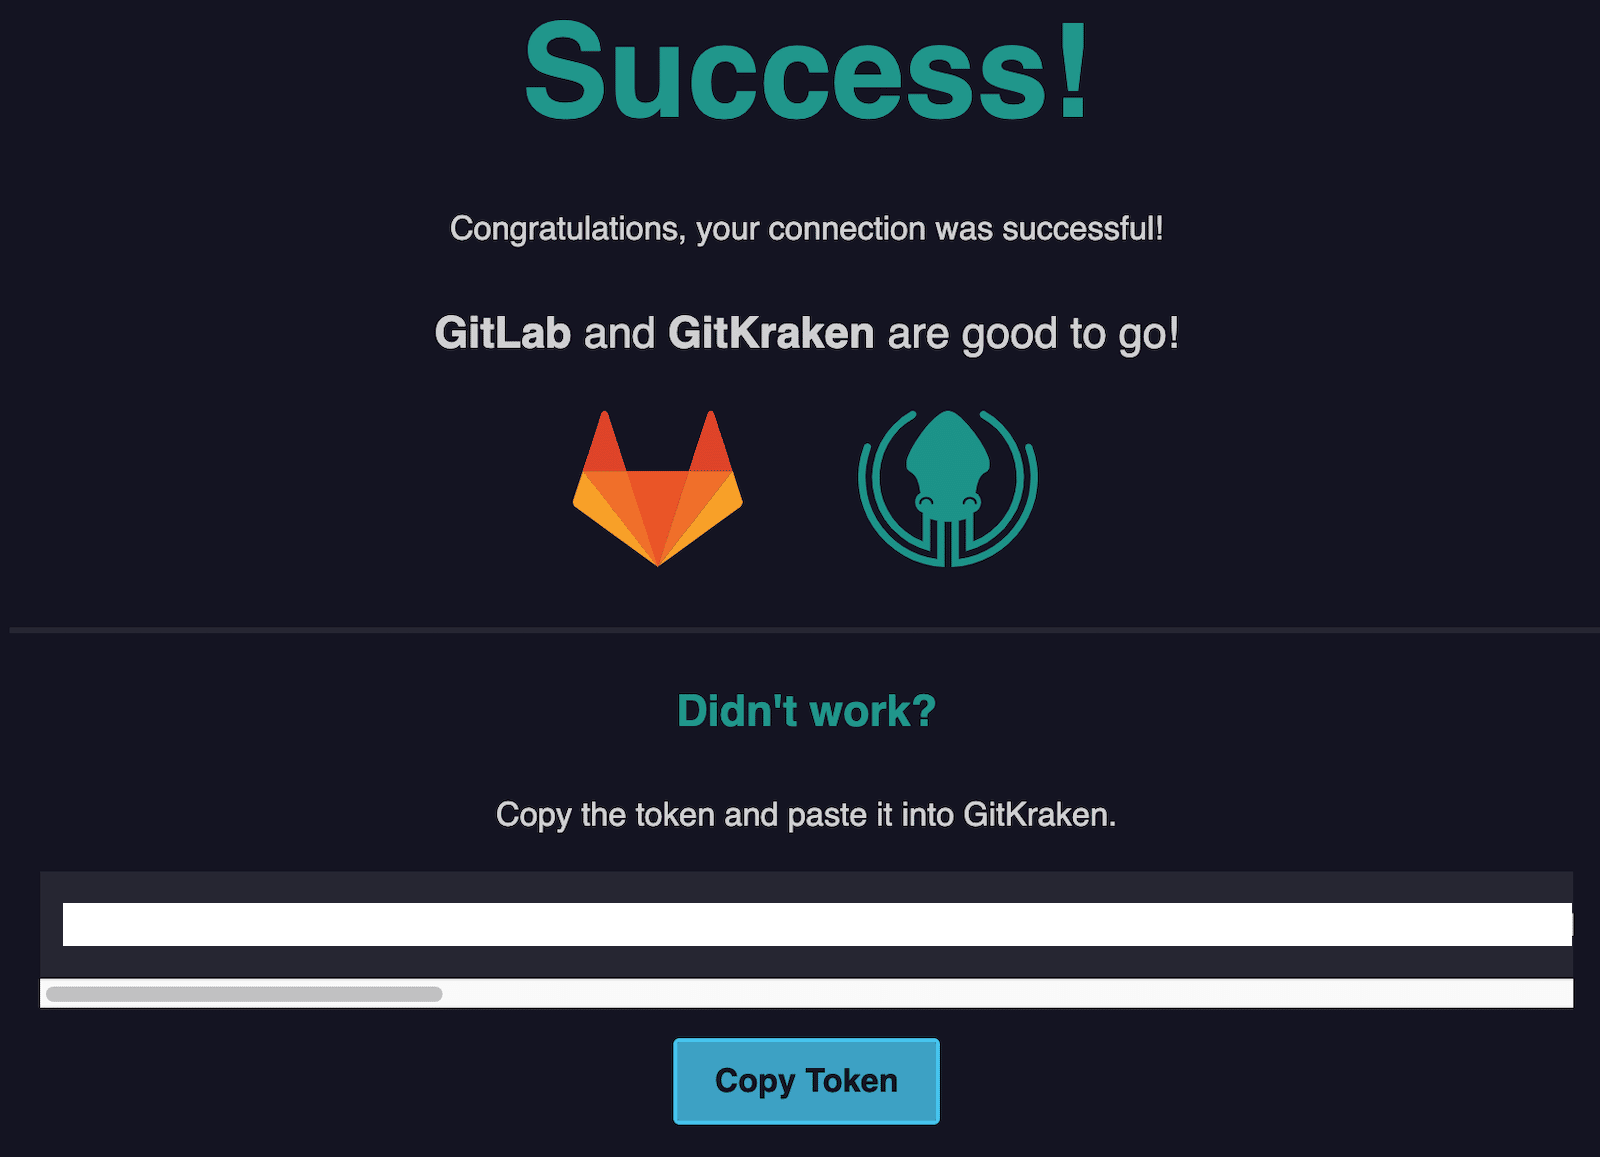
Once authorized, GitKraken will display a success message.
How to preview GitLab issues
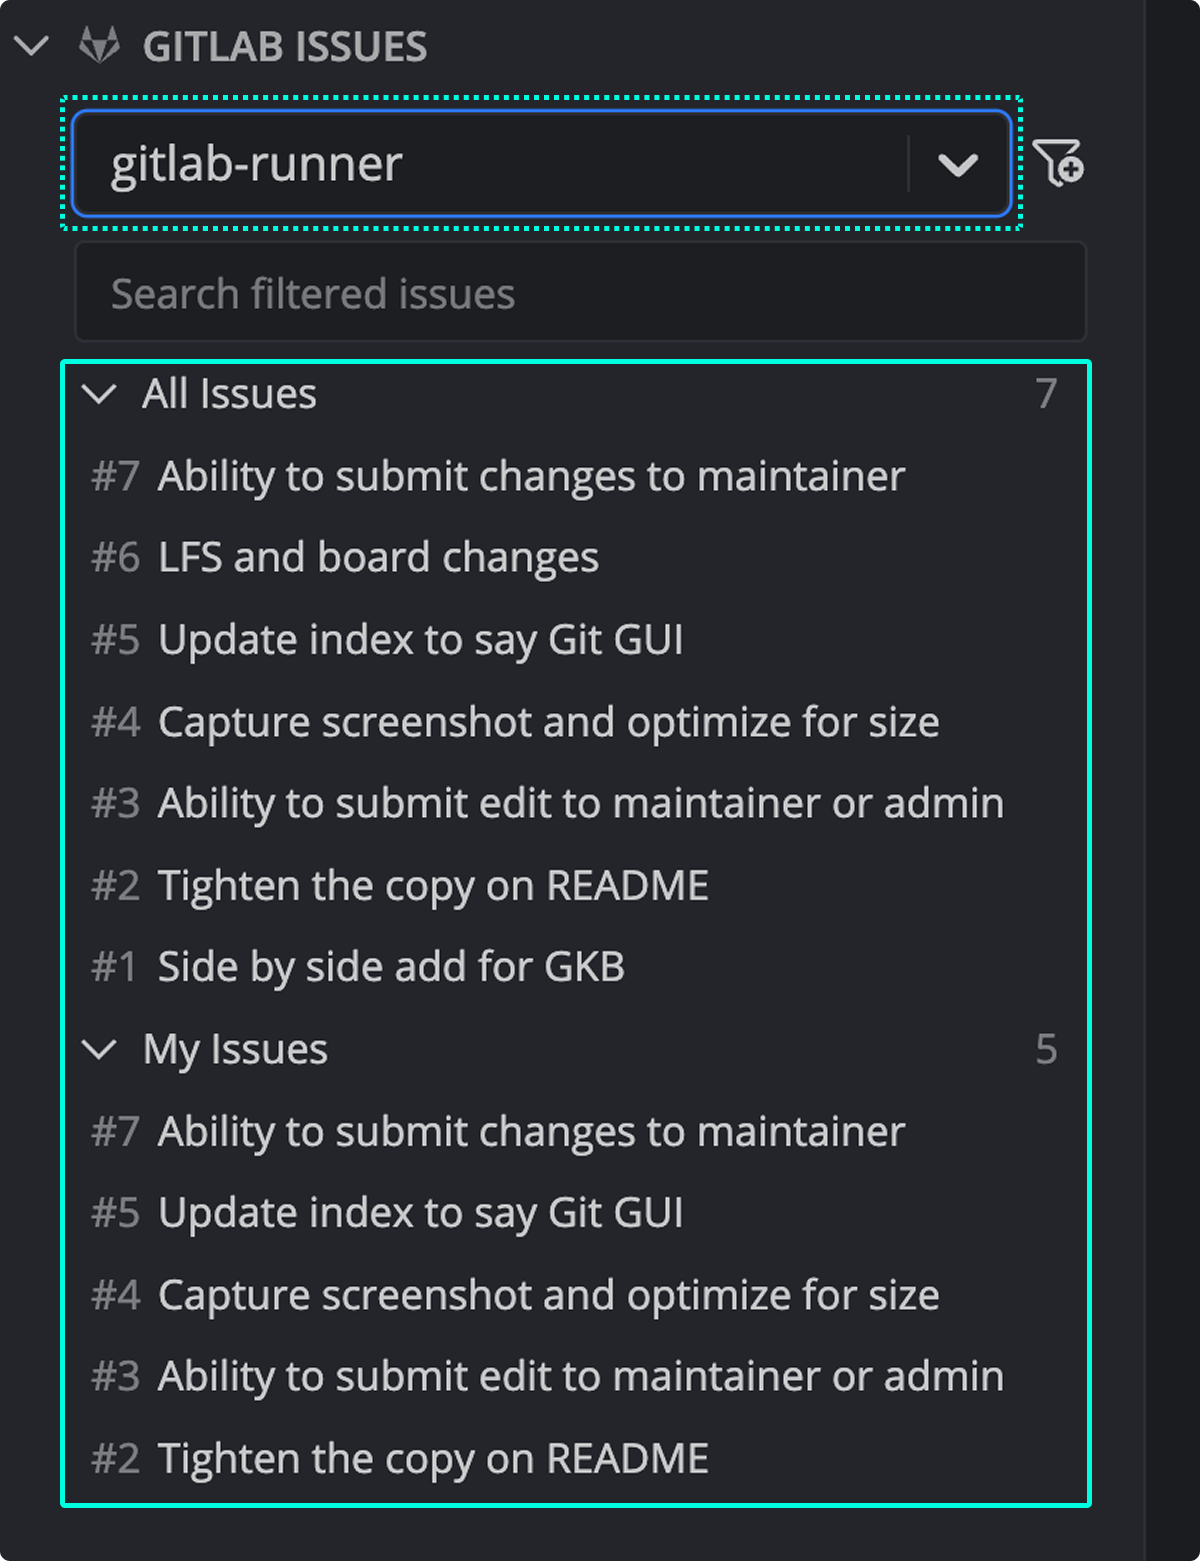
After connecting, your GitLab issues will appear in the Left Panel. Default filters include My Issues and All Issues.
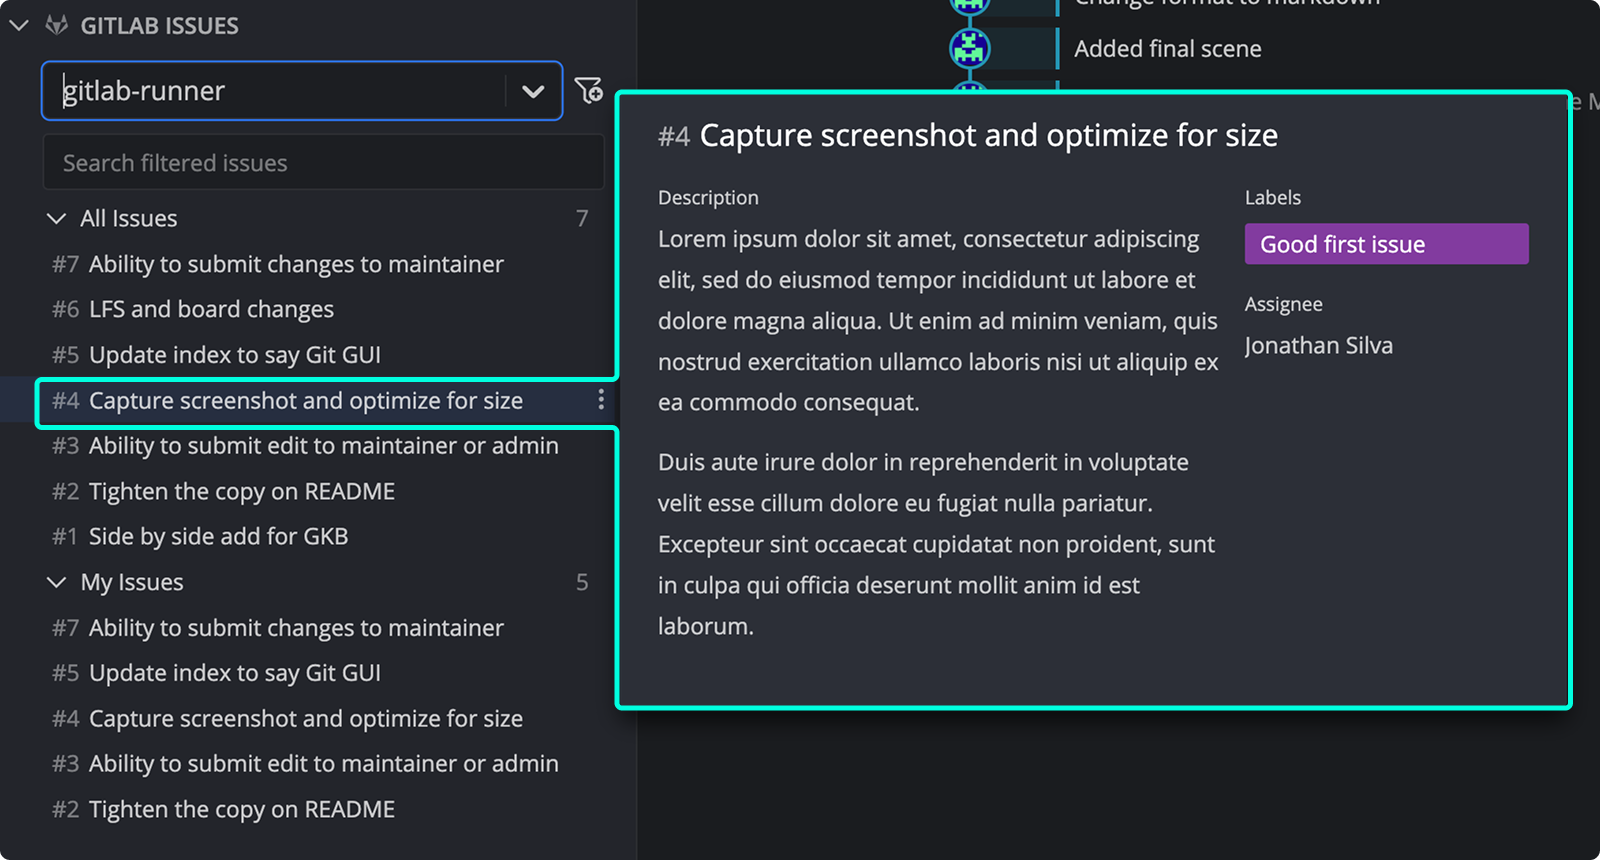
Hover over an issue to preview the title, description, labels, milestones, and assignee.
How to view and edit GitLab issue details
Click an issue to view its details.
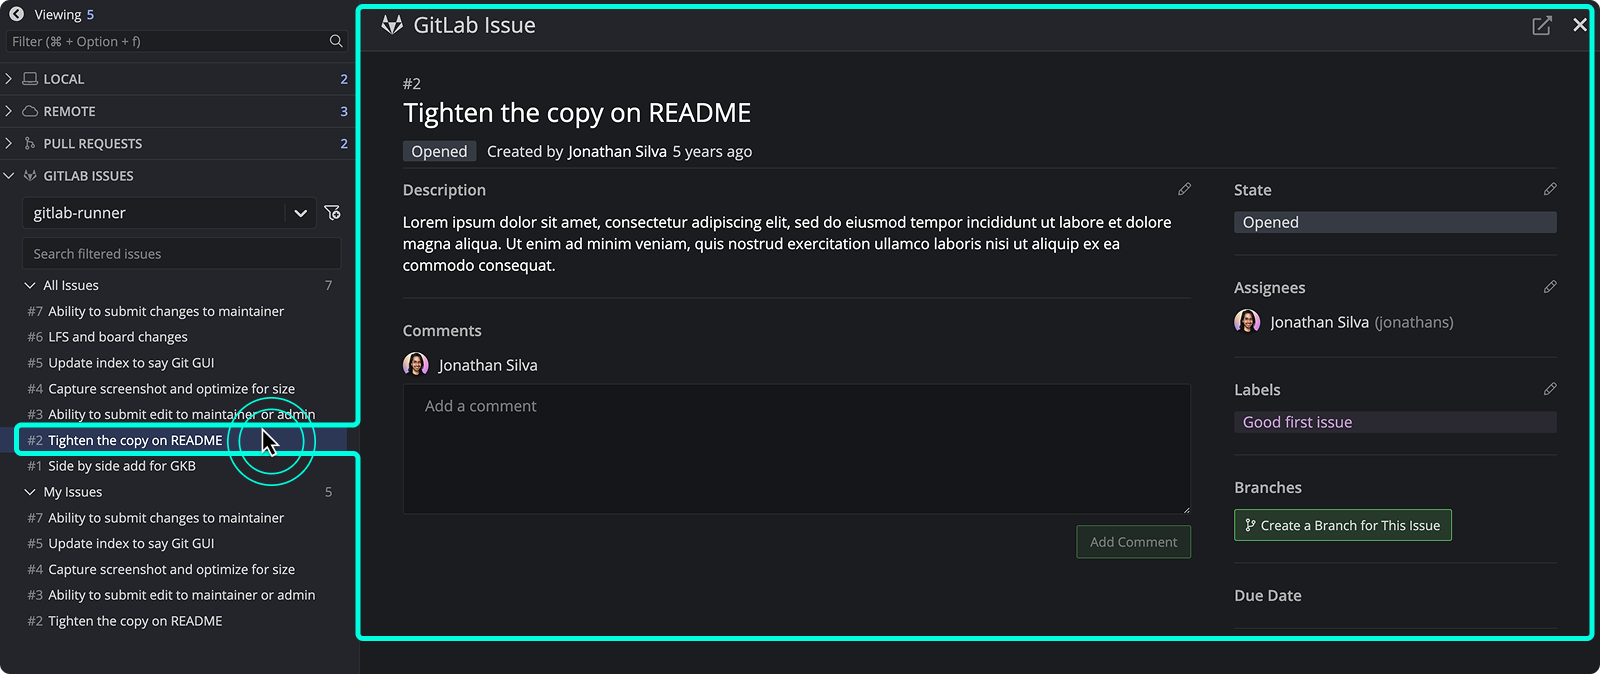
Edits made here will sync with your GitLab issue tracker.
How to create a new GitLab issue
Click the + icon from the Left Panel to add a new issue.
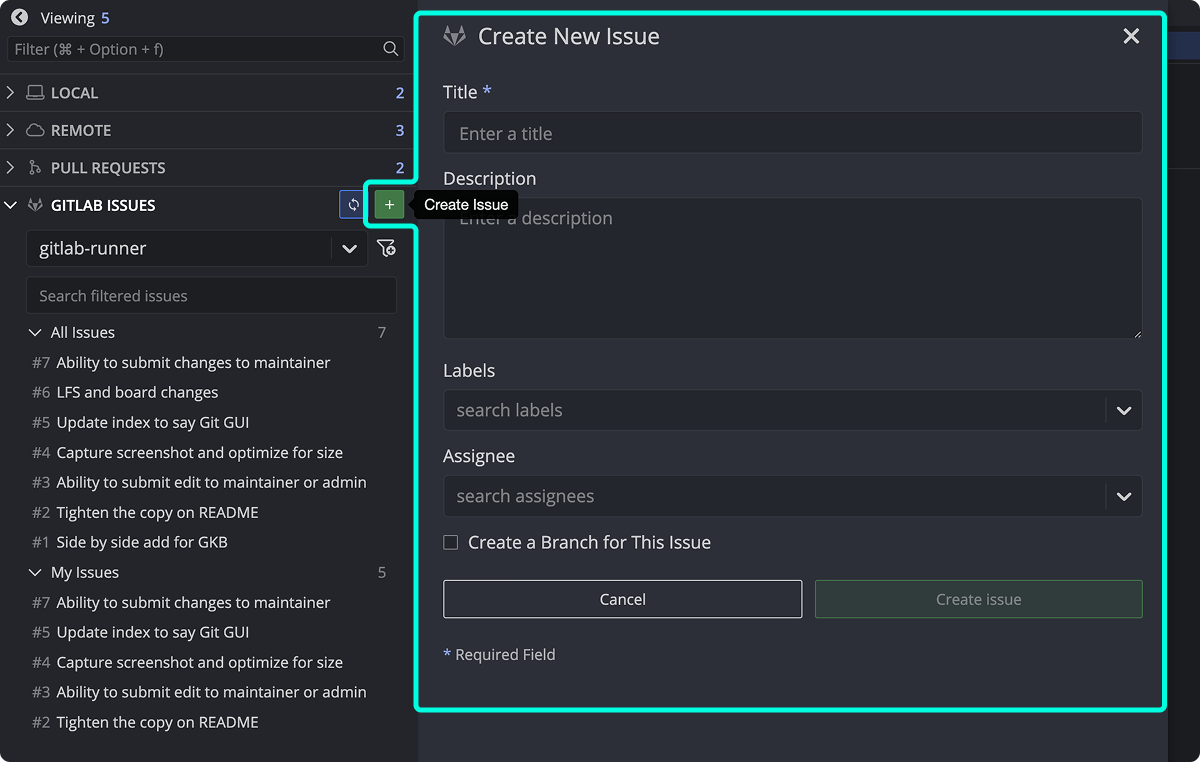
Required fields are marked with *. The issue will sync automatically to your GitLab repository.
How to create GitLab issue filters
Use GitLab’s issue syntax to create filters and narrow your view.
Use custom filters when: you need focused issue queues by label, assignee, milestone, or status. Don’t rely on only the default filters when: your team needs a narrower view of active work.
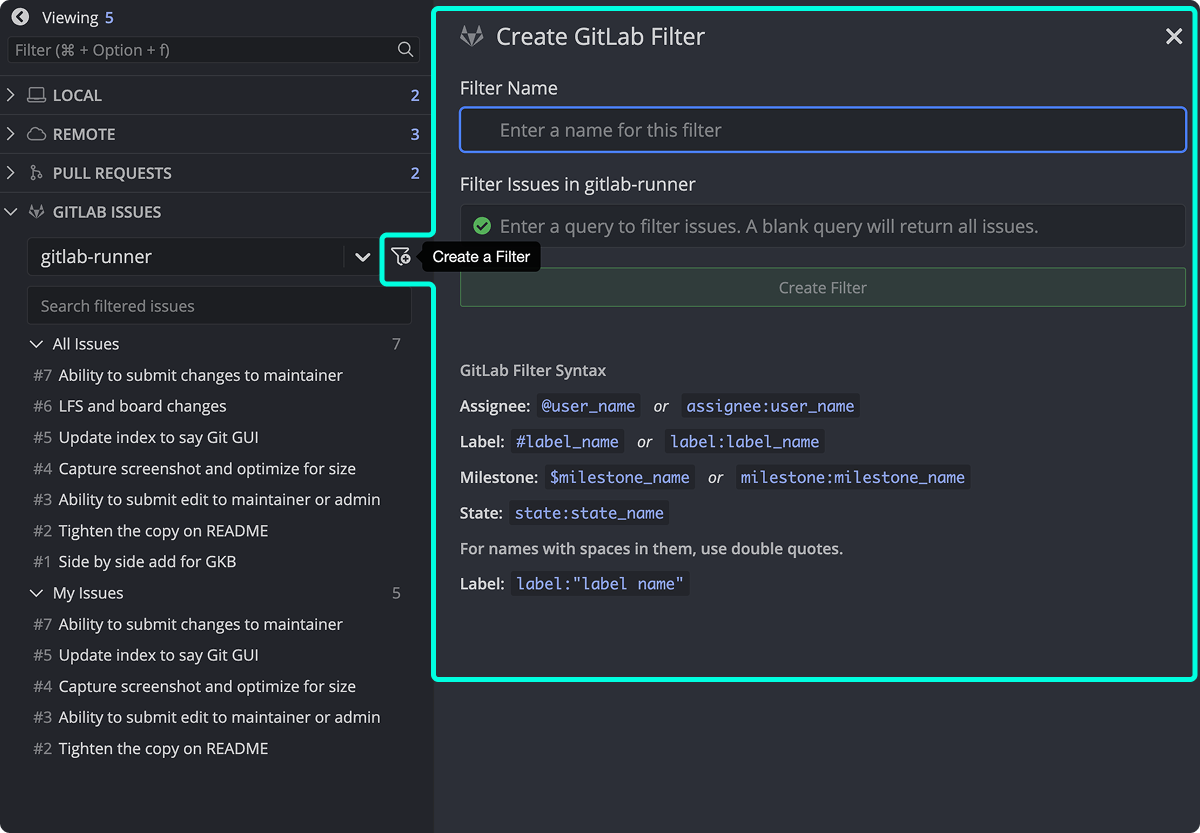
Refer to GitLab’s issue filtering guide for examples.
How to create branches from GitLab issues
From the issue detail view, click Create a branch for this issue. You can also right-click the issue or use the menu.
Use issue-based branch creation when: you want the branch tied clearly to a specific GitLab issue. Don’t use it when: the work spans multiple issues or the branch name needs a different structure than the issue title provides.
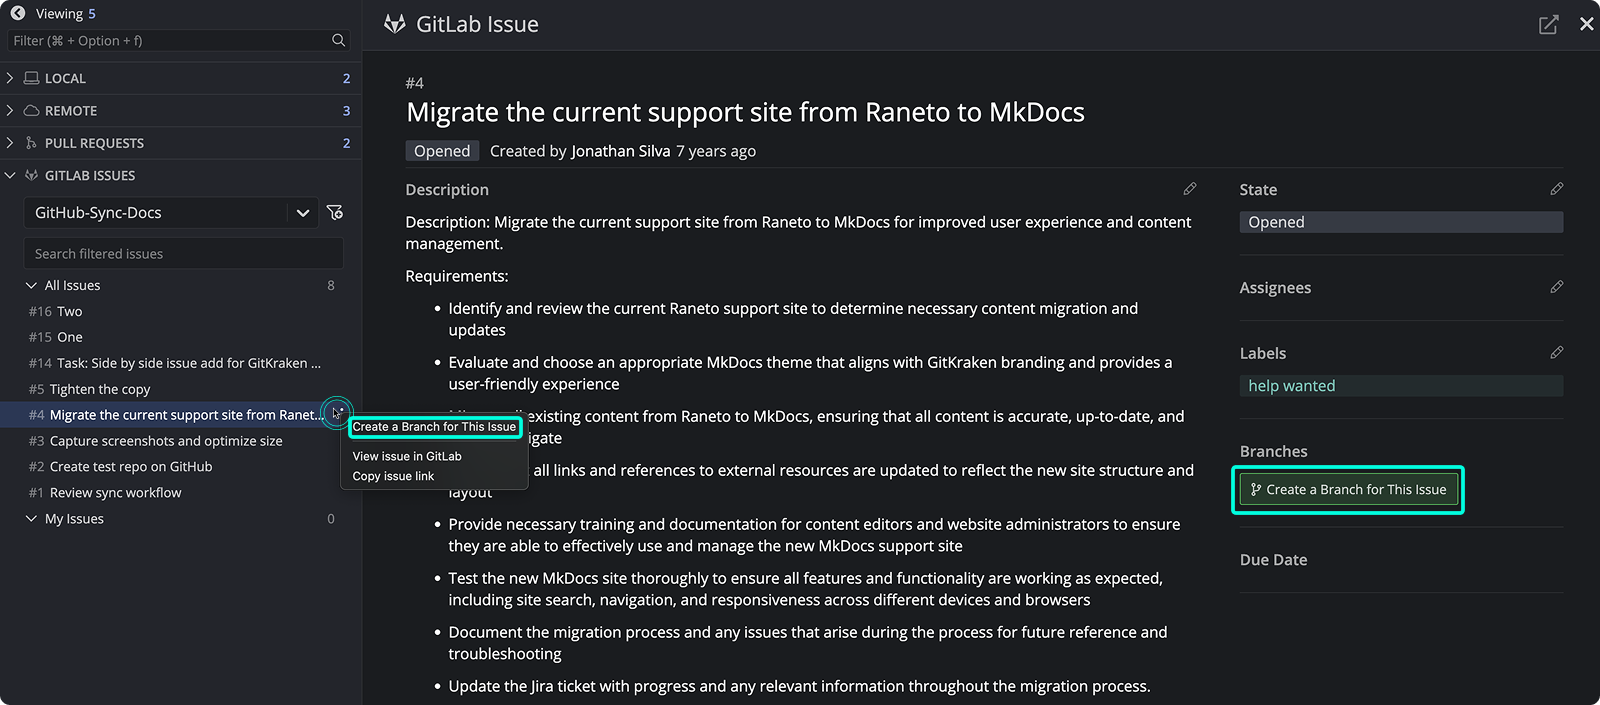
The branch name is auto-filled based on the issue title. These branches show the GitLab icon to indicate the connection.
How to copy an issue link or open it in GitLab
Use the menu or icon to open the issue in GitLab or copy the link.