What’s on this page:
- Introduction
- Access locations
- Getting started
- Workflow Transitions
- Viewing Workflows
- Smart Commits General Setting
- Did You Know?
Introduction
Smart commits allows your team to perform actions on Jira issues from a single commit. Users can enter the issue key and the desired action such as time tracking or closing an issue.
Access locations
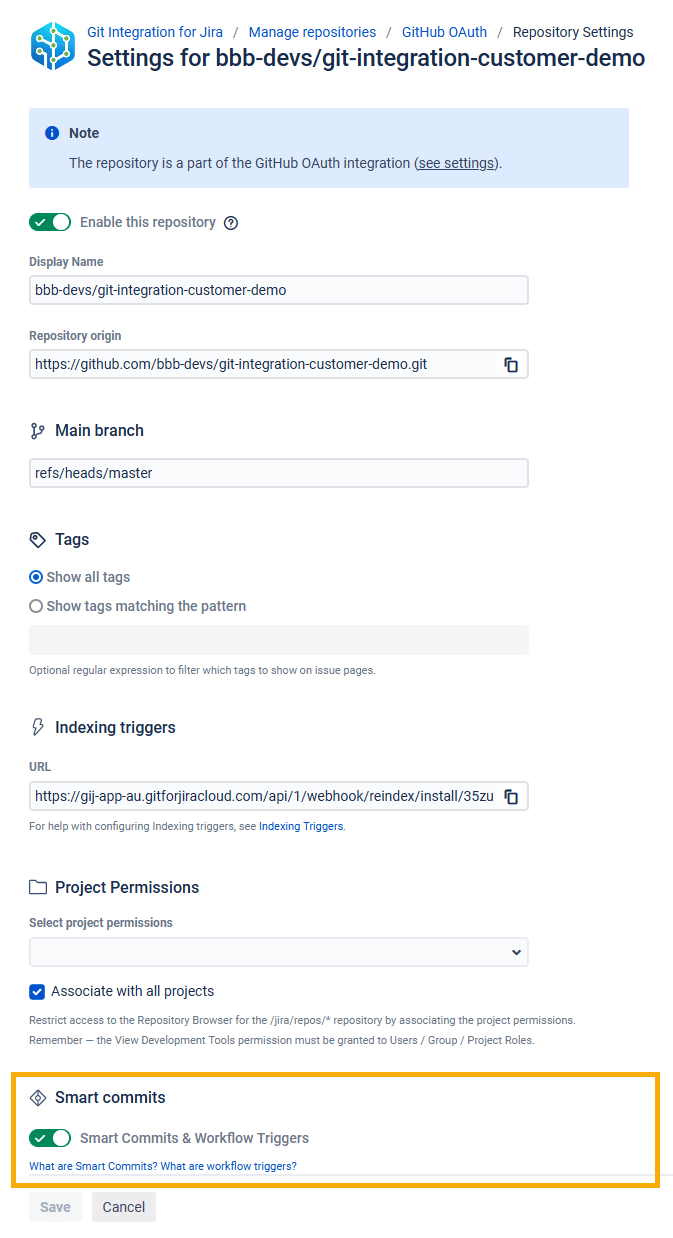
The smart commit processing is active by default and can be enabled/disabled via the Repository settings using the following access locations:
- Apps ➜ Git Integration: Manage integrations ➜
 Actions ➜ Edit integration ➜ Feature Settings (sidebar)

Getting started
Smart commits configuration checklist:
-
The Jira DVCS Connector Plugin is not required.
-
Your Jira e-mail address and Git commit e-mail address matches.
-
E-mail address is not shared by other Jira users.
The basic syntax for a smart commit message is:

Using the format above, the smart commit structure will actually look like this:

In the above example, the commit is associated to TST-123, adds the comment “fixed bug” to the Issue ➜ Comment tab, logs the time of 1 hour and 30 minutes with worklog comment “Bug fixes” to the Jira issue.
For multi-line commit messages, the following examples show correct usage of the smart commit message:

The above example is a valid multi-line commit message.
The #label command will add a new label to a Jira issue. If more than one Jira issue is referenced, the labels are added to all mentioned Jira issues. Multiple labels can be created by putting spaces between words.
Usage:

In the above example:
The labels [email protected], [email protected], requested-feature and new-feature are applied to Jira issues GITCL-443, GITCL-247 and GITCL-214. Also, the comment is added to each of the mentioned Jira issues.
Workflow Transitions

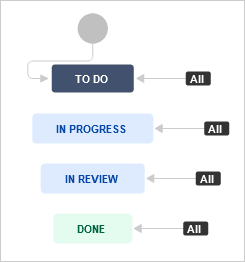
The name of the status is the transition. So, for the example above, the valid transitions from DONE are:
- #to-do
- #in-progress
- #in-review
Viewing Workflows
-
Open an issue and click View Workflow from the context of the issue (near the issue’s Status).
-
Hover a status.

Smart Commits General Setting

Max commit age
JIRA CLOUD DEV INFO
This setting is a hidden feature in Git Integration for Jira Cloud and Dev Info for Jira Cloud. All commits which are older than this setting (in seconds) shall be ignored for smart commits processing.
The default value is 1209600 seconds (14 days).
Did You Know?
 Jira User
The committers’ email address in the git configuration must match with the email address of the corresponding Jira user (or vice versa) for the smart commit to work.
 Project Permissions
The Jira user must have the appropriate project permissions to transition issues.
 Workflow Transition
When you hover a status on the Issue Workflow – it will highlight available transitions. This is the transition name that is used in Smart Commits.
 Email Notifications
If a smart commit fails, an email notification is sent to either the Jira user, or to the Git user if a Jira user cannot be identified.
 Transition Names
To avoid conflict when transitioning issues, give a unique name to a workflow transition.
 Multi-line Commits
The Git Integration for Jira app, support for multi-line commit messages for Smart Commits has been implemented.
 Smart Commit Status
The commit status shown on the Issue page depends on the Smart Commits setting that was set at the time the commits were processed.
