Last updated: June 2025
GitKraken allows you to create an account and authenticate with GitHub, making it easier to find and manage GitHub repositories within the application.
Benefits
- Login to GitKraken using your GitHub account
- Create repositories on GitHub with
.gitignoreand license options - Automatically generate an SSH key pair and add it to GitHub
- Fork repositories from GitKraken
- Save authentication into profiles
- Clone from GitHub repo list
- Add remotes for GitHub repos
- Create and work with Pull Requests
Note: The GitKraken Community plan only supports public repositories.
Sign in with GitHub
To sign in to GitKraken using your GitHub account:
- Open GitKraken.
- Click Sign in with GitHub.
- Log in using your GitHub credentials.
This connects your GitHub account to GitKraken automatically.
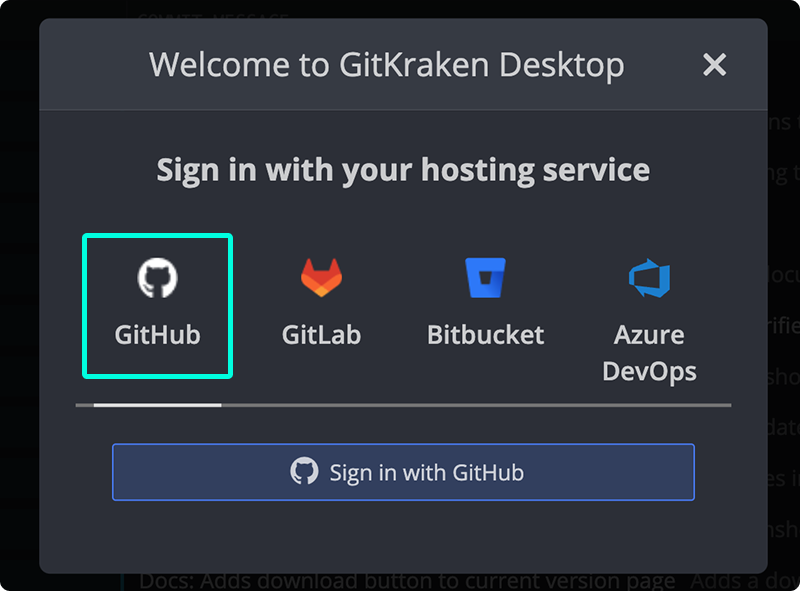
GitHub Authentication
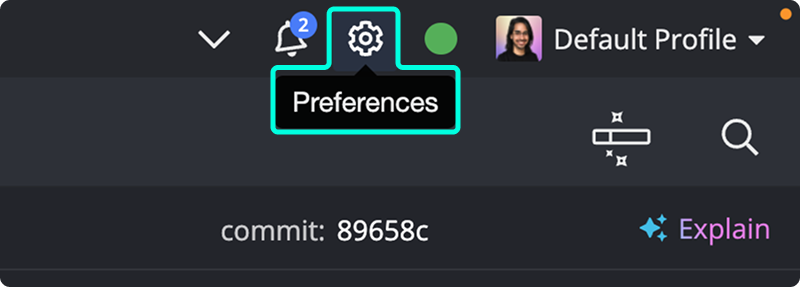
To connect your GitHub account manually:
- Navigate to Preferences Integrations in the upper right corner.
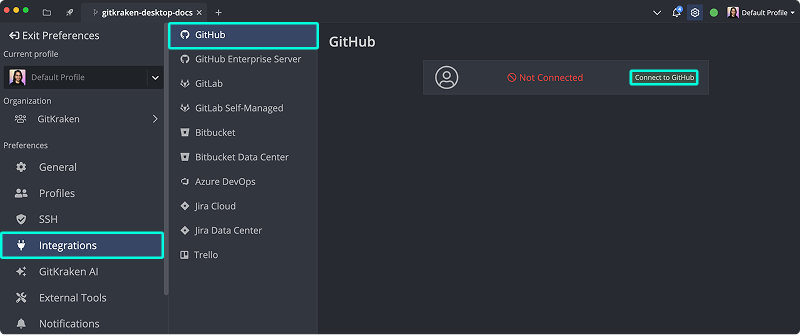
- From the Integrations window, select GitHub.
- Click Connect to GitHub. This will open your browser to authenticate GitKraken with GitHub.
- Log in with your GitHub credentials. A confirmation message will appear. Select
Open GitKrakento finish.
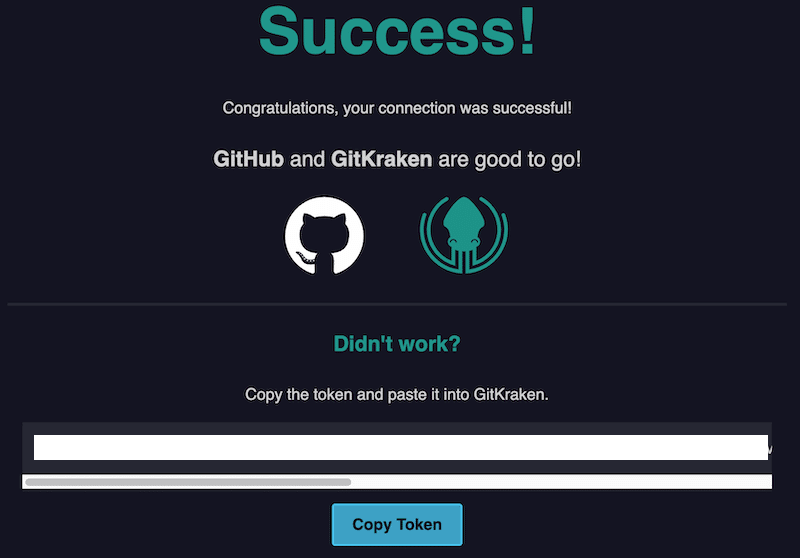
Alternatively, you can connect by manually pasting an OAuth token:

Generating an SSH Key for GitHub
Note 📝 GitKraken uses your SSH key defined in Preferences SSH unless a GitHub-specific SSH key or your local SSH Agent is configured.
To generate and add an SSH key to your GitHub account:
- Go to Preferences Integrations.
- Click Generate SSH key and add to GitHub to complete the process automatically.
You may also:
- Use Add key to GitHub from SSH Defaults.
- Add an existing key via Add existing SSH key.

OAuth Integration with GitHub
GitKraken’s OAuth integration enhances how you interact with your repositories:
- View a list of your GitHub repositories to simplify cloning.

- View a list of repository forks when adding remotes.

Pull Requests
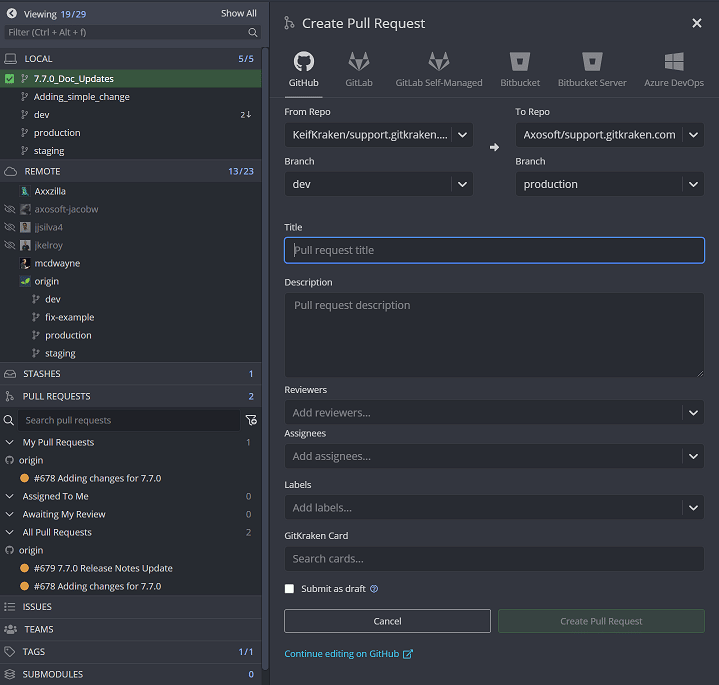
Create and manage Pull Requests directly in GitKraken. You can:
- Add reviewers
- Assign teammates
- Apply labels
GitHub Pull Request View
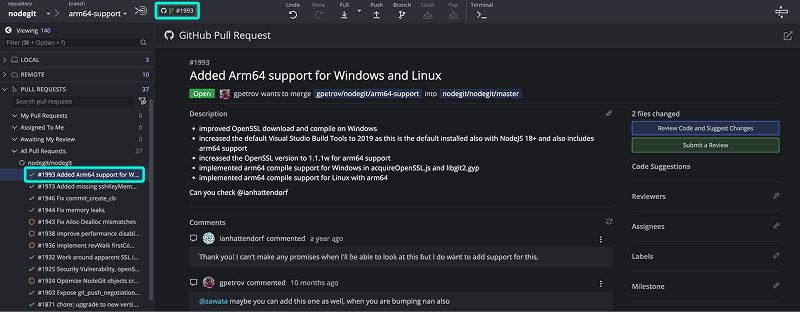
GitHub.com users can use the Pull Request View feature in GitKraken Desktop to review and edit pull requests.
To access this view:
- Ensure the GitHub integration is connected.
- Open a GitHub repository in GitKraken Desktop.
- Select a pull request from the Left Panel, or check out the source branch to reveal a PR icon with the pull request number.
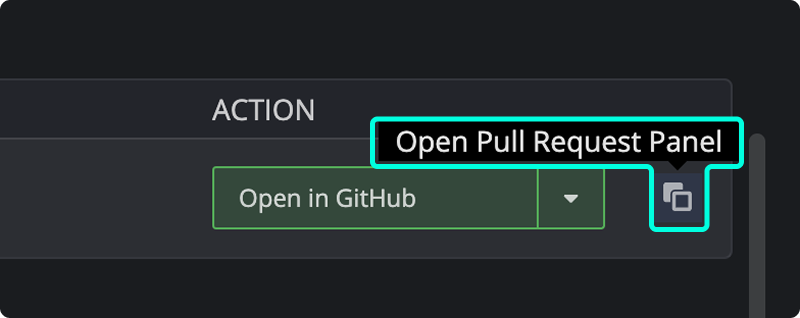
Alternatively, launch the view from the Launchpad by clicking the pull request icon on the right.
Within the Pull Request View, you can edit the following:
- Title
- Description
- Reviewers
- Assignees
- Milestones
- Labels
To review the files affected by a pull request, click the Review Code and Suggest Changes button in the top-right corner.
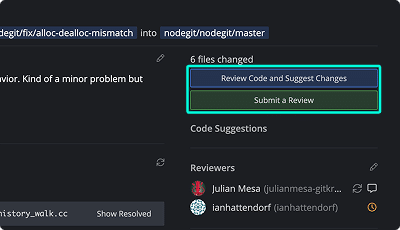
Note: While you can view and suggest changes, full code review and commenting features are not yet available within GitKraken Desktop.
Review Code and Suggest Changes
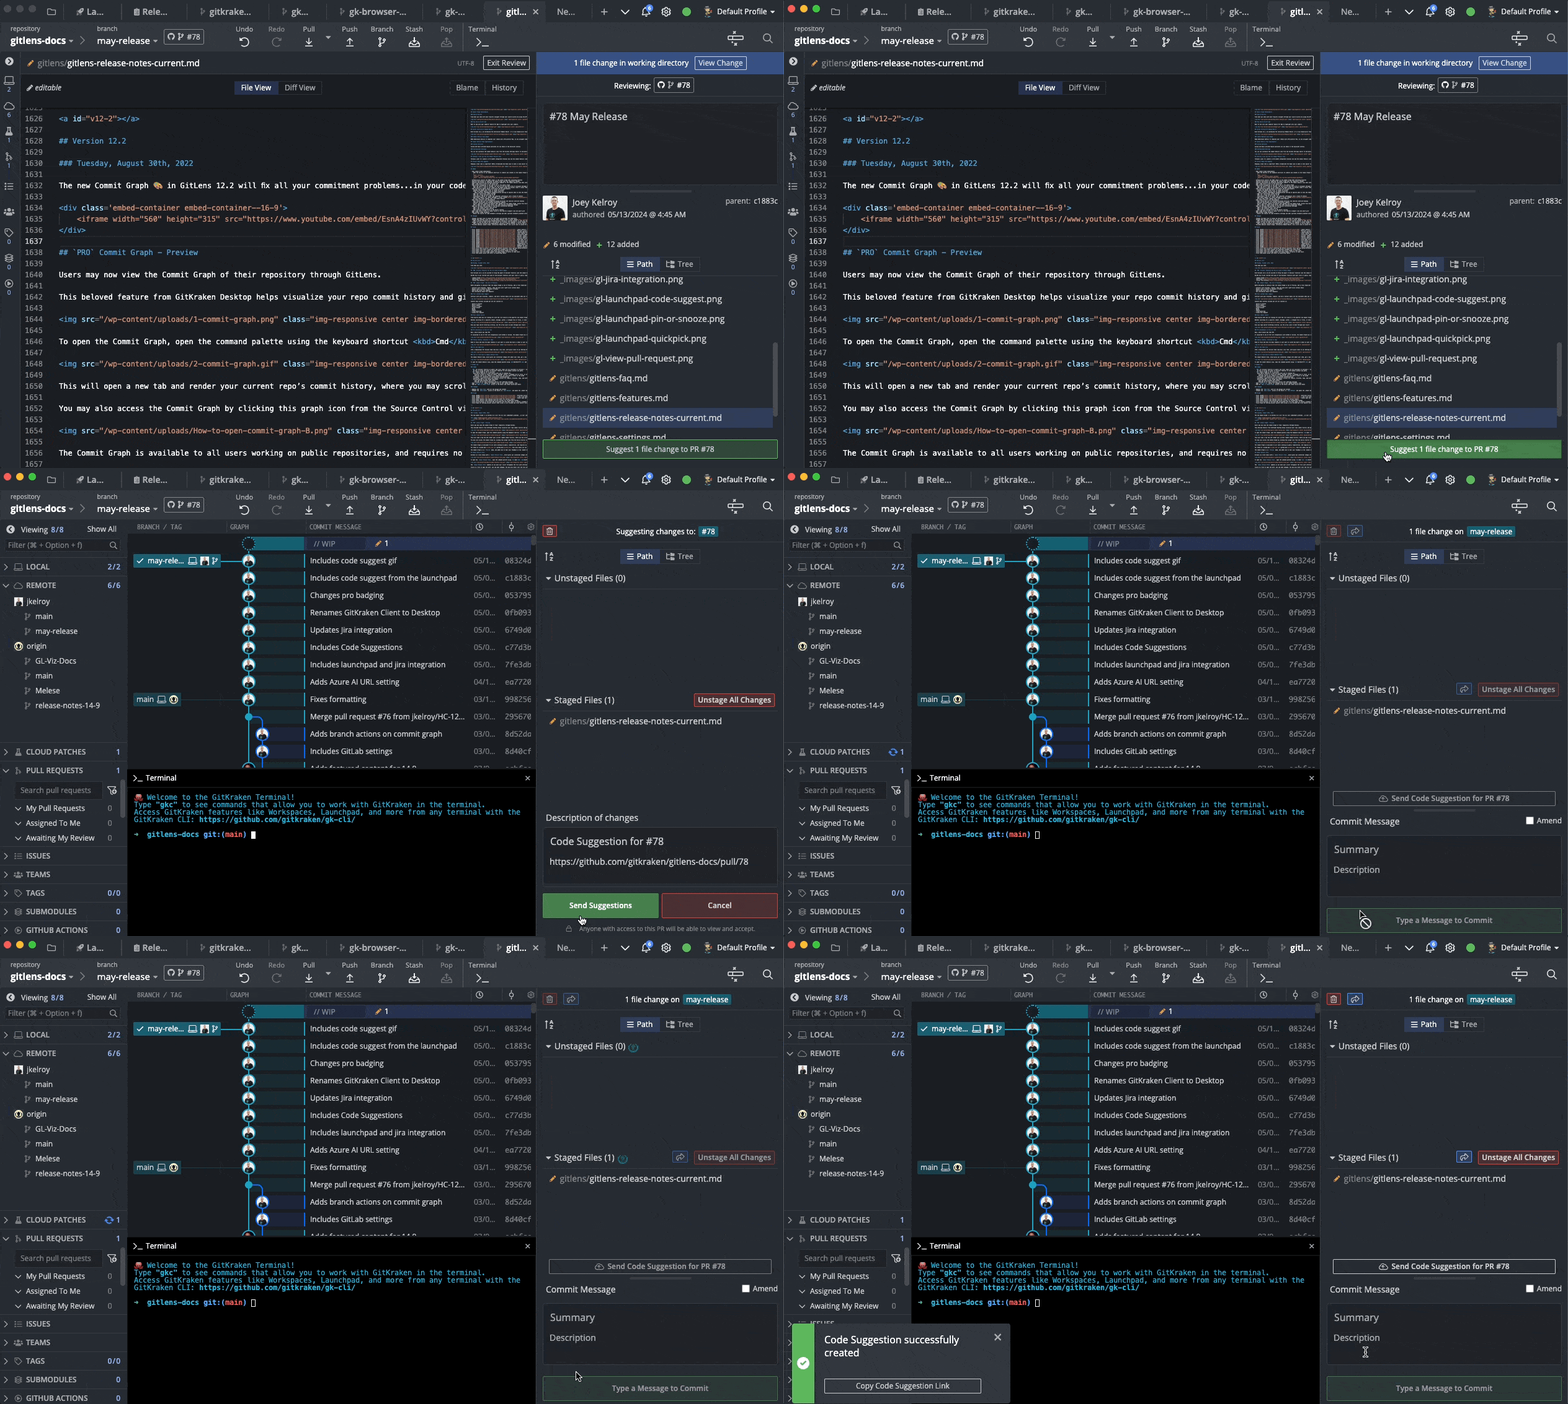
In GitKraken Desktop, the Review Code and Suggest Changes feature lets you propose modifications across the entire project—not just to lines that were changed. This is useful when reviewing a Pull Request:
- Open the Pull Request.
- Click Edit to Suggest Changes to PR #XX.
- Make your edits and save.
- Click Suggest X file change to PR #XX.
Accept or Reject Code Suggestions
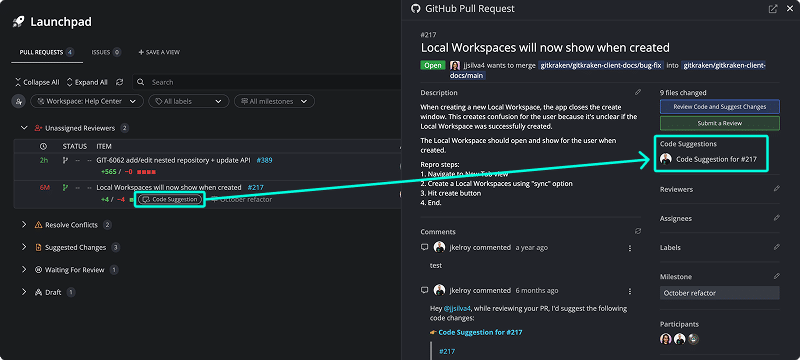
In the Pull Request panel, suggestions from teammates are labeled with Code Suggestions.
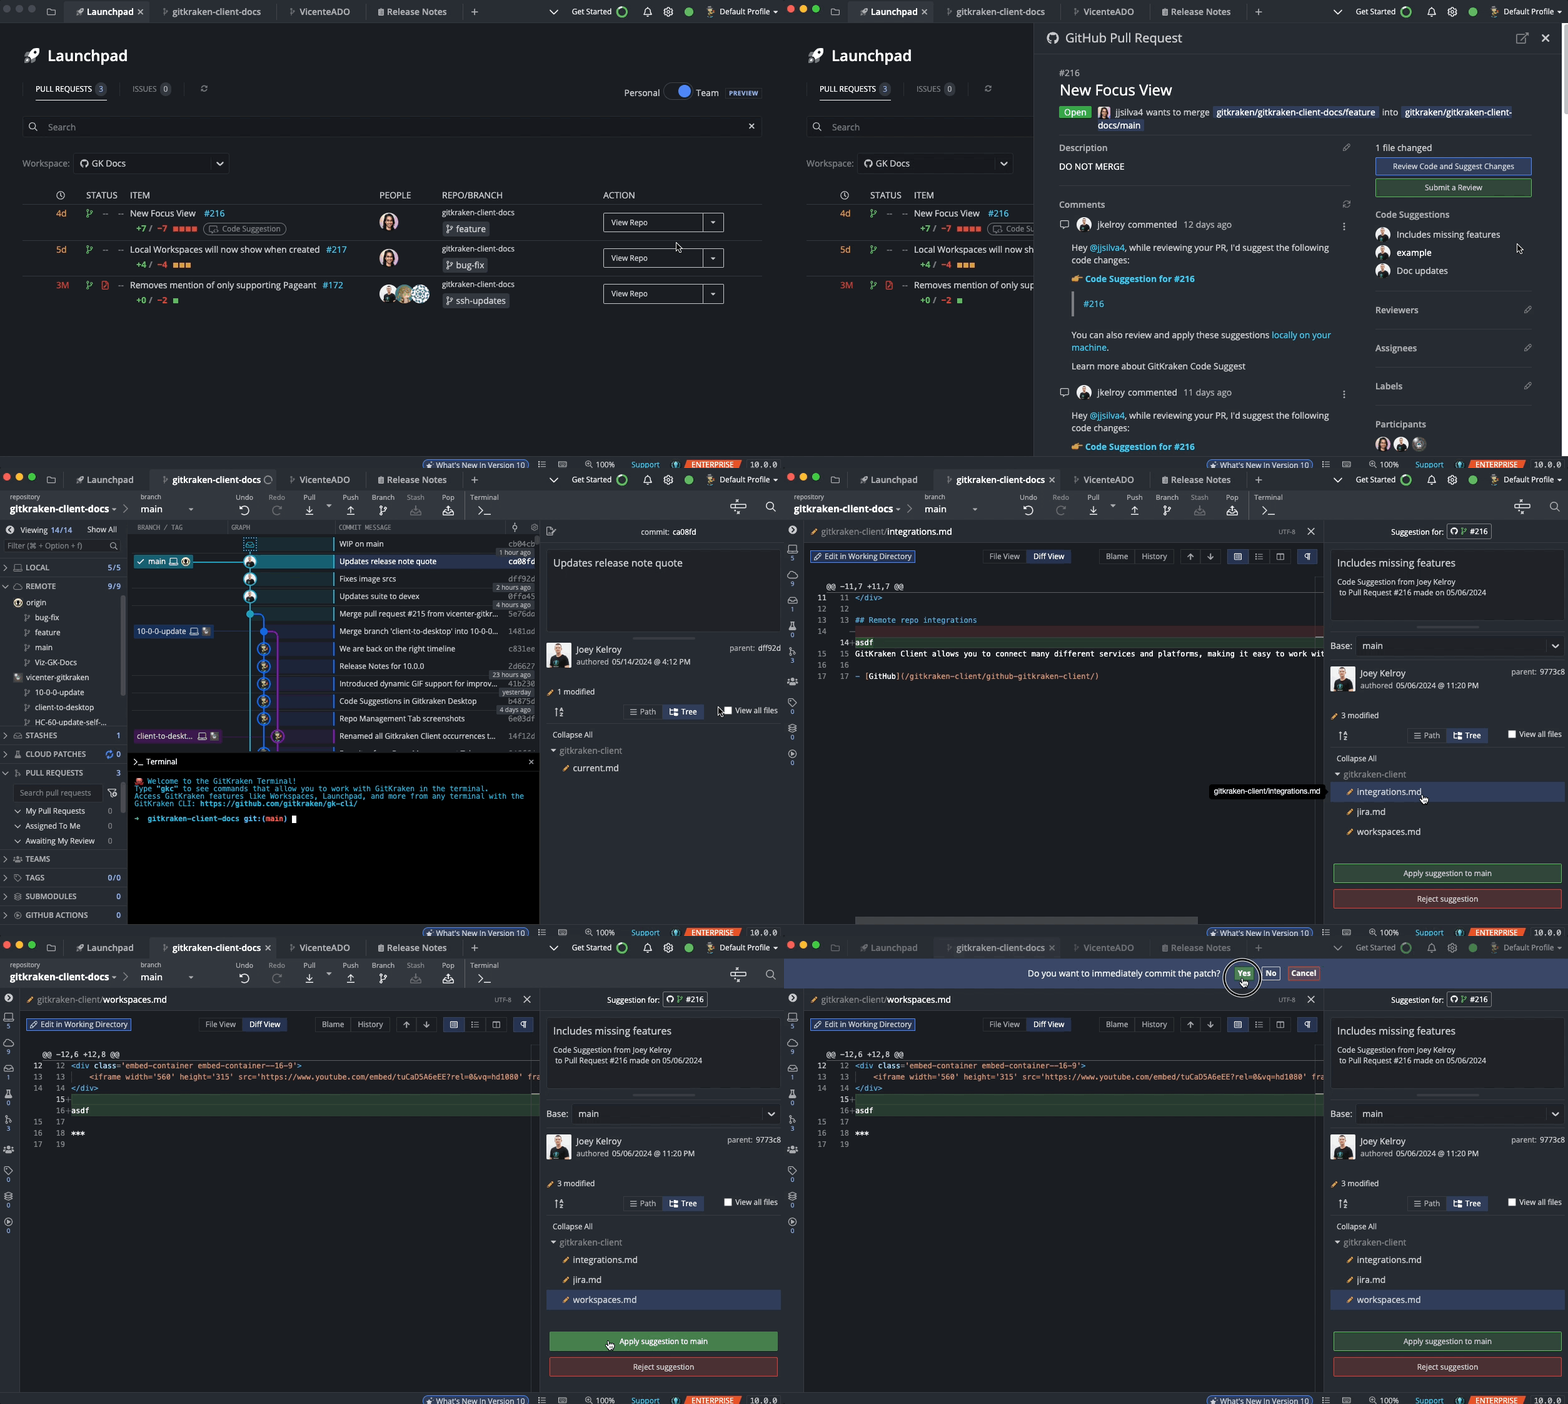
Clicking a suggestion opens the diff view, where you can choose to apply or reject the change.
Branch Checkout, Build Status, and Adding Remotes
- Double-click a branch name in the PR view to check it out and view its graph.
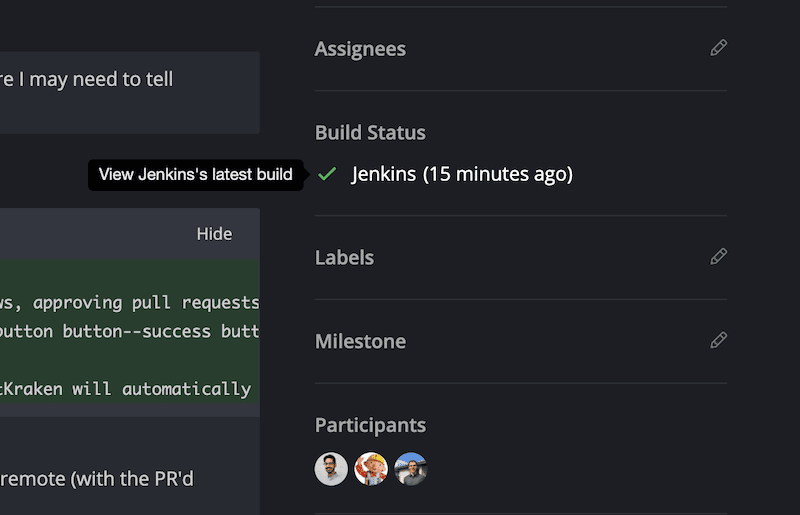
- Click the build status to open the related URL in your browser.
If the remote is not already added, GitKraken prompts you to add it for local review.
Merging Pull Requests
To merge a pull request:
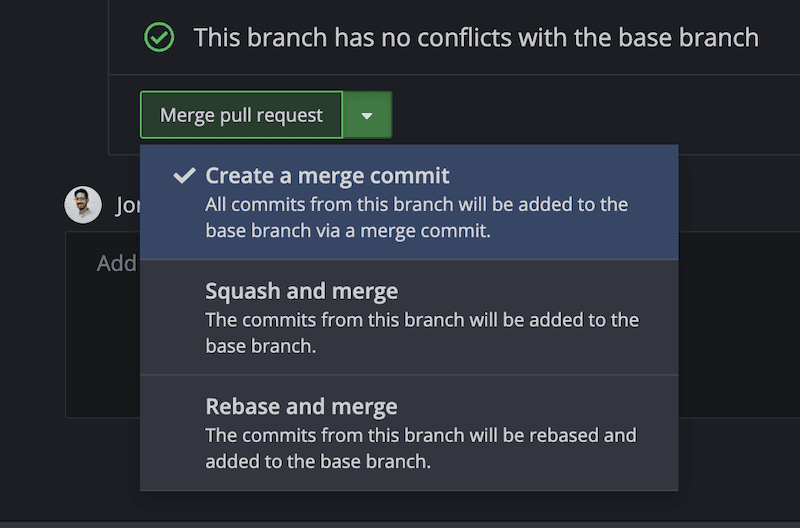
- Click Merge pull request.
- Choose a merge method:
- Create a merge commit (default)
- Squash and merge
- Rebase and merge
Not seeing updates in the pull request view? Try refreshing GitKraken Desktop.
Troubleshooting: Missing Repos or Remotes
If remotes or repositories are missing in the Add Remote or Clone menus:
- Check if GitKraken has access via your GitHub Applications.
- Ask your organization to allow Organization Approval.
- If the repo is owned by another individual, they must also install GitKraken and authorize it.
- Learn more in Third-party apps list.
GitHub Actions
For details about automation and CI/CD workflows, see the GitHub Actions guide.
Connecting to Multiple GitHub Accounts
GitKraken connects to one GitHub account at a time. However, if you’re using the Pro version of GitKraken, you can take advantage of multiple profiles.
Each profile can be associated with a different GitHub account, allowing you to switch between accounts without needing to disconnect and reconnect each time.
