
Last updated: March 2026
Use this page to install a self-signed SSL certificate so GitKraken Desktop can trust a private or internally signed remote host. It covers browser-based certificate export on Windows and macOS, Linux certificate installation steps, common SSL error messages, and how Git Executable respects global Git SSL settings.
Requirements and limits
- Use case: Private or internally signed remote hosts that GitKraken Desktop does not trust by default
- Windows workflow on this page: Chrome-based certificate export and trusted root installation
- macOS workflow on this page: Safari export and Keychain Access trust configuration
- Linux workflow on this page: Chrome export plus
opensslandcertutilinstallation steps - Git Executable note: When enabled, GitKraken Desktop honors SSL settings in the global
.gitconfig - Common failure mode: Missing or invalid SAN values can require the server certificate to be reissued
| OS | Export step | Install location | Notes |
|---|---|---|---|
| Windows | Export the certificate from Chrome | Windows Trusted Root Certificates store | Restart GitKraken Desktop after installing if needed |
| macOS | Export the certificate from Safari | Keychain Access | Set trust to Always Trust if required |
| Linux | Export the certificate from Chrome | System certificate trust store | Exact install path depends on the distribution |
Quick Start
On Windows (Chrome):
- Navigate to your remote hosting service in Chrome and open the certificate details.
- Export the certificate using the Certificate Export Wizard.
- Open Chrome Settings, go to Privacy and Security > Security, and click Manage certificates.
- Import the certificate and add it to the Trusted Root Certificates store.
On macOS (Safari):
- Open Safari and navigate to your remote host.
- Hold Option and drag the certificate icon to your desktop to save it as a
.pemfile. - Double-click the file to open Keychain Access.
- Find the certificate in the login keychain, open it, and set trust to Always Trust.
- Restart your computer.
On Linux (Chrome/Ubuntu):
- Export the certificate using the steps from the Windows Chrome section.
- Convert and install using
opensslandcertutilin the terminal. - Reopen Chrome to confirm the warning no longer appears.
If you have the Git Executable enabled, SSL settings in your global .gitconfig are also honored.
How to add a self-signed certificate
Self-signed certificates must be added to your trusted root directory before GitKraken will recognize the cert. This can be done through your operating system or in many browsers.
Note: If you have the Git Executable enabled, SSL settings in the global .gitconfig file are honored by GitKraken Desktop for actions performed by the Git executable.
How to use Google Chrome on Windows
An easy way to install a certificate so that GitKraken can use it is via Google Chrome.
To generate a self-signed certificate, navigate to your remote hosting service’s website. You should see something like this:
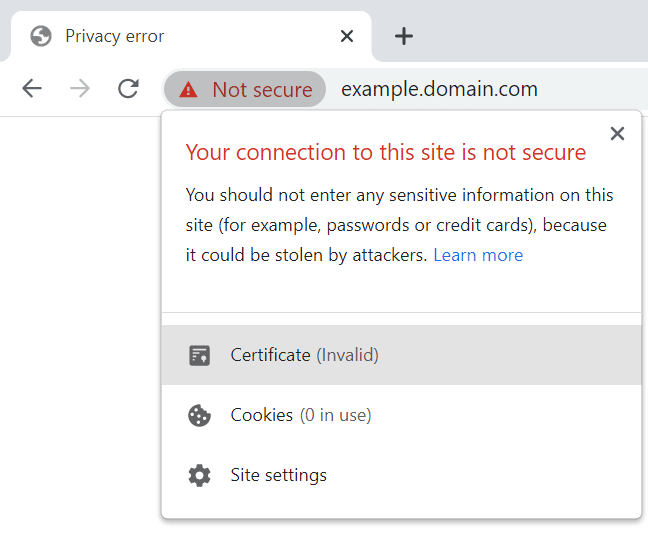
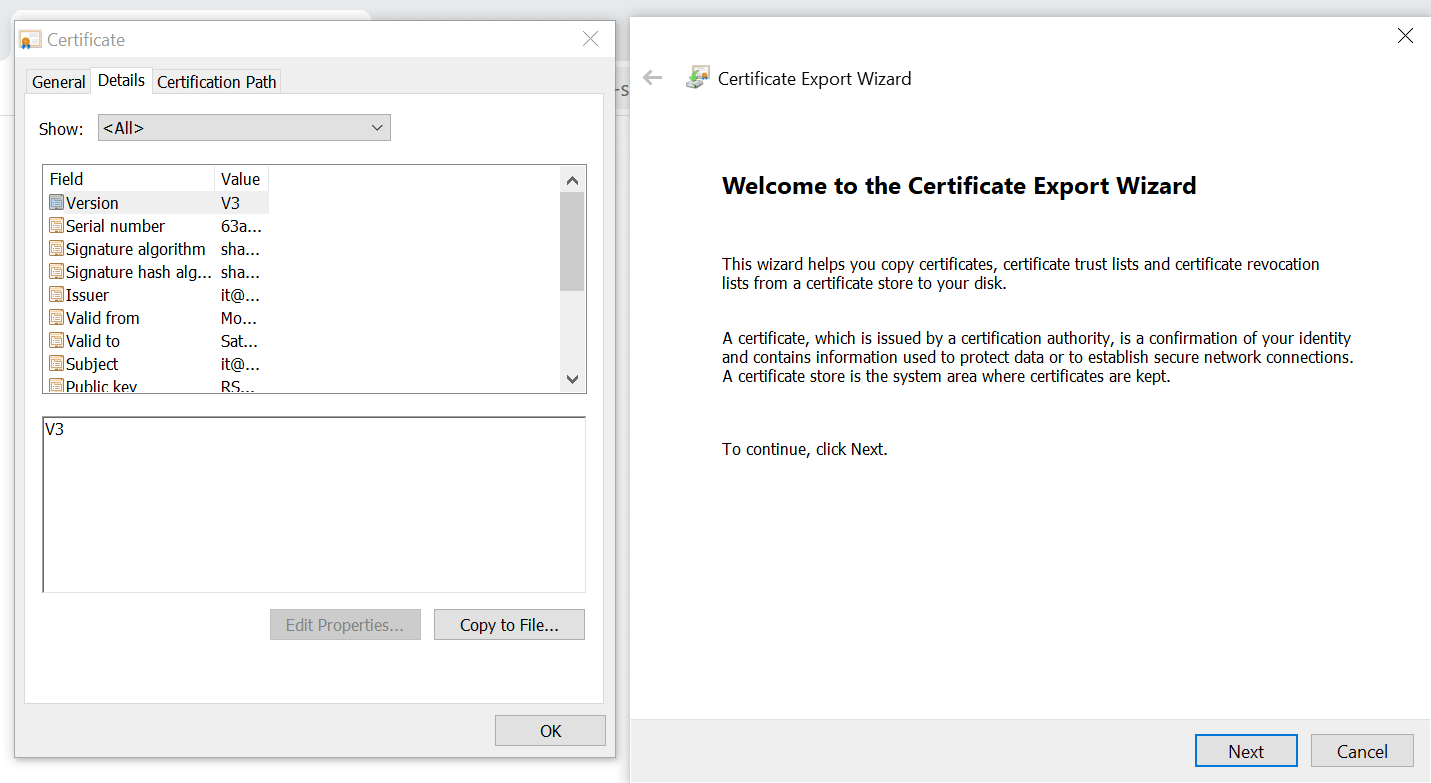
Click on the certificate, go to Details, click Copy to File..., and follow the Certificate Export Wizard.
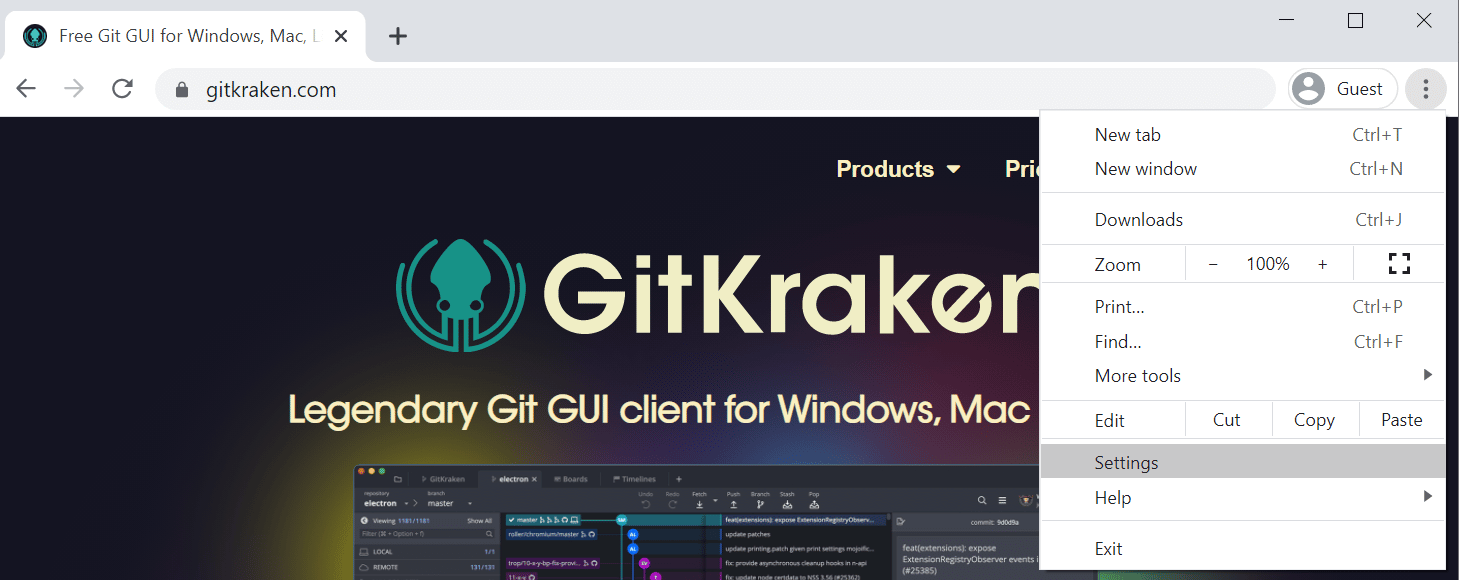
Open Chrome’s Settings menu from the top-right .
Navigate to Privacy & Security Security:
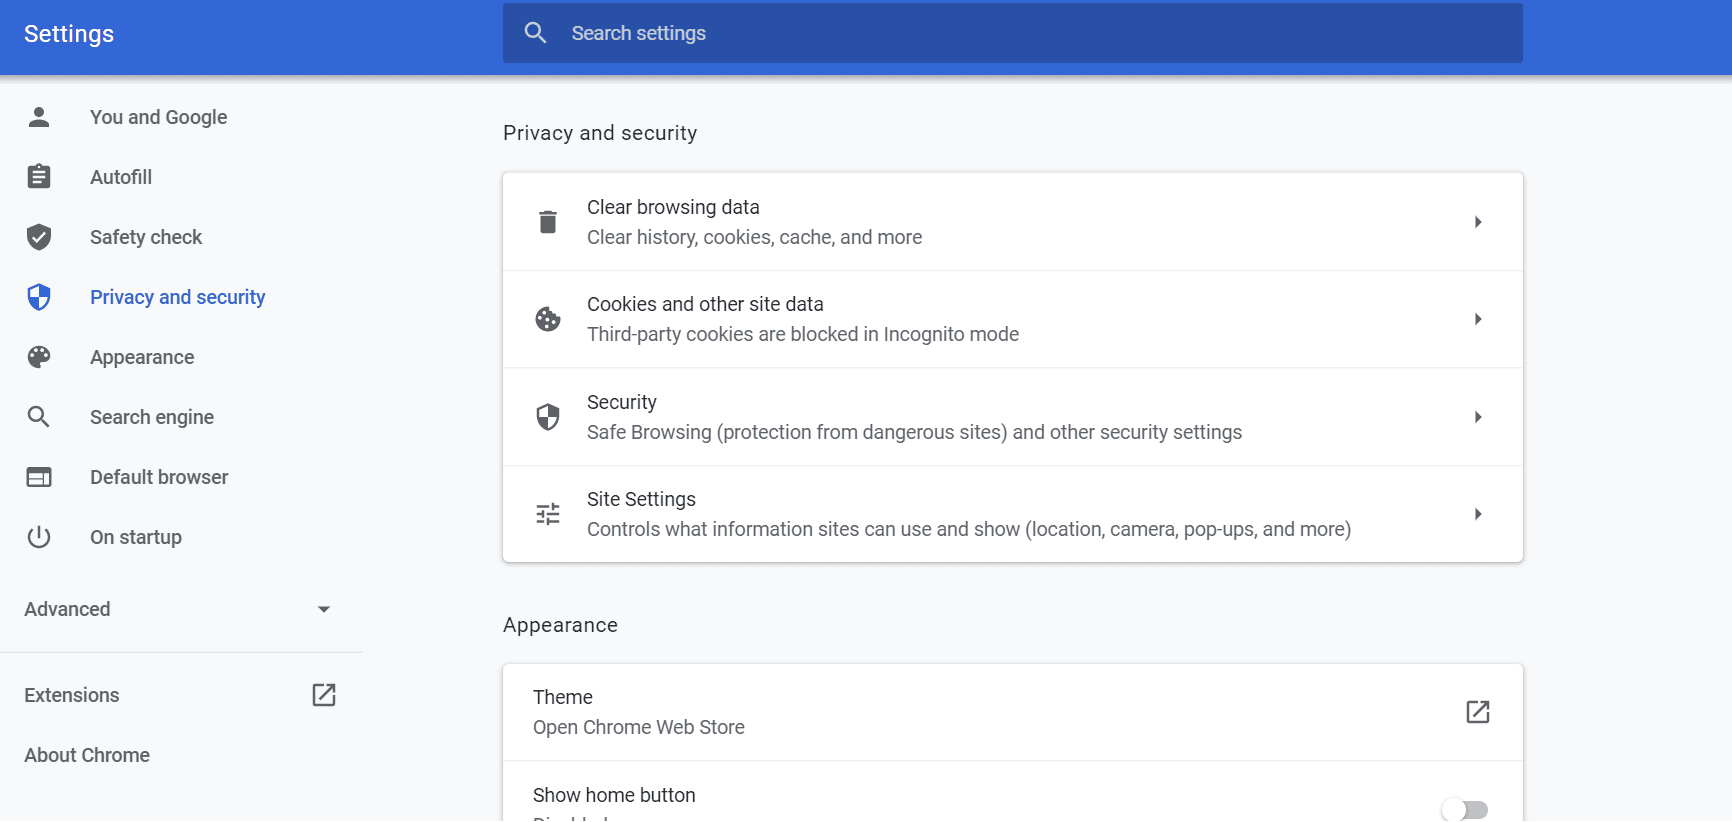
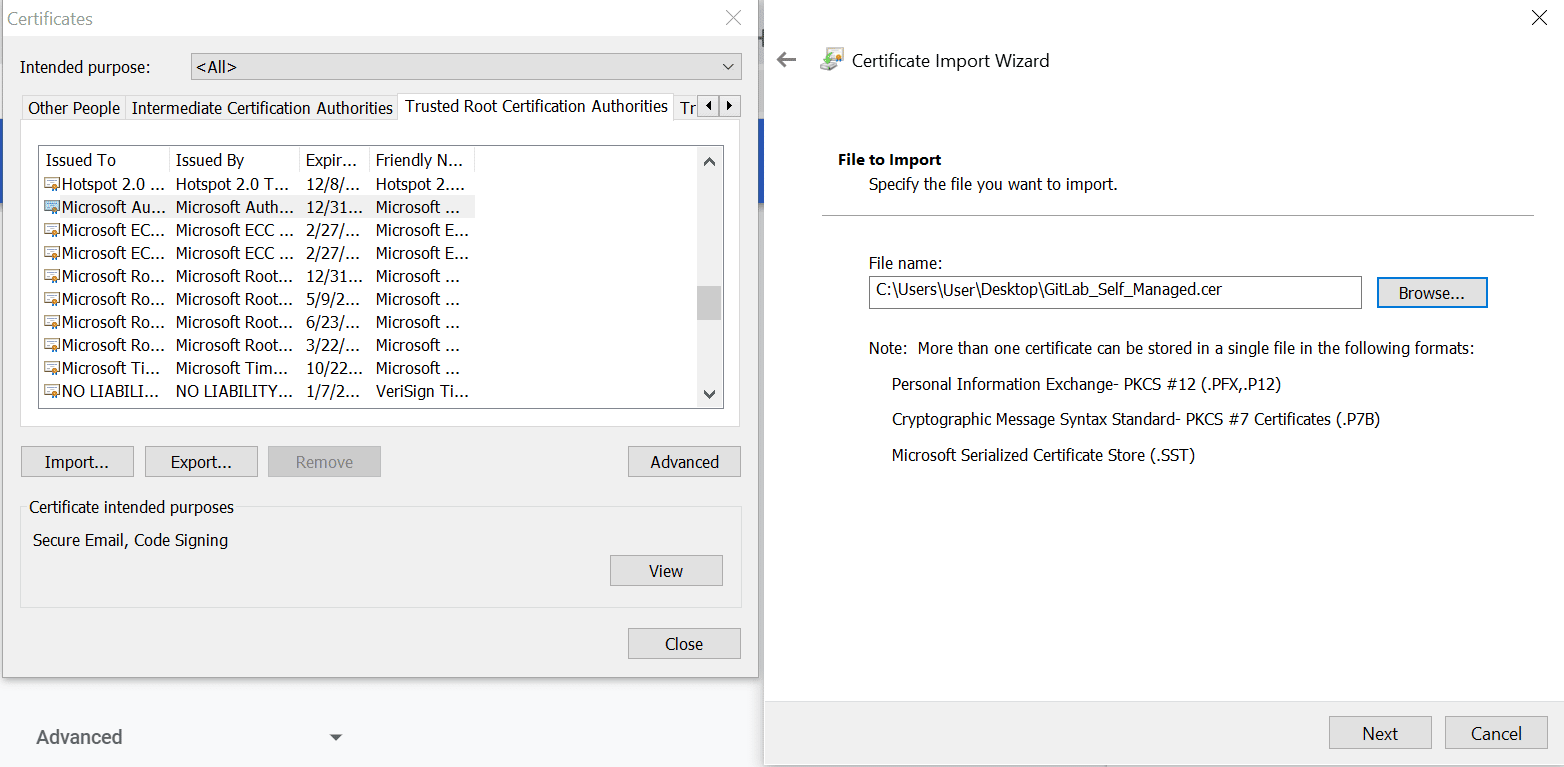
Scroll down and click Manage certificates. Use the wizard to import the certificate.
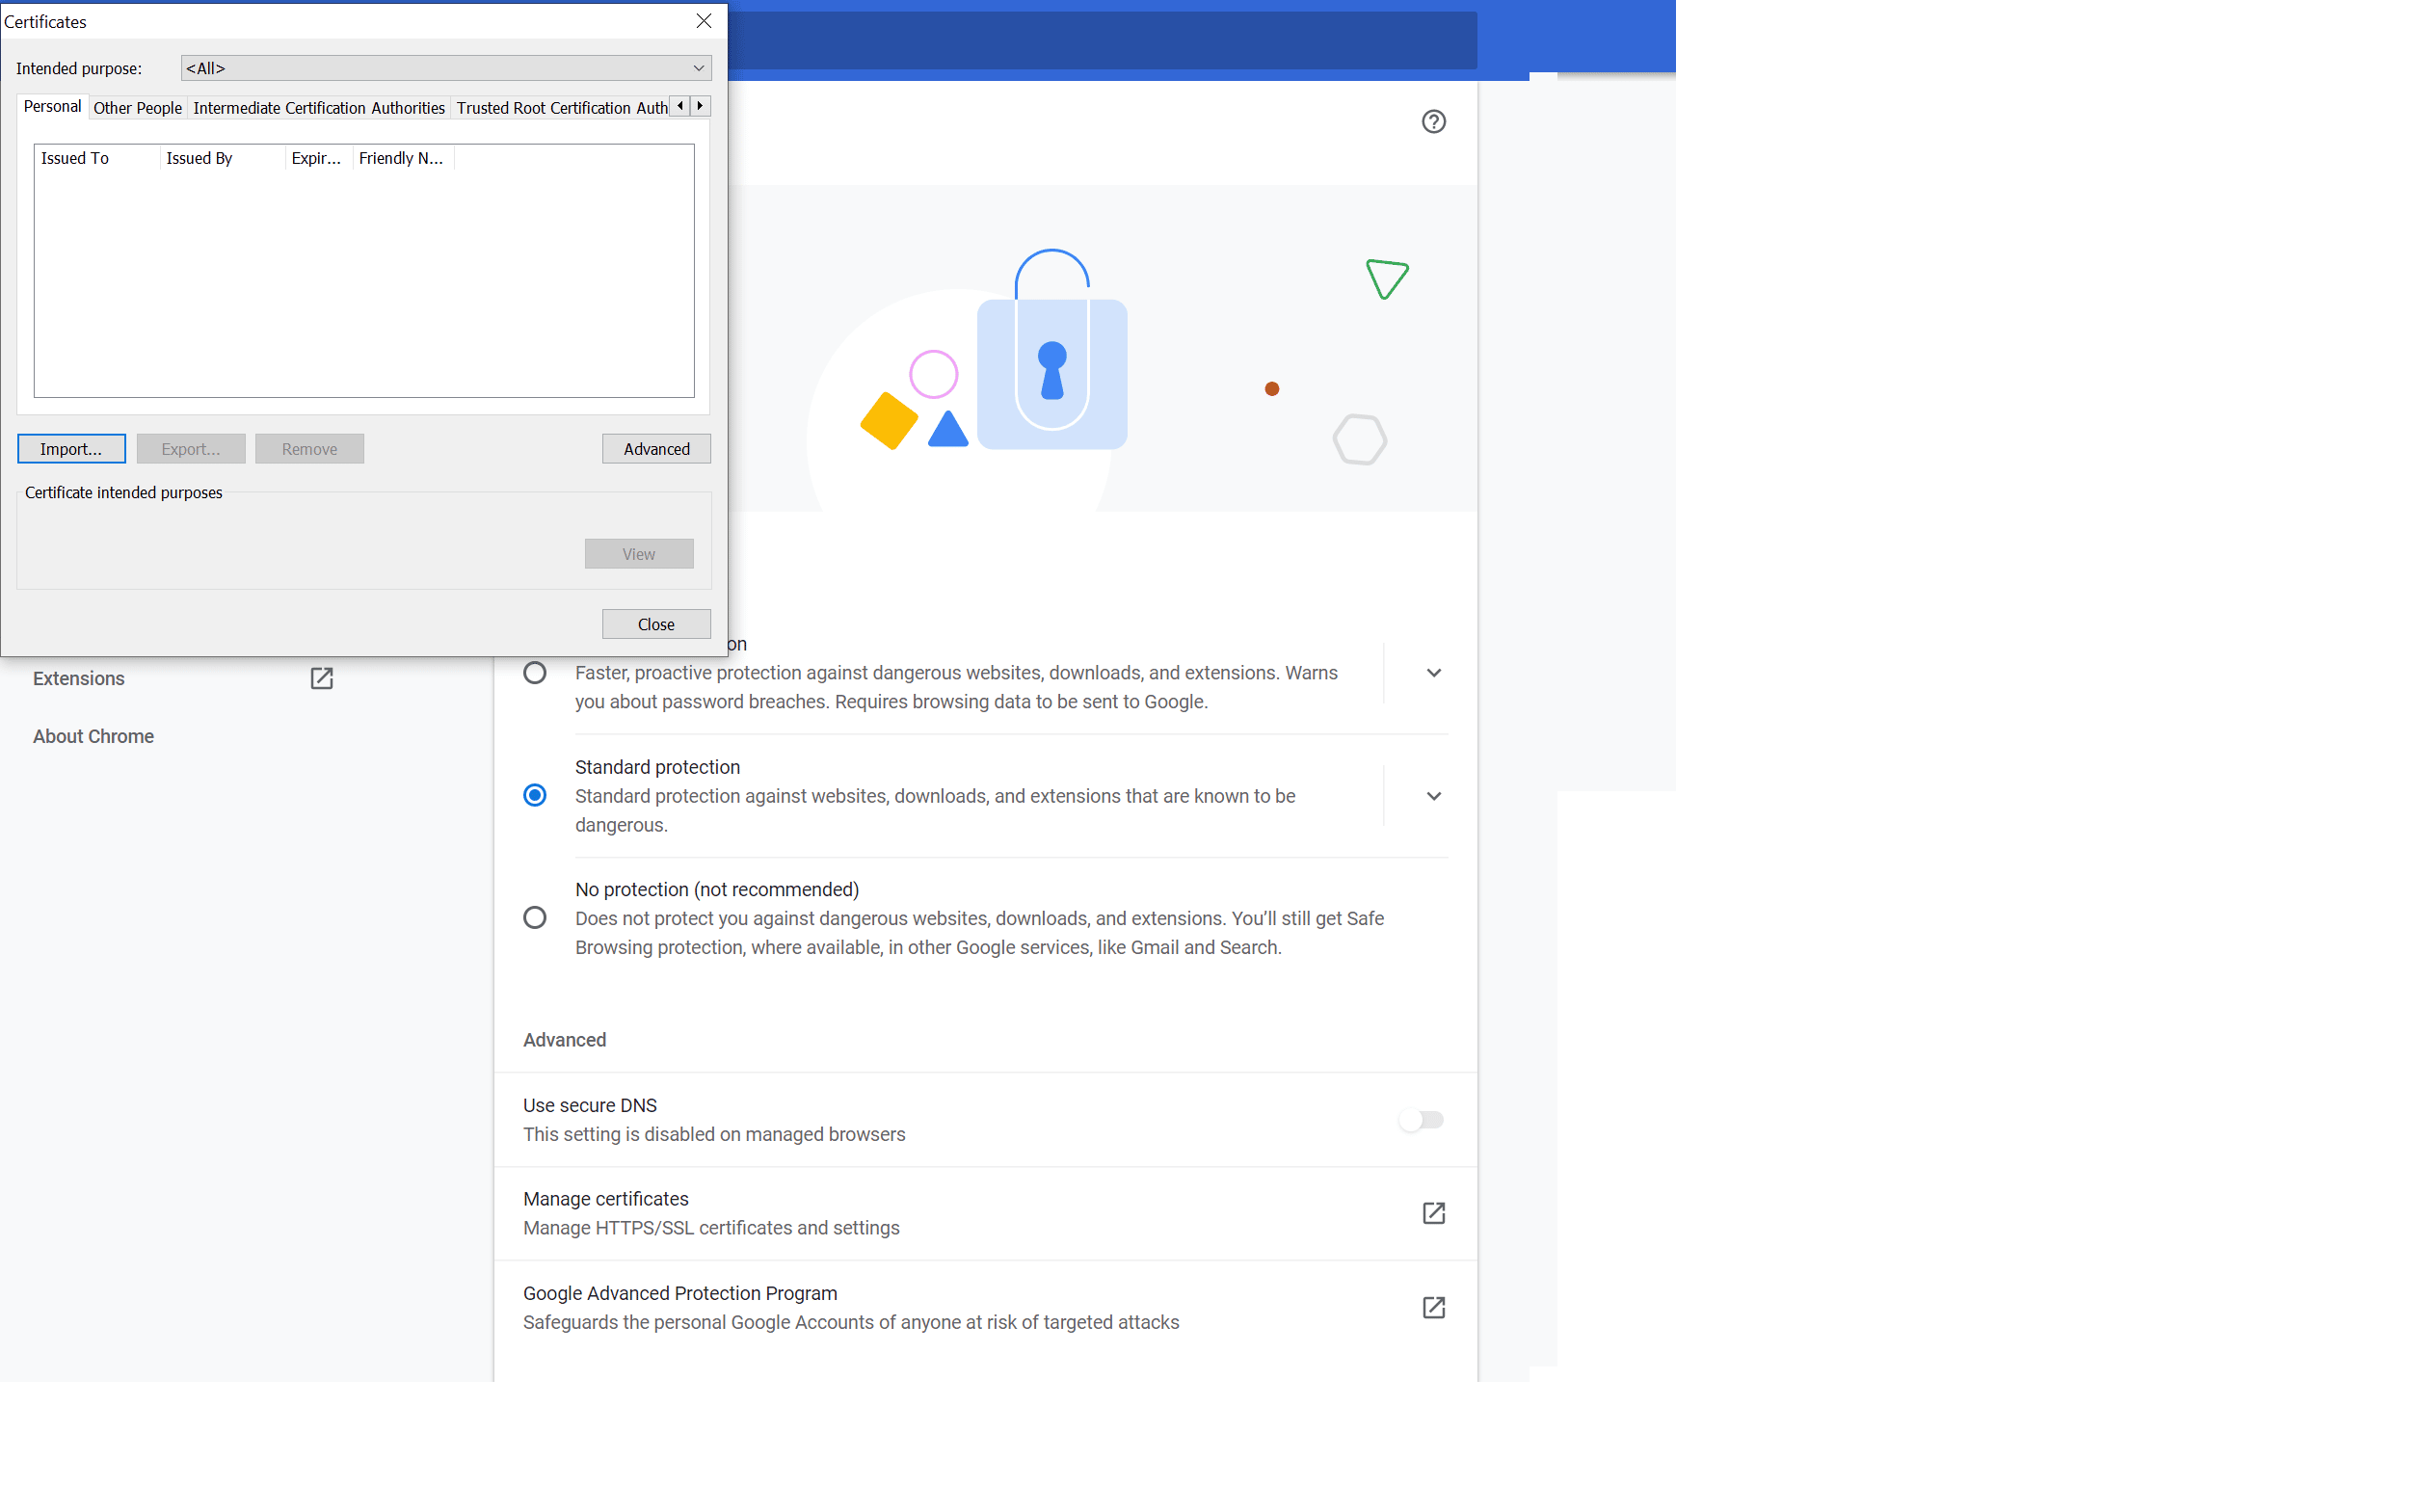
Ensure that the certificate is added to your trusted root certificates.
How to use Safari on macOS
Open Safari and navigate to your remote hosting service.
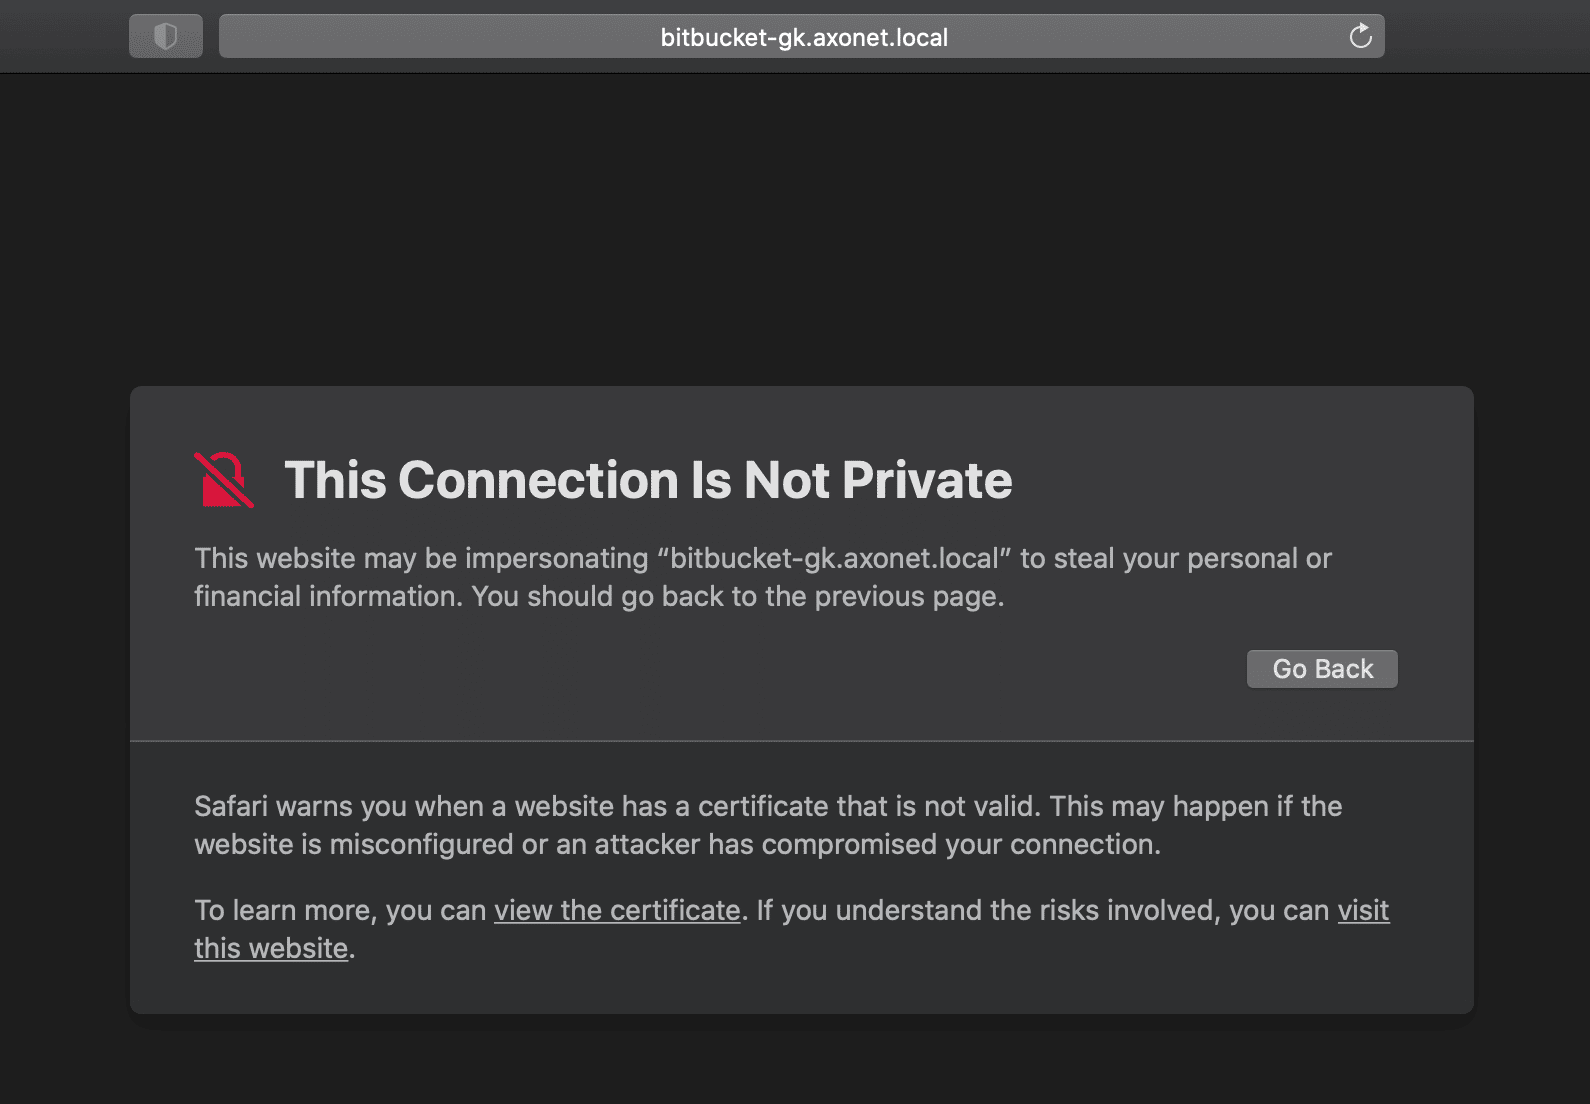
Click to open the certificate window:
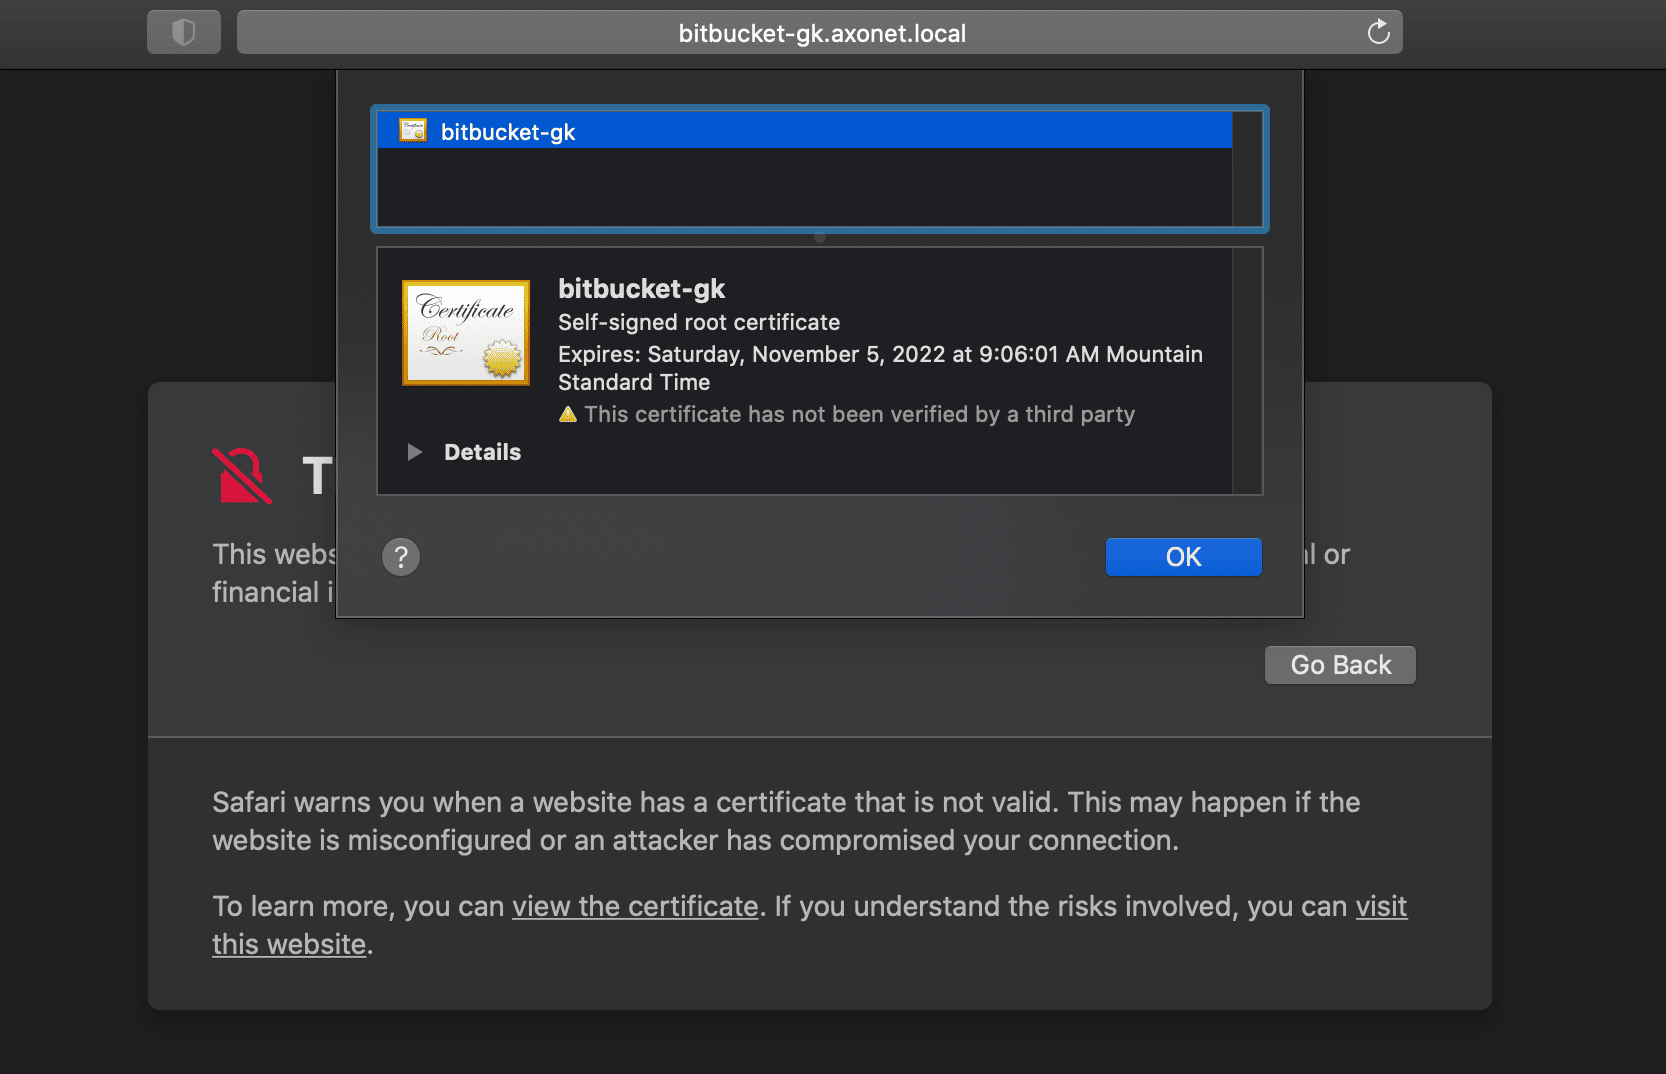
Hold down the Option key and drag the certificate icon to the desktop. This saves it as a .pem file.
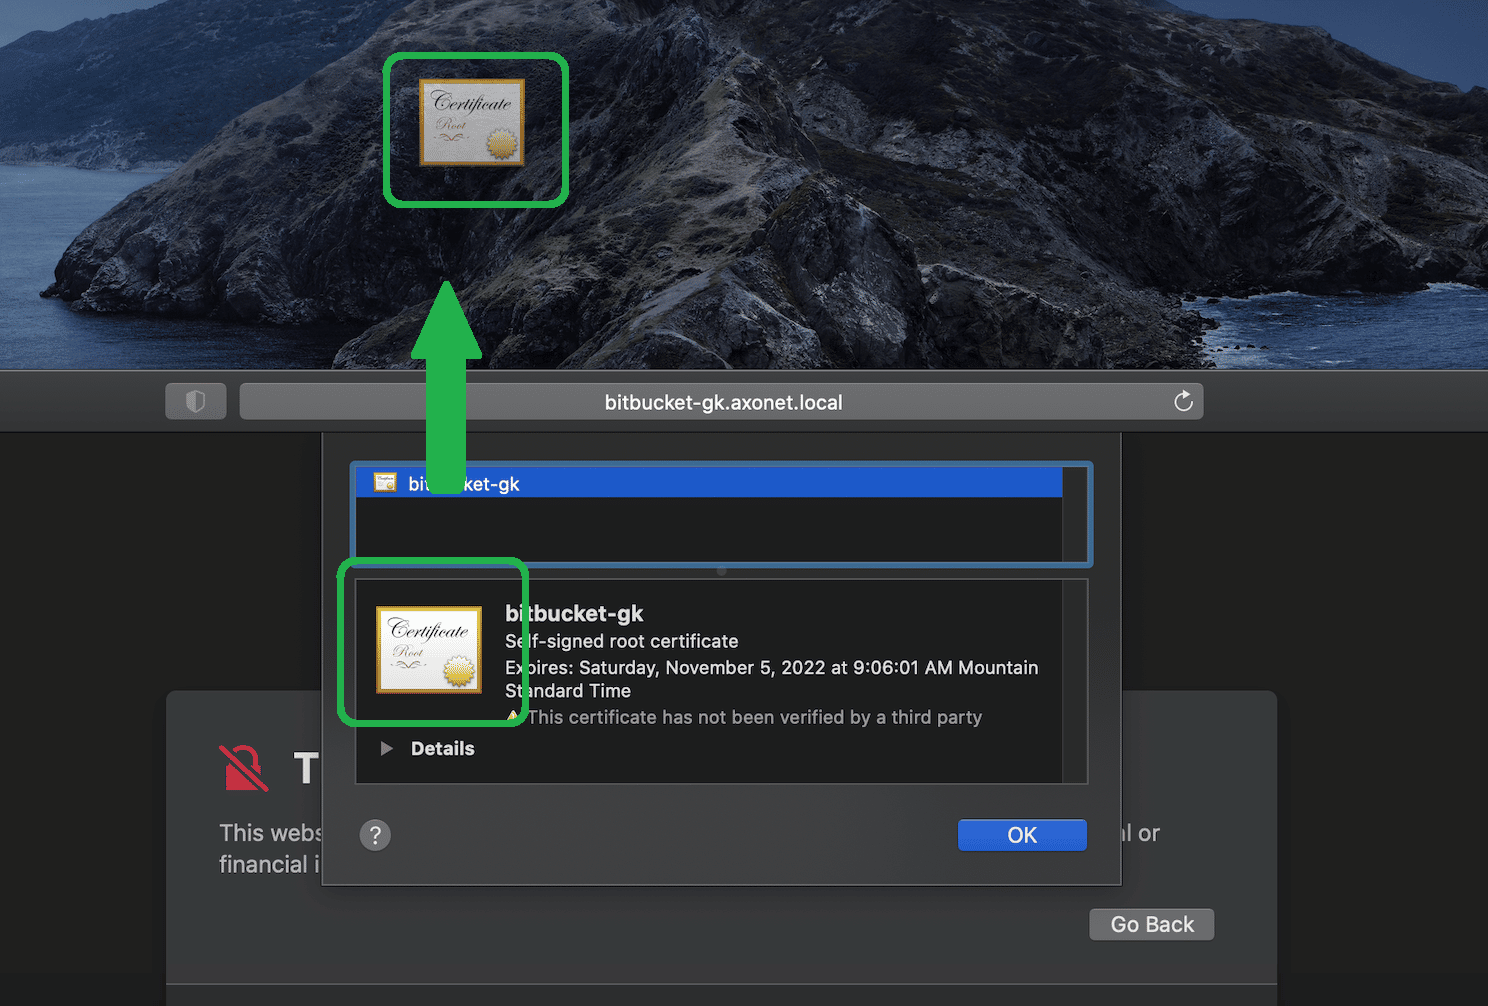
Double-click the file to open your macOS Keychain.
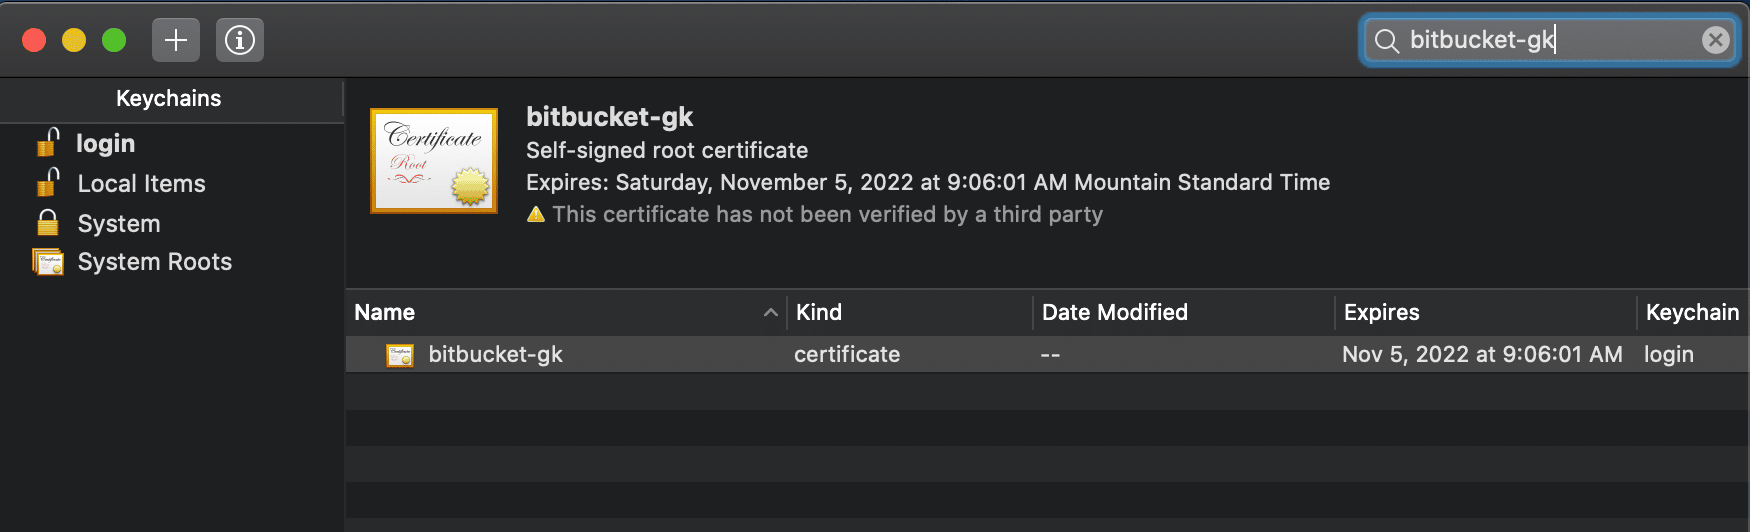
Locate the certificate in the login section and double-click to configure.

Set the trust level to Always Trust. Restart your computer to apply the changes.
How to use Chrome on Ubuntu Linux
Follow the same certificate export steps described in the Windows section. Then:
- Open a terminal and go to your Downloads folder.
- Run the following commands:
openssl x509 -outform der -in DOWNLOADED-CERT-NAME -out DOWNLOADED-CERT-NAME.crtcertutil -d sql:$HOME/.pki/nssdb -A -t "CT,C,C" -n DOWNLOADED-CERT-NAME.crt -i DOWNLOADED-CERT-NAME.crt- Verify the certificate:
certutil -d sql:$HOME/.pki/nssdb -LClose and reopen Chrome to confirm the certificate warning no longer appears.
Common certificate errors
How to fix Invalid SSL Certificate
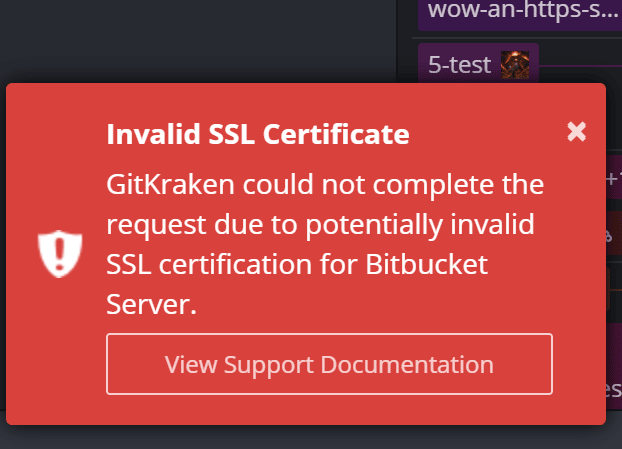
This usually indicates the certificate is invalid or missing. Add a certificate to your local store.
Additional details about SSL certificate errors
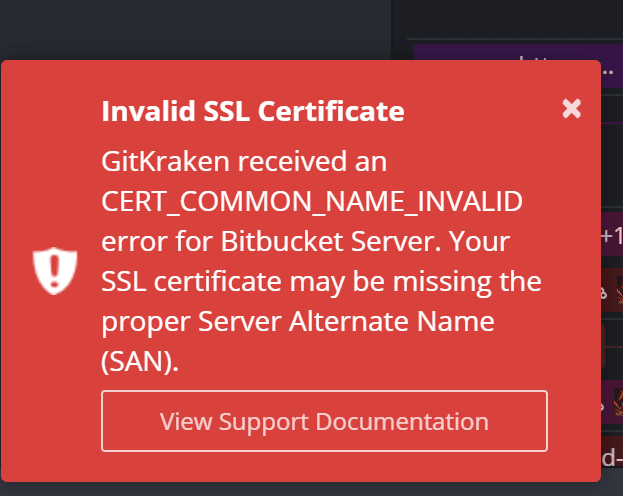
These errors often point to issues like a missing Server Alternate Name (SAN). Contact your server administrator to fix and reissue the certificate.
Operating system guides
Use the links below for more help installing certificates by OS:
| Windows | Microsoft Docs |
| OSX | Apple Docs |
| Linux | Ubuntu Docs |
pre{position:relative;min-height:3em}
.copy-btn{position:absolute;top:8px;right:8px;display:flex;align-items:center;justify-content:center;height:28px;padding:0 8px;background:rgba(128,128,128,.12);border:1px solid rgba(128,128,128,.2);border-radius:4px;cursor:pointer;color:#999;opacity:0;transition:opacity .15s,background .15s,color .15s;font-size:11px;font-family:sans-serif}
pre:hover .copy-btn{opacity:1}
.copy-btn:hover{background:rgba(128,128,128,.25);color:#555}
.copy-btn.copied{color:#22c55e;border-color:rgba(34,197,94,.3)}
(function(){var C=’Copy’,K=’Copied!’;function cp(t){if(navigator.clipboard&&window.isSecureContext)return navigator.clipboard.writeText(t);var x=document.createElement(‘textarea’);x.value=t;x.style.cssText=’position:fixed;opacity:0′;document.body.appendChild(x);x.select();try{document.execCommand(‘copy’)}catch(e){}document.body.removeChild(x);return Promise.resolve()}function init(){document.querySelectorAll(‘pre’).forEach(function(p){if(p.querySelector(‘.copy-btn’))return;var b=document.createElement(‘button’);b.className=’copy-btn’;b.setAttribute(‘aria-label’,’Copy code’);b.innerHTML=C;p.appendChild(b);b.addEventListener(‘click’,function(){var el=p.querySelector(‘code’)||p,cl=el.cloneNode(true),bn=cl.querySelector(‘.copy-btn’);if(bn)bn.remove();cp((cl.innerText||cl.textContent).trimEnd()).then(function(){b.innerHTML=K;b.classList.add(‘copied’);setTimeout(function(){b.innerHTML=C;b.classList.remove(‘copied’)},2000)})})})}document.readyState===’loading’?document.addEventListener(‘DOMContentLoaded’,init):init()})()
